International (EUR)
In watercolour painting, it is not possible to apply a light colour over a dark one. If you want to create contrast in your painting, you therefore need to preserve the light areas when adding darker layers. Leaving areas unpainted can be tricky and sometimes impossible, especially when it comes to small details and sharp edges. In these cases, masking fluid will be your lifesaver. In this article, we cover everything you need to know about masking fluid: the basics, techniques, and step-by-step instructions on how to use the medium!
What is masking fluid?
Masking fluid, also known as masking medium, is an essential tool for many watercolour artists. It consists of liquid latex or rubber applied with a brush or other applicator to the areas you want to remain white or protected from paint. Once the masking fluid has dried, you can paint freely over it with watercolours, and the paint will not seep through to the protected areas. After the painting has dried, the masking fluid is gently rubbed away, leaving behind crisp, untouched sections. This is especially useful for preserving small white or light details such as snowflakes and blades of grass, but it can also be used to protect a larger subject while painting the background.
Different types of masking fluid
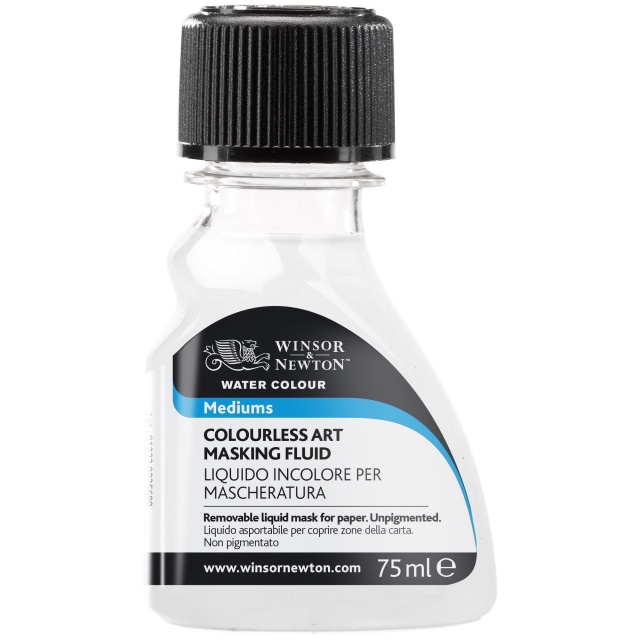
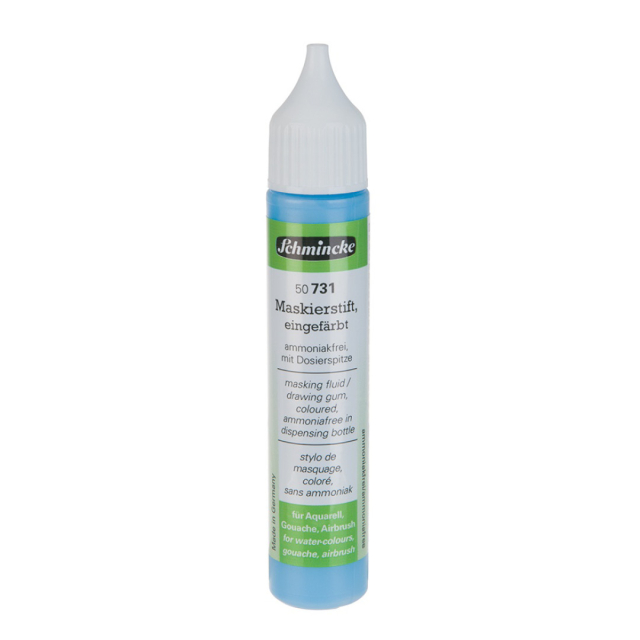
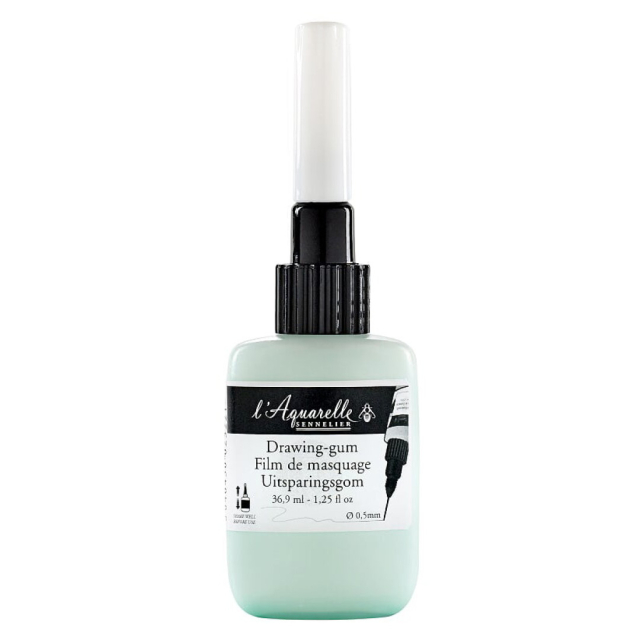
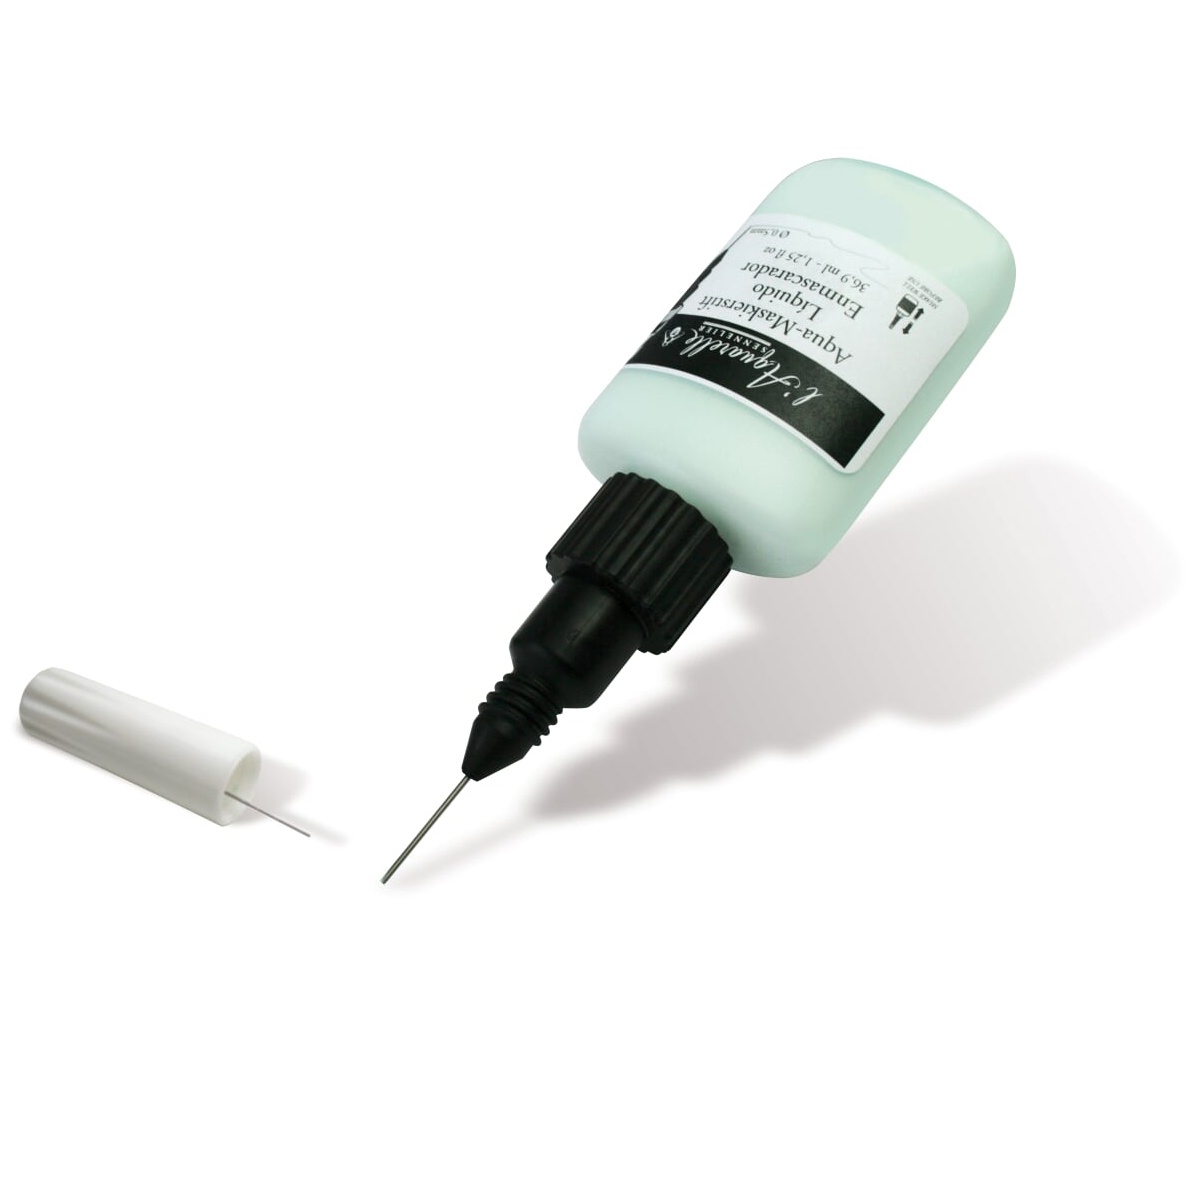
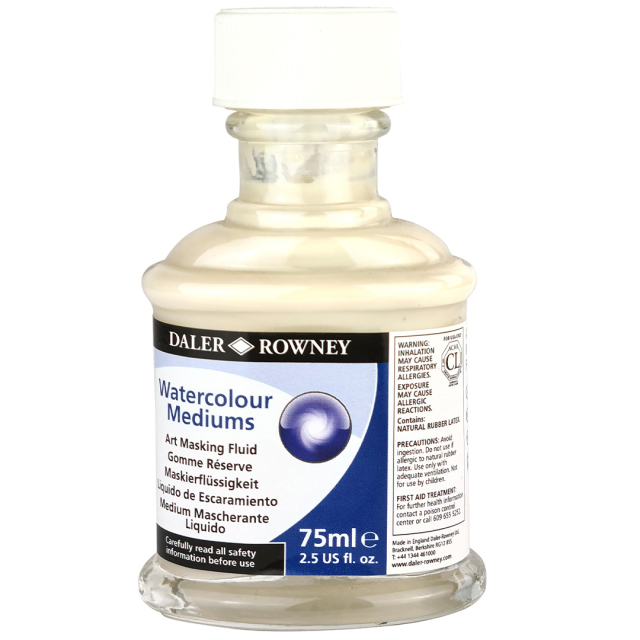
Masking fluid usually comes in liquid form in a bottle or jar, which is poured into a palette well during use. There are also versions with different types of applicators that allow direct application from the container. Masking fluid may be white or tinted with a faint blue or pink tone, making it easier to see on the paper. We’ve gathered our best tips on different masking fluids in a buying guide:
Our top masking fluid picks →
Which paper works with masking fluid?
Technically, you can use any type of watercolour paper. However, cheaper or softer papers are more likely to tear when the fluid is removed. Papers with a rough texture may also increase the risk of damage, as the fluid can get stuck in the grooves. Tinted masking fluid may also leave slight staining on certain papers. It’s always best to test the masking fluid on a small piece of paper before use.
How do you apply masking fluid?
There are several ways to apply masking fluid to your watercolour. Try and see which method feels most comfortable!
Brush
The brush is probably the most common applicator. It holds a good amount of masking fluid and can cover large areas but also create thin, sweeping lines. With a brush in hand, the process feels much like painting with watercolour, and it is easier when you want to achieve complex shapes with the fluid. You can use watercolour brushes you already have at home, but avoid your finest one. Once the fluid dries on the brush, it becomes rubbery and sticks to the bristles. There are ways to protect the brush (more on that soon), but the risk is always there.
Silicone brush
Works in the same way as a regular brush, except it does not hold as much fluid and needs to be dipped frequently. The advantage of a silicone tip is that it cannot be damaged by the masking fluid. Once the fluid has dried on the silicone brush, it can easily be peeled off without leaving traces. The silicone brush does not give you full control over the motif, but it is useful for covering large areas. Available in different shapes such as round, pointed and flat.
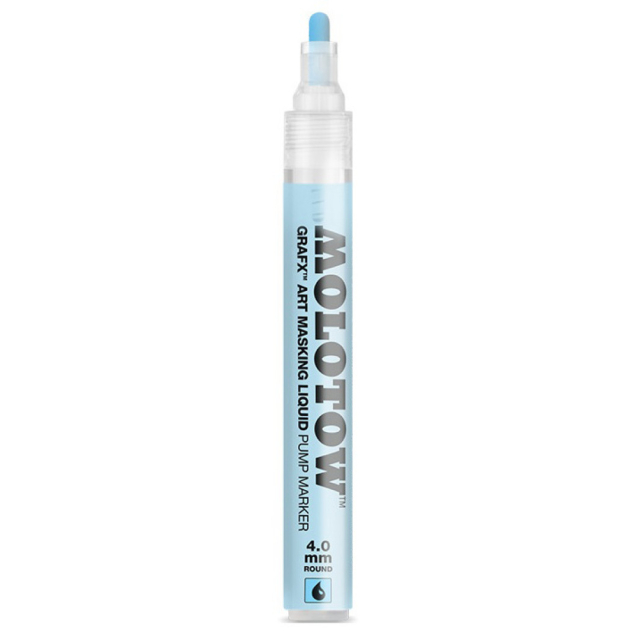
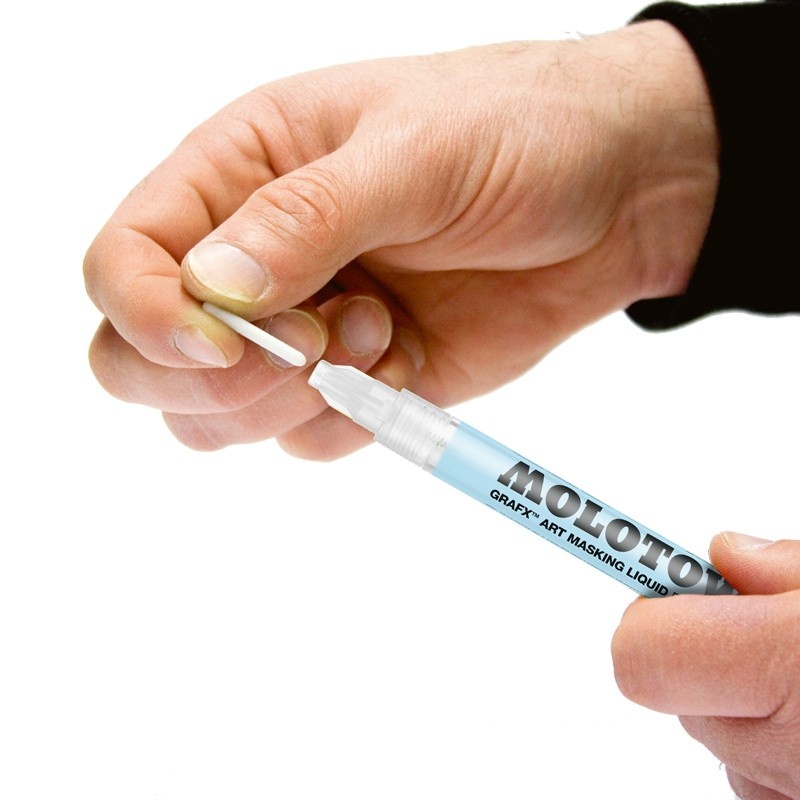
Marker
Molotow’s GRAFX Art Masking Pen is masking fluid in marker form. It allows you to easily cover large areas as well as draw thin, precise lines with the pen as the applicator. Handy to bring along and easy to use. Available in both 2 mm and 4 mm, and refillable.


Experiment with other tools
Here are a few more techniques to try using tools you may already have at home!
Calligraphy nib: The sharp tip of a calligraphy pen can add those extra fine lines. Just make sure the pen is clean from any old ink.
Toothpick: Dip the toothpick in masking fluid and draw it across the paper to create ultra-thin lines. Not ideal to use on its own, as you cannot cover larger areas. Be gentle, as the sharp tip can easily scratch the surface and damage your painting.
Toothbrush: Dip a toothbrush in masking fluid and run your finger over the bristles. Just like splattering paint for cool splash effects, you can splatter masking fluid! Be careful with your clothes, it is very hard to remove once dry.
Ordinary pen: Dip the pen tip in masking fluid and draw on the paper. The drawback is that graphite may transfer to the paper. A dried-out ballpoint pen or a mechanical pencil without lead could be an alternative. Experiment and see what works!
Brush handle: The rounded end of a brush handle can make perfect small dots of masking fluid.
Painting with masking fluid: Step by step
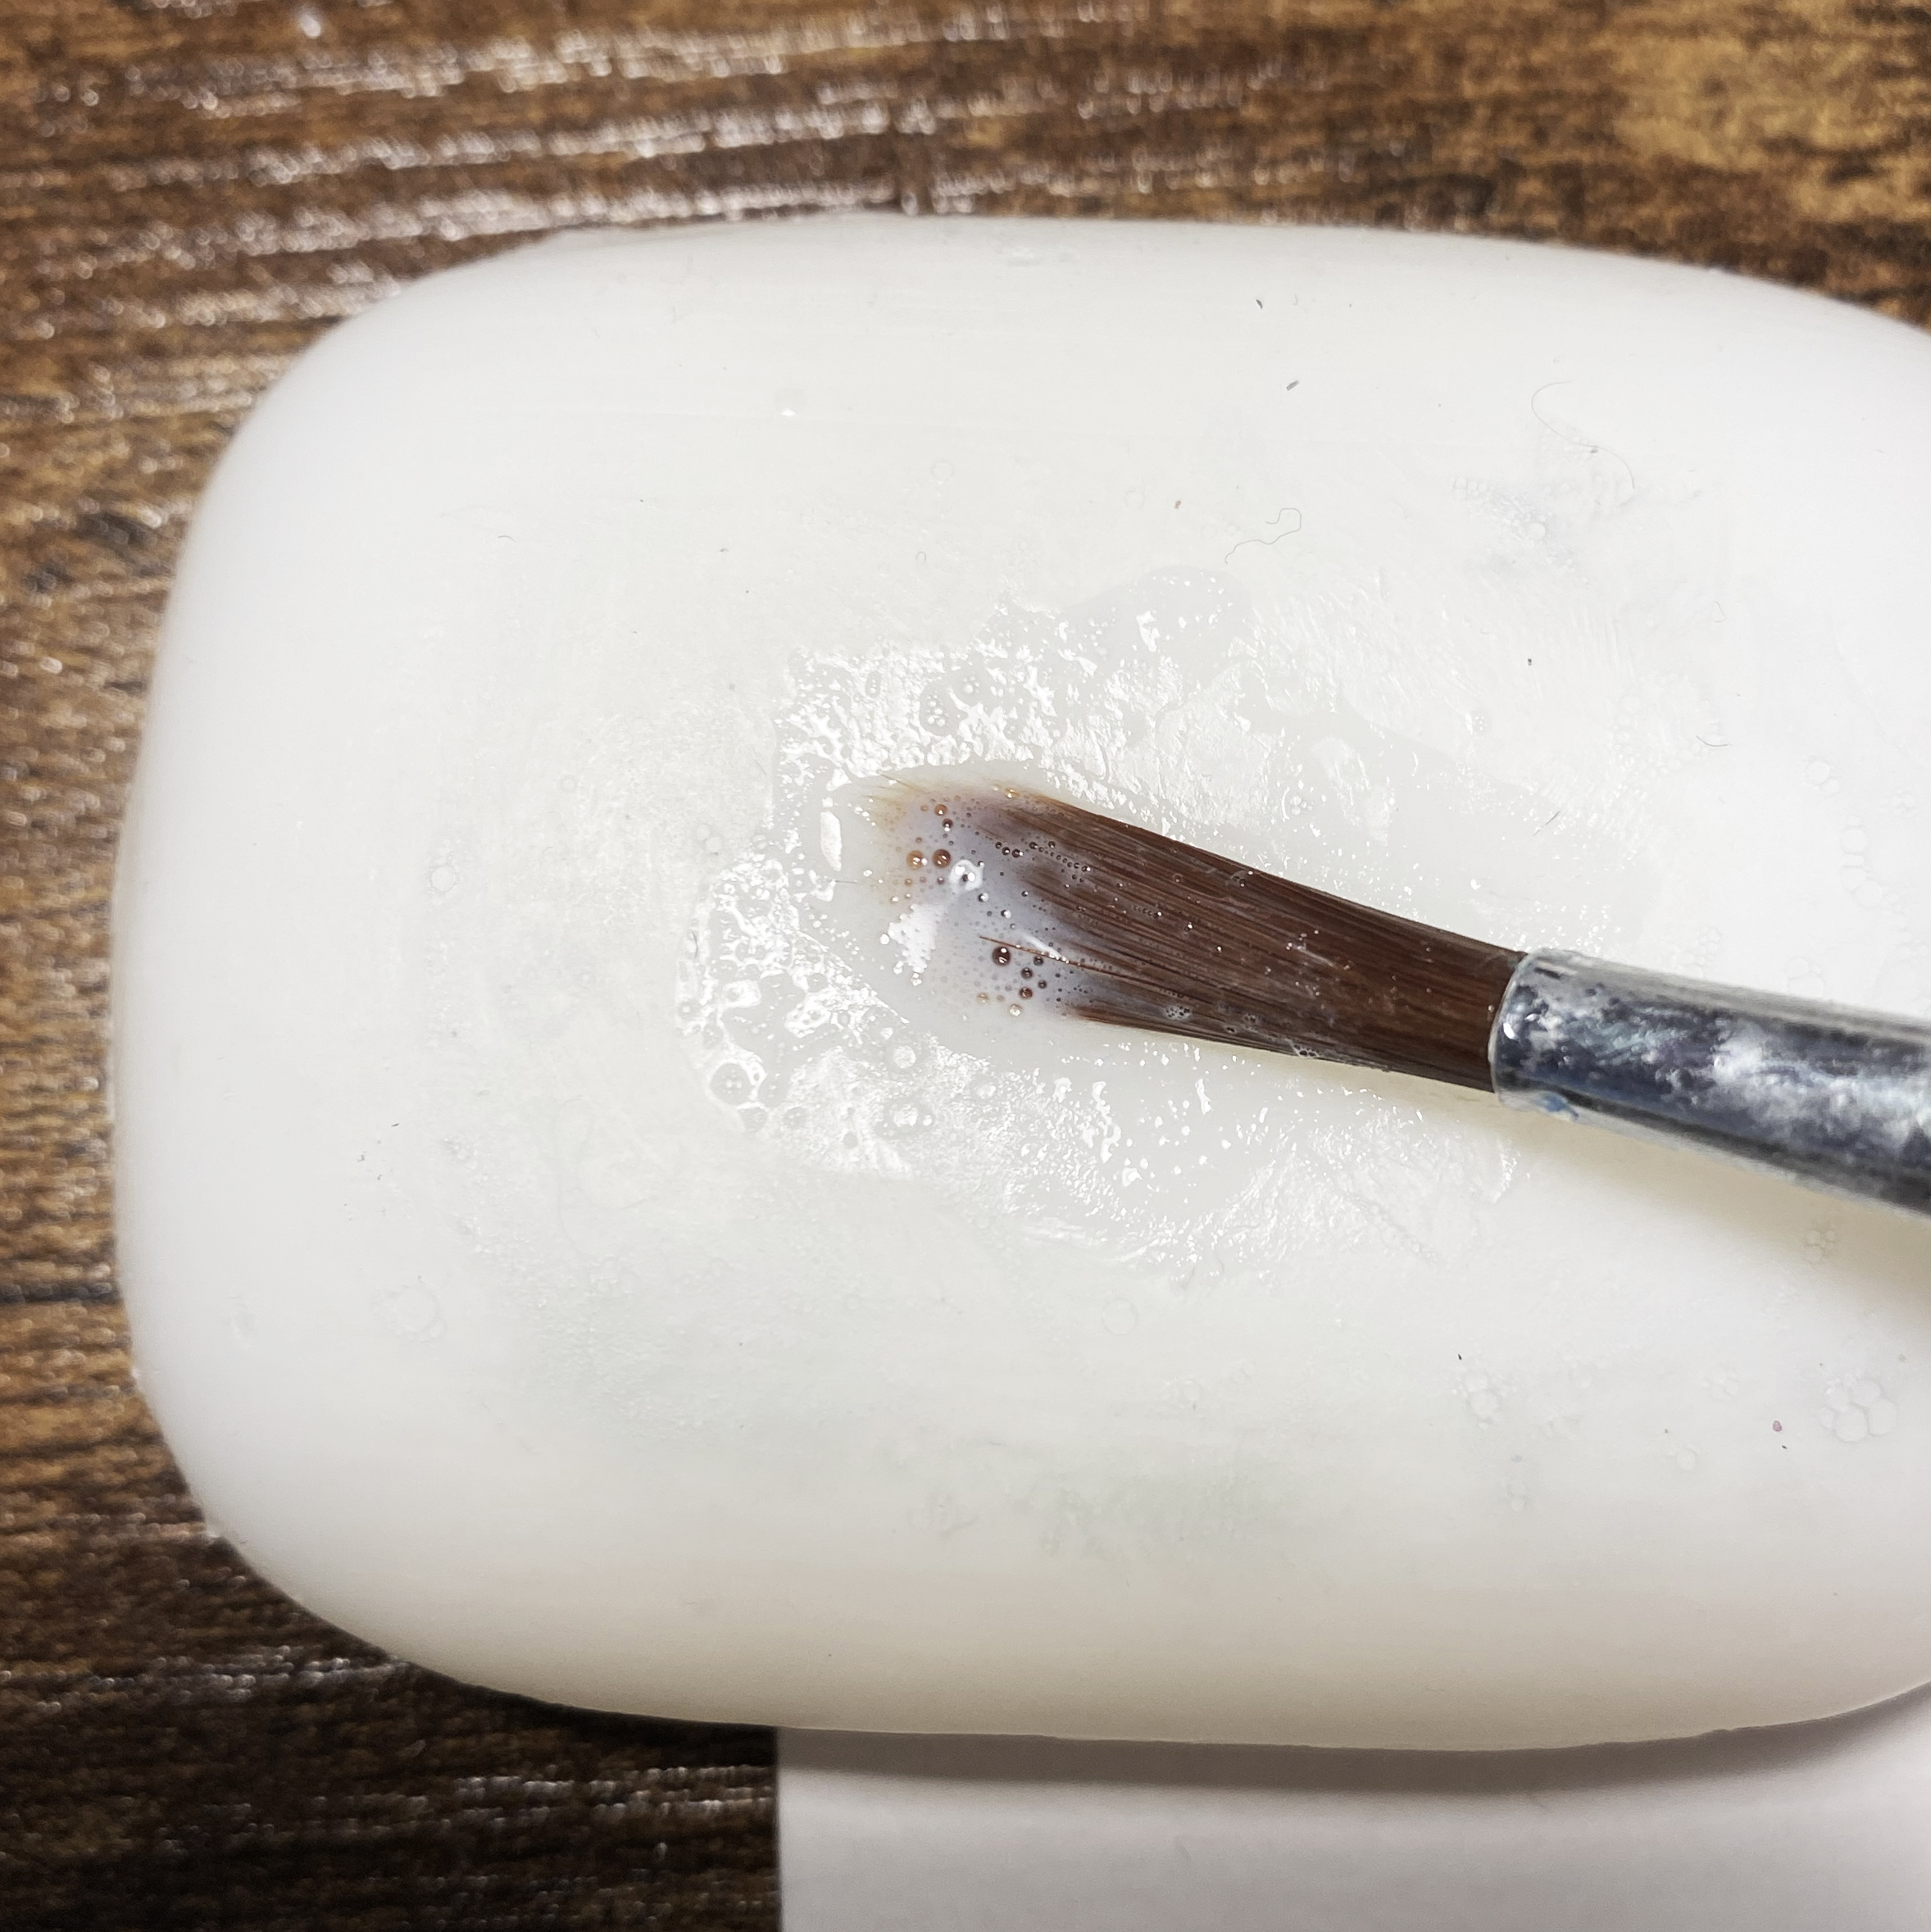
Step 1: Prepare the brush
Start by preparing the brush by soaping it up. This protects the bristles and prevents the masking fluid from sticking. I always keep a brush soap ready on the table. Dip the brush in water and gently lather it. Wipe off any excess on a piece of paper.
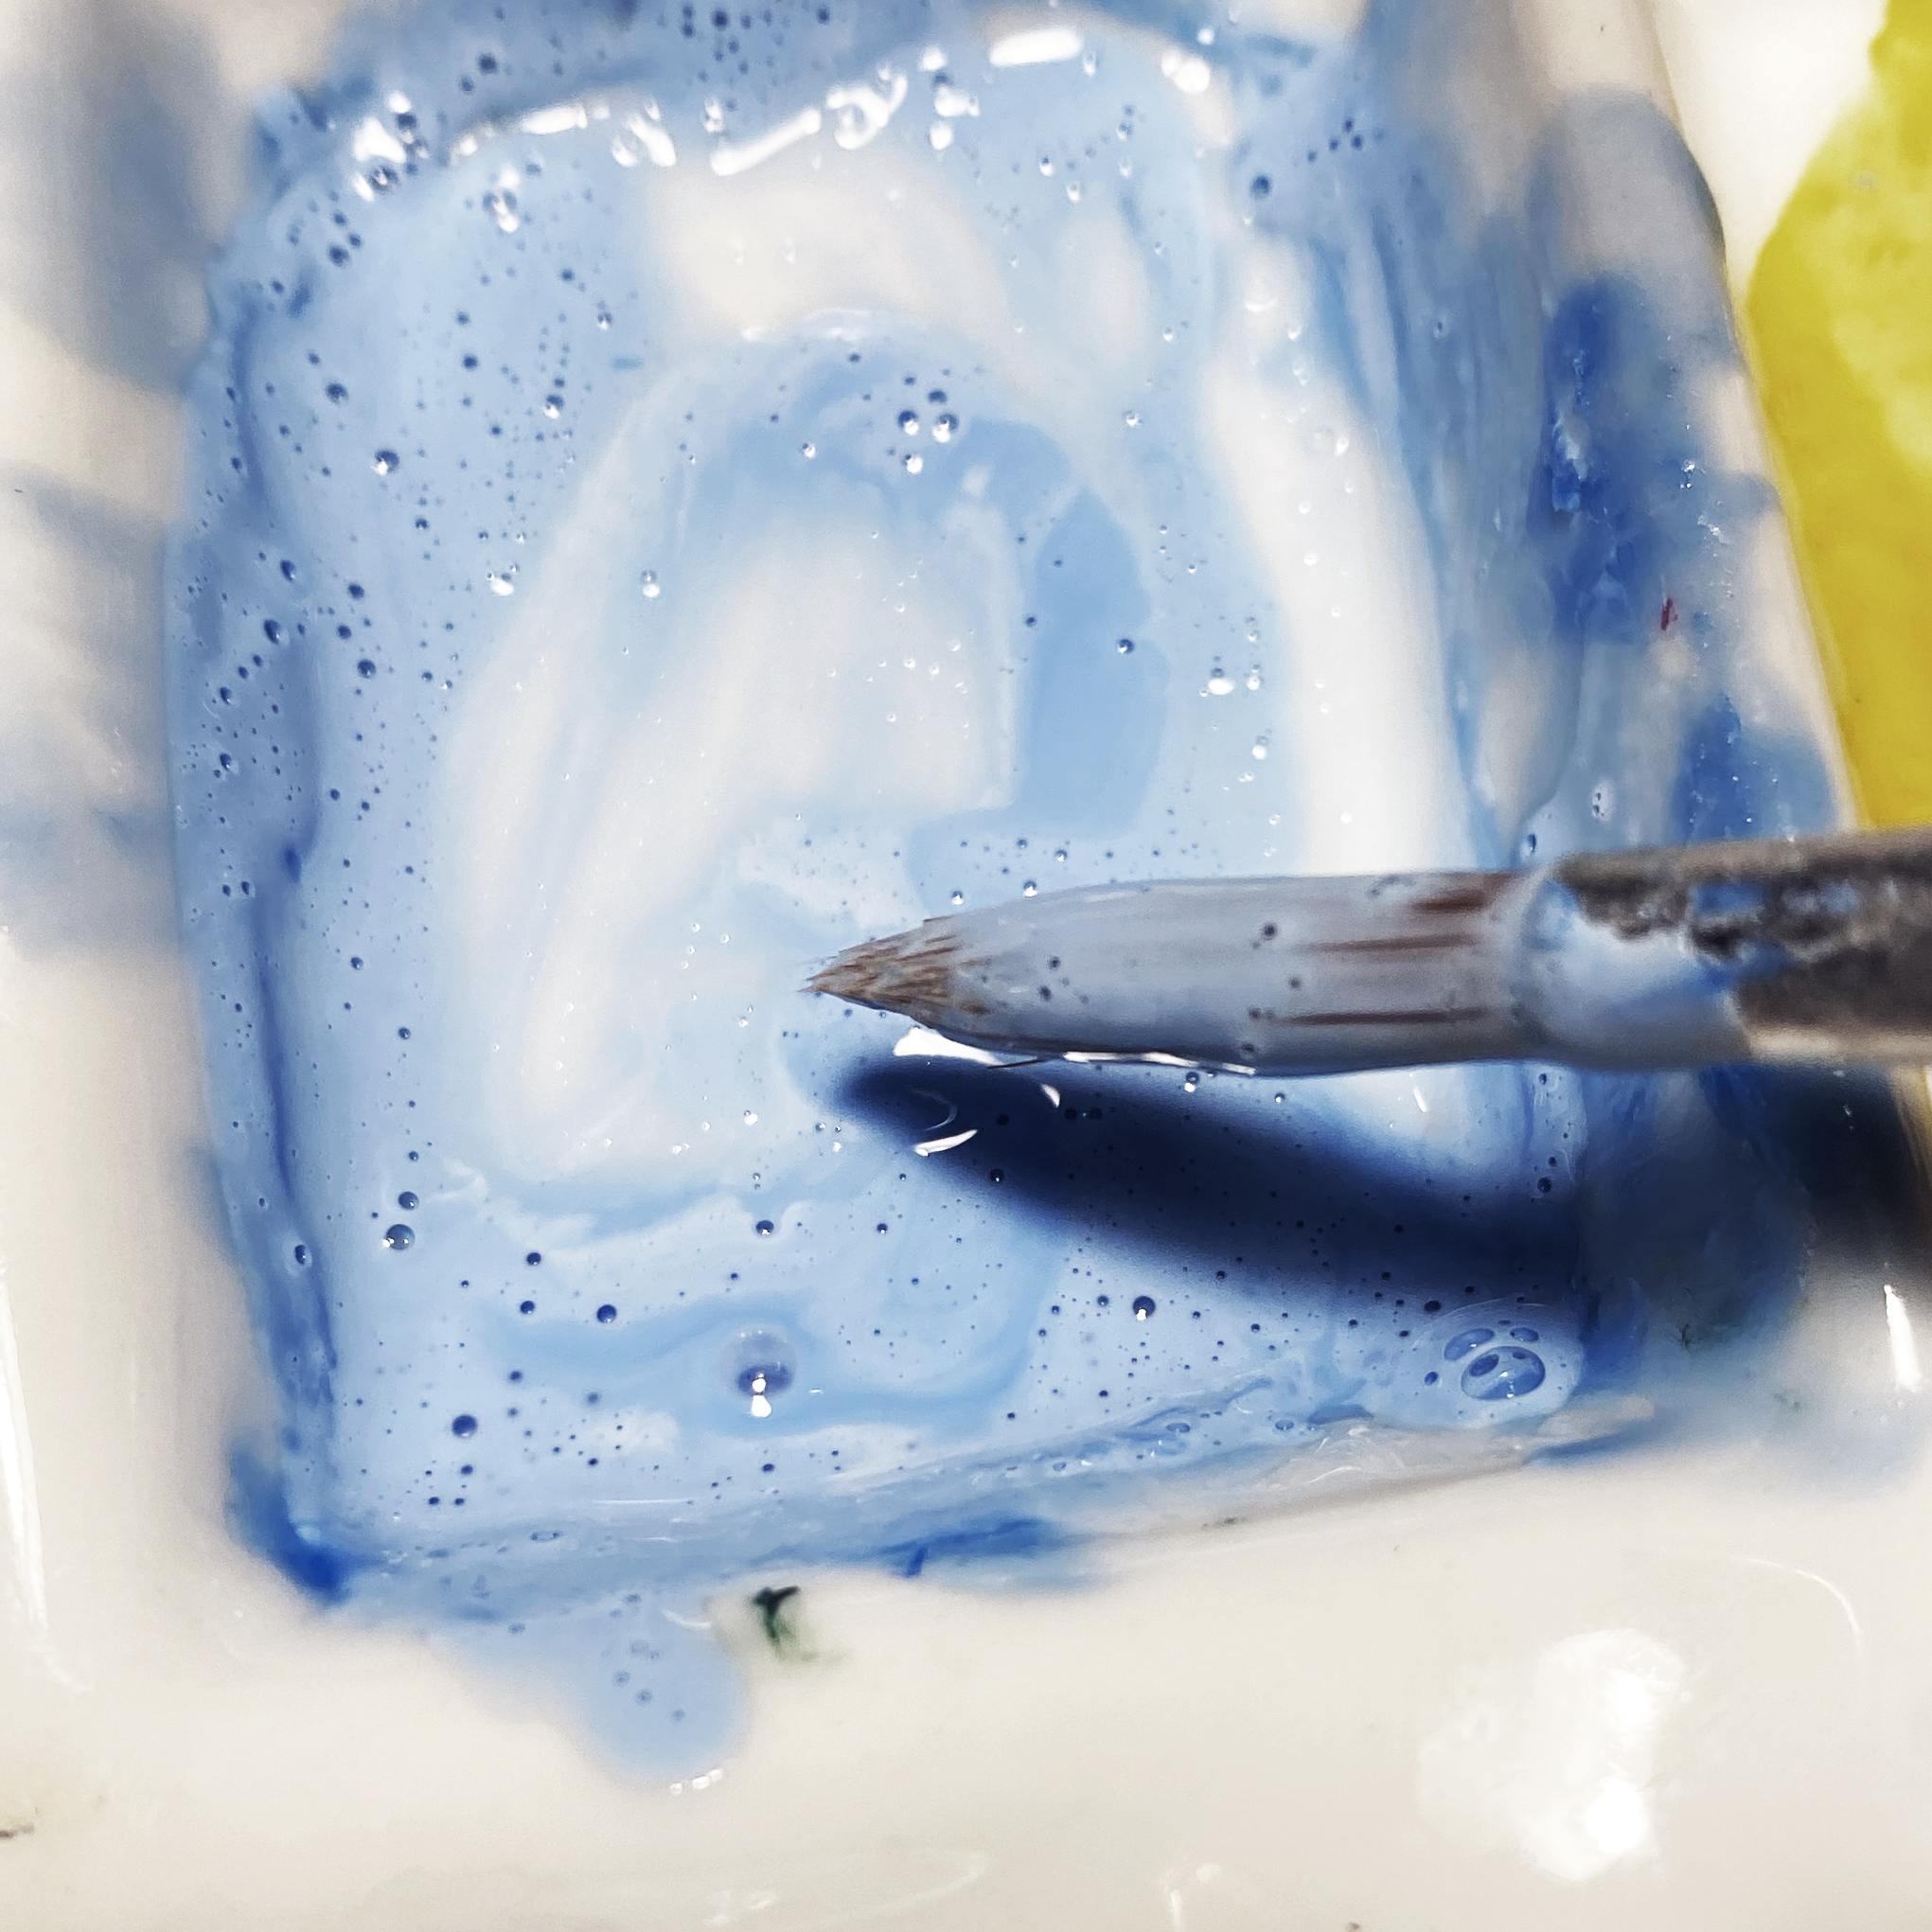
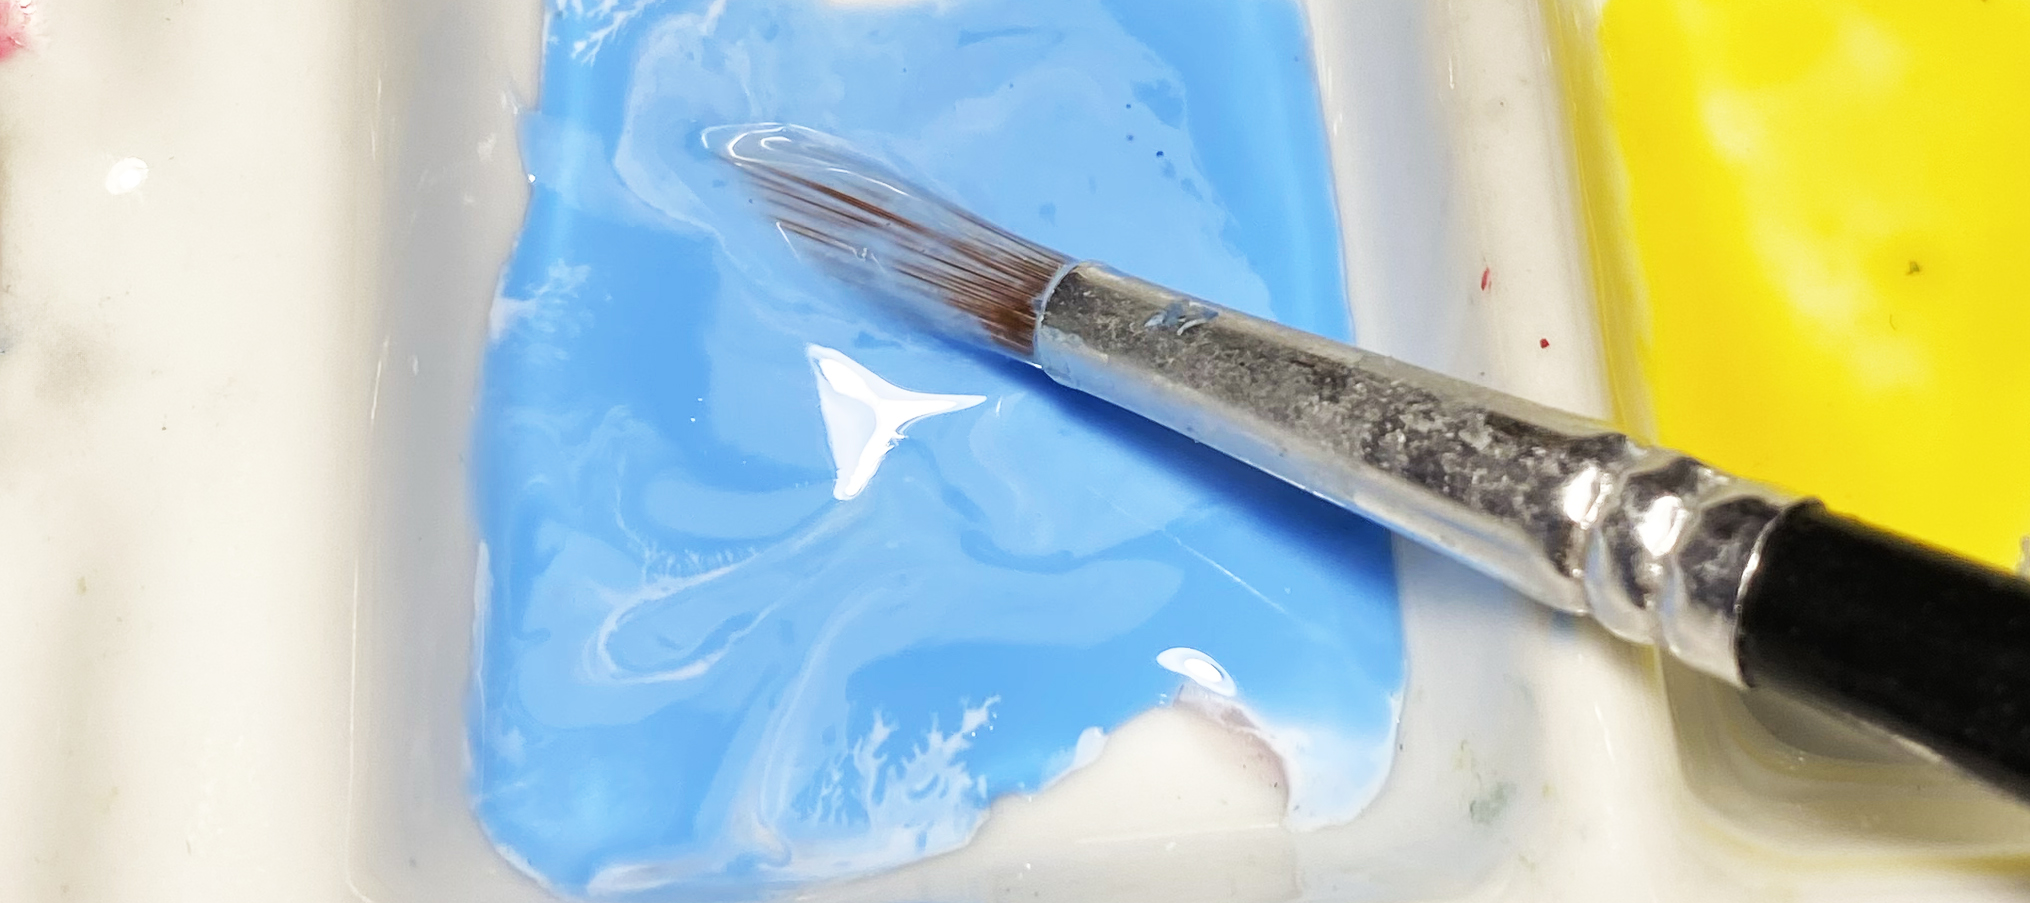
Step 2: Masking fluid
Pour the masking fluid into a palette cup and make sure the brush is fully loaded with fluid. Wipe off the excess against the edge. A useful tip is to dilute the masking fluid with water. This makes it easier to apply and helps the bottle last longer!

Step 3: Apply
Now it’s time to apply the fluid. In this case, I used the brush tip, the brush handle, and the nib of an old calligraphy pen to create grass-like shapes. Keep in mind that the thicker the layer of fluid, the longer it will take to dry.
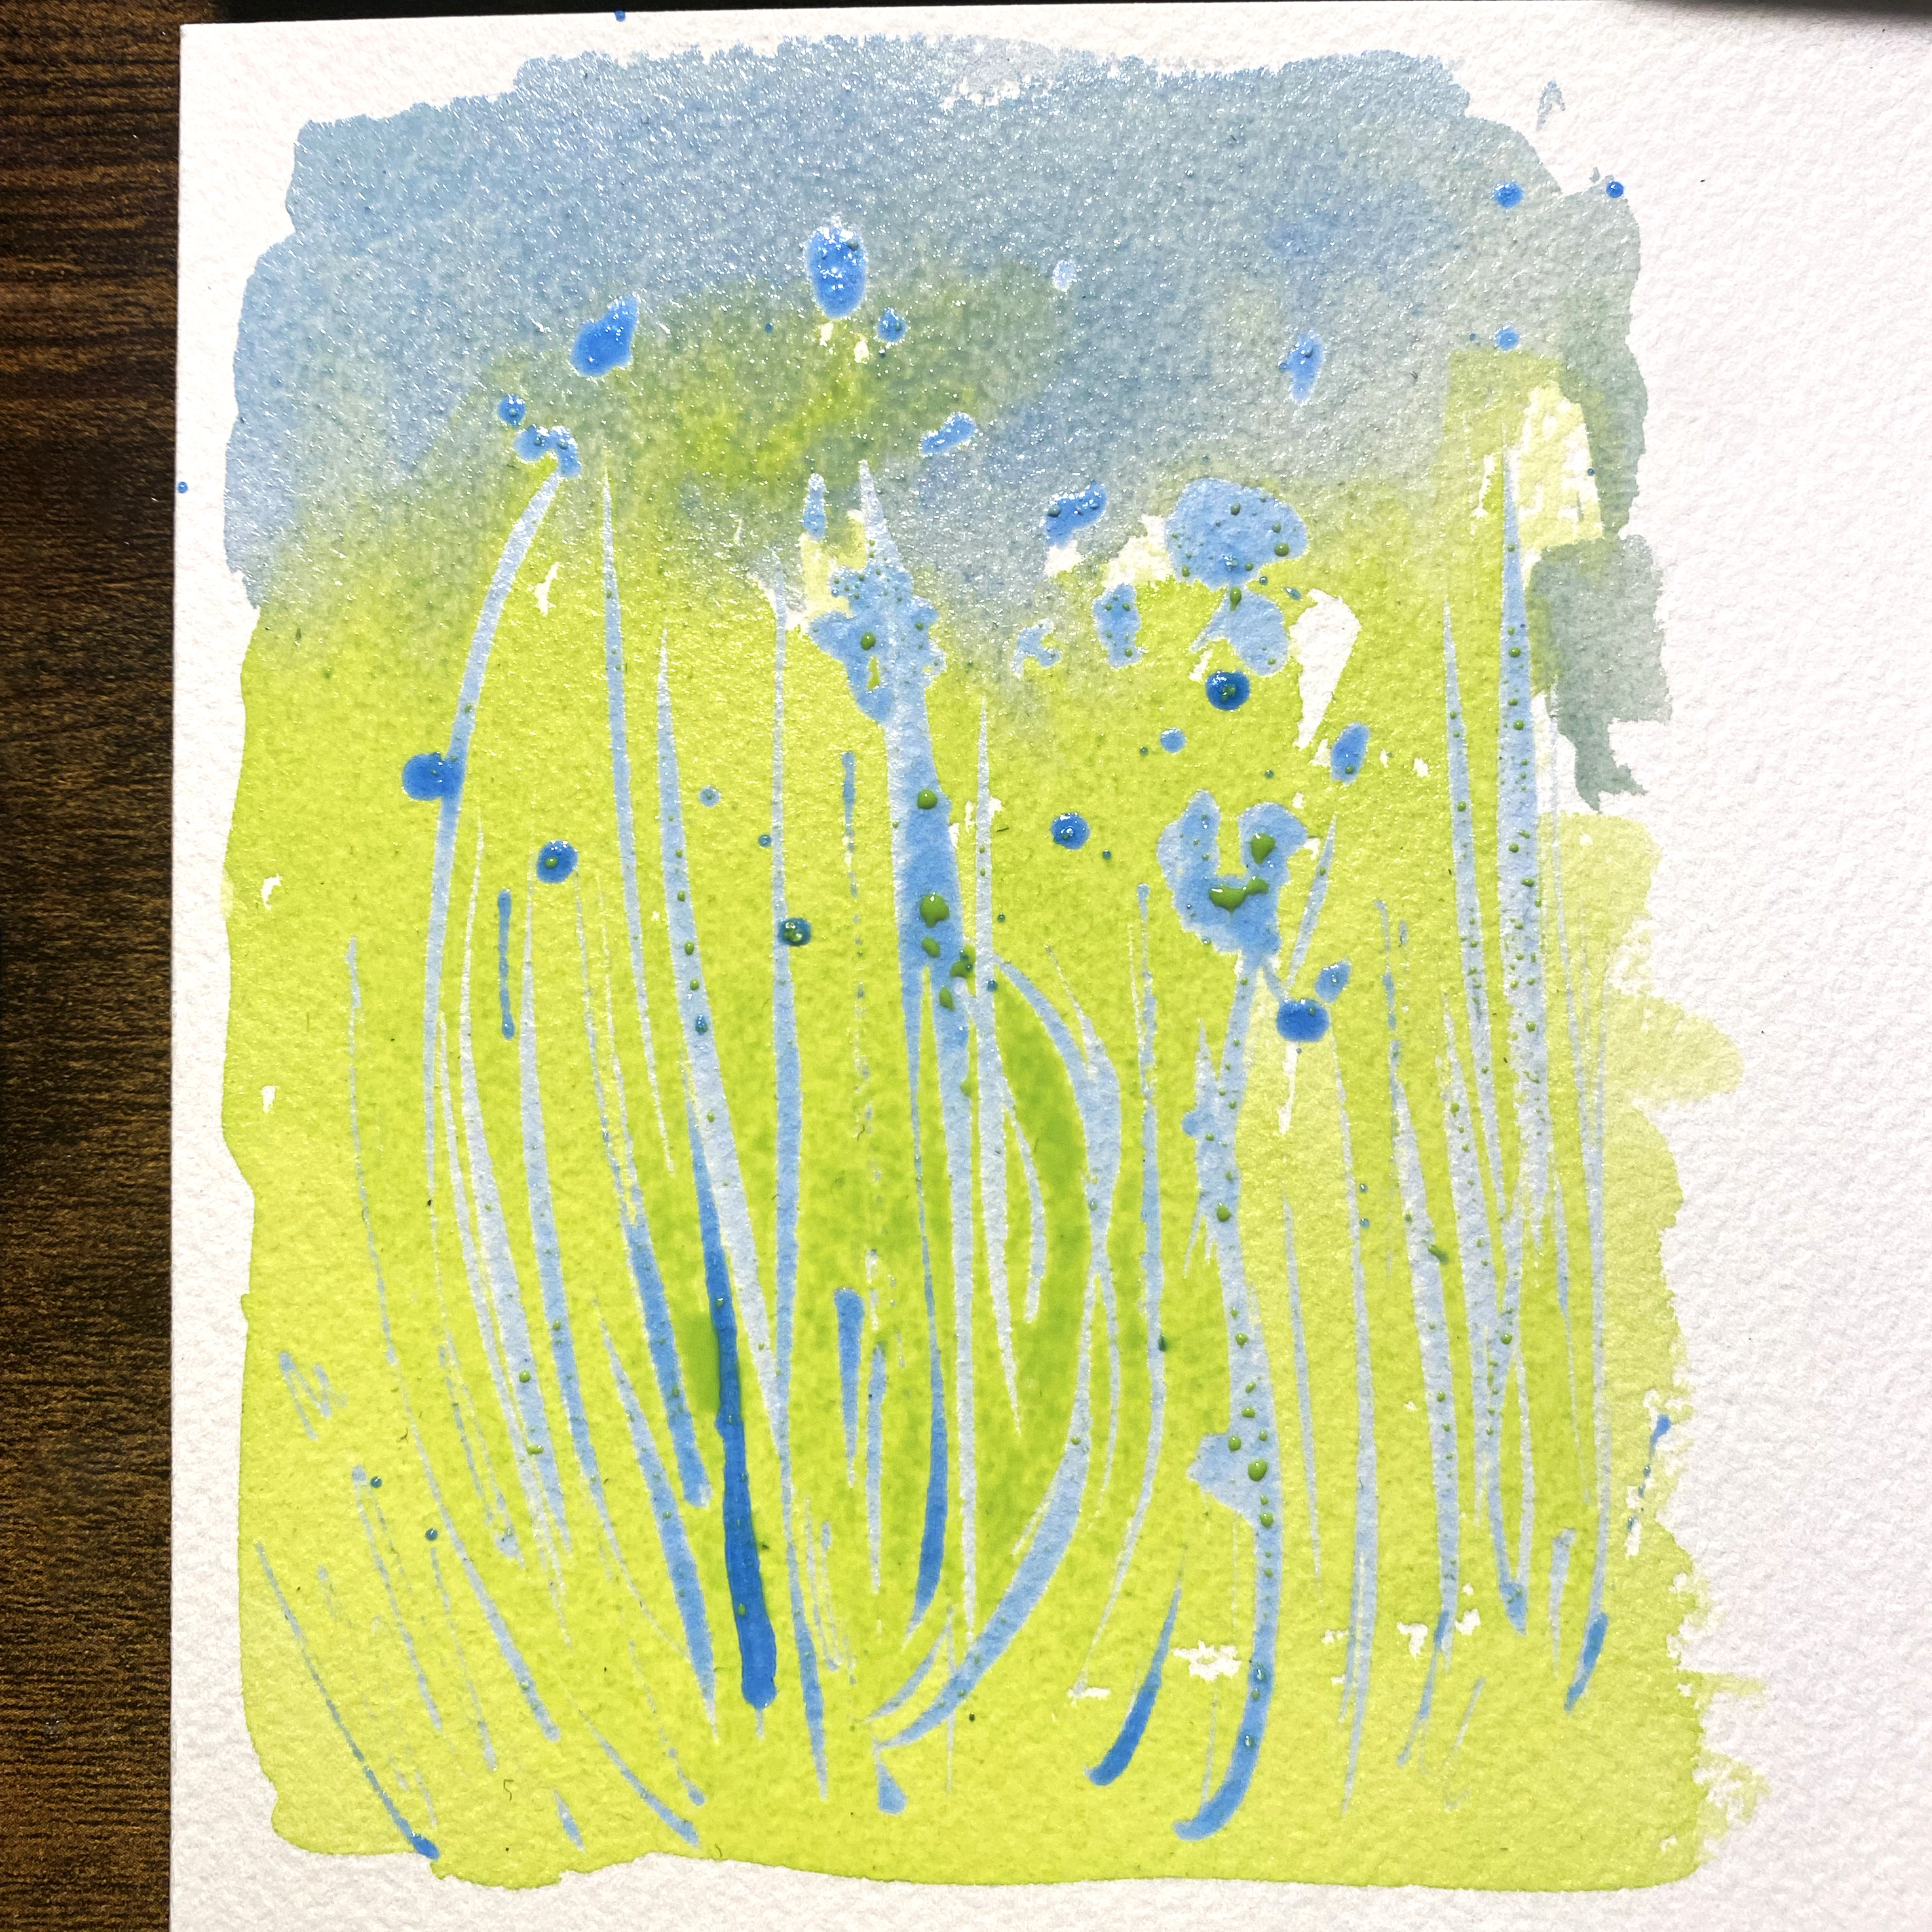
Step 4: First wash
Once the masking fluid has dried completely and you can touch it without it smudging, you can paint over it with a layer of watercolour. The masking fluid will have set into a rubber-like consistency that repels the paint and ensures the covered areas remain untouched.
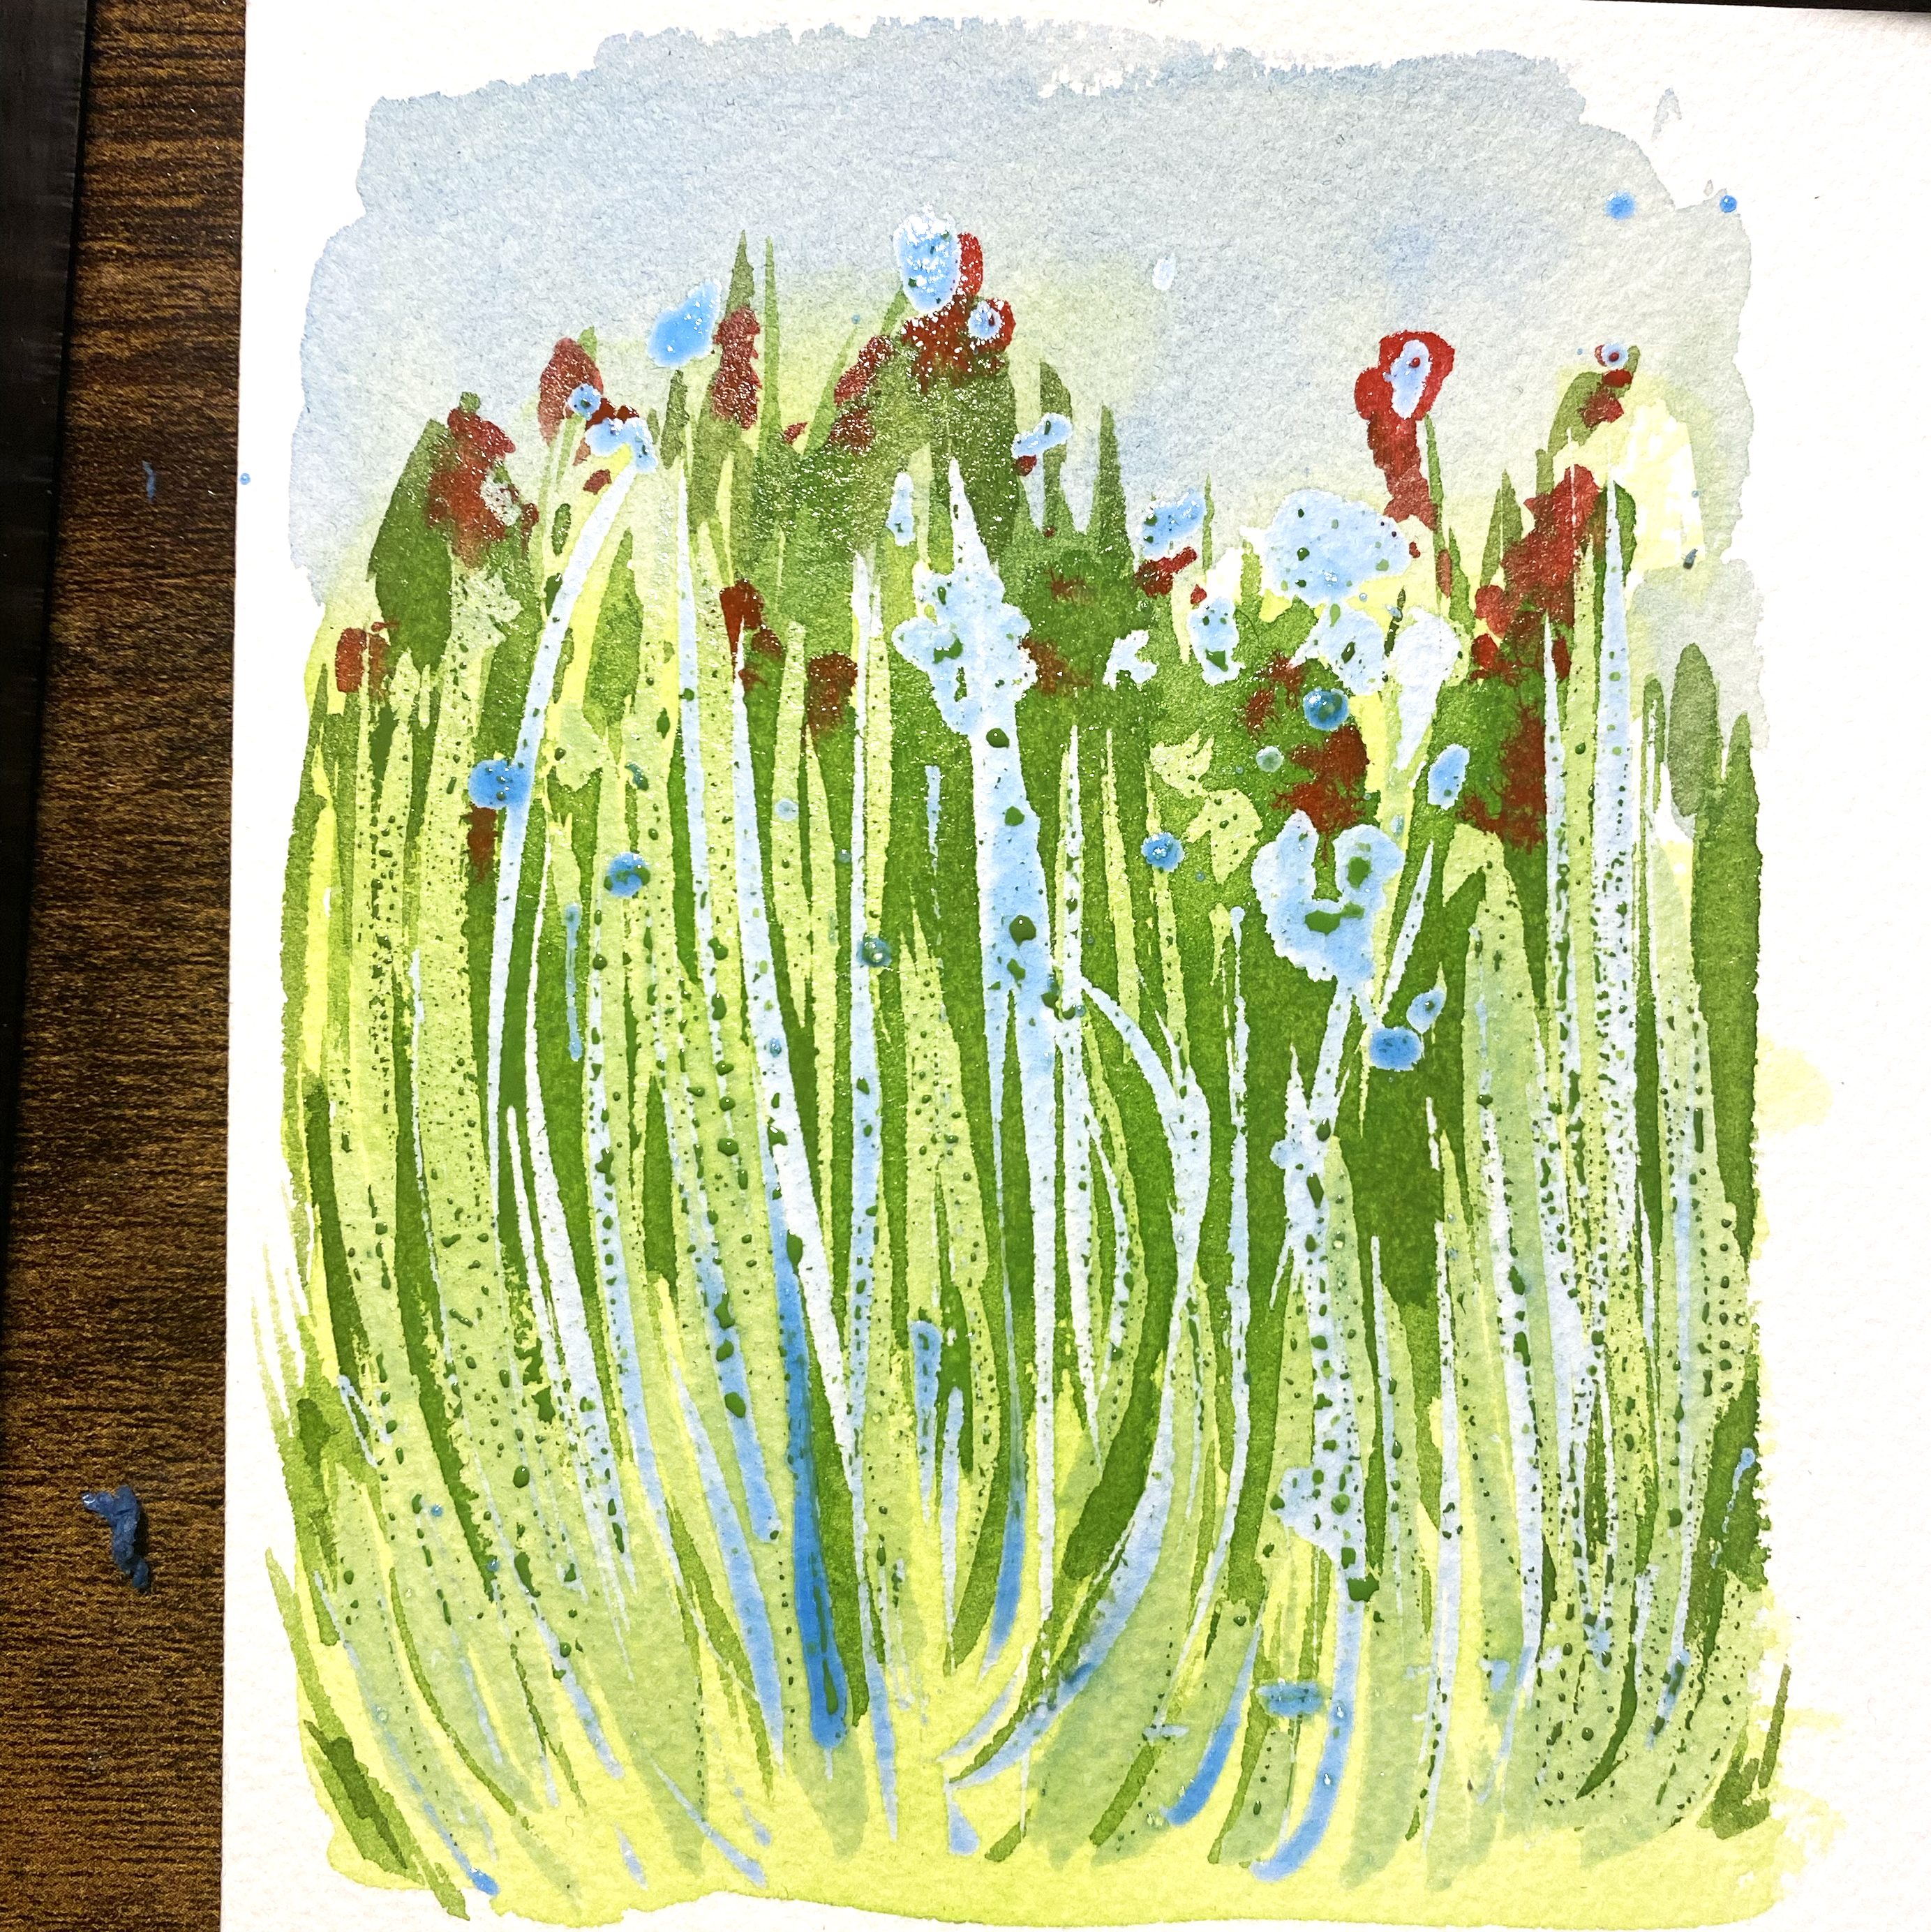
Step 5: Build up with more layers
To mimic the effect of a dense grass cluster, I chose to do two rounds of masking. After painting the first watercolour wash and letting it dry, I brushed on more blades of grass with masking fluid without removing the first layer. Then I painted another layer of green over it, but darker. This creates three levels of grass blades.

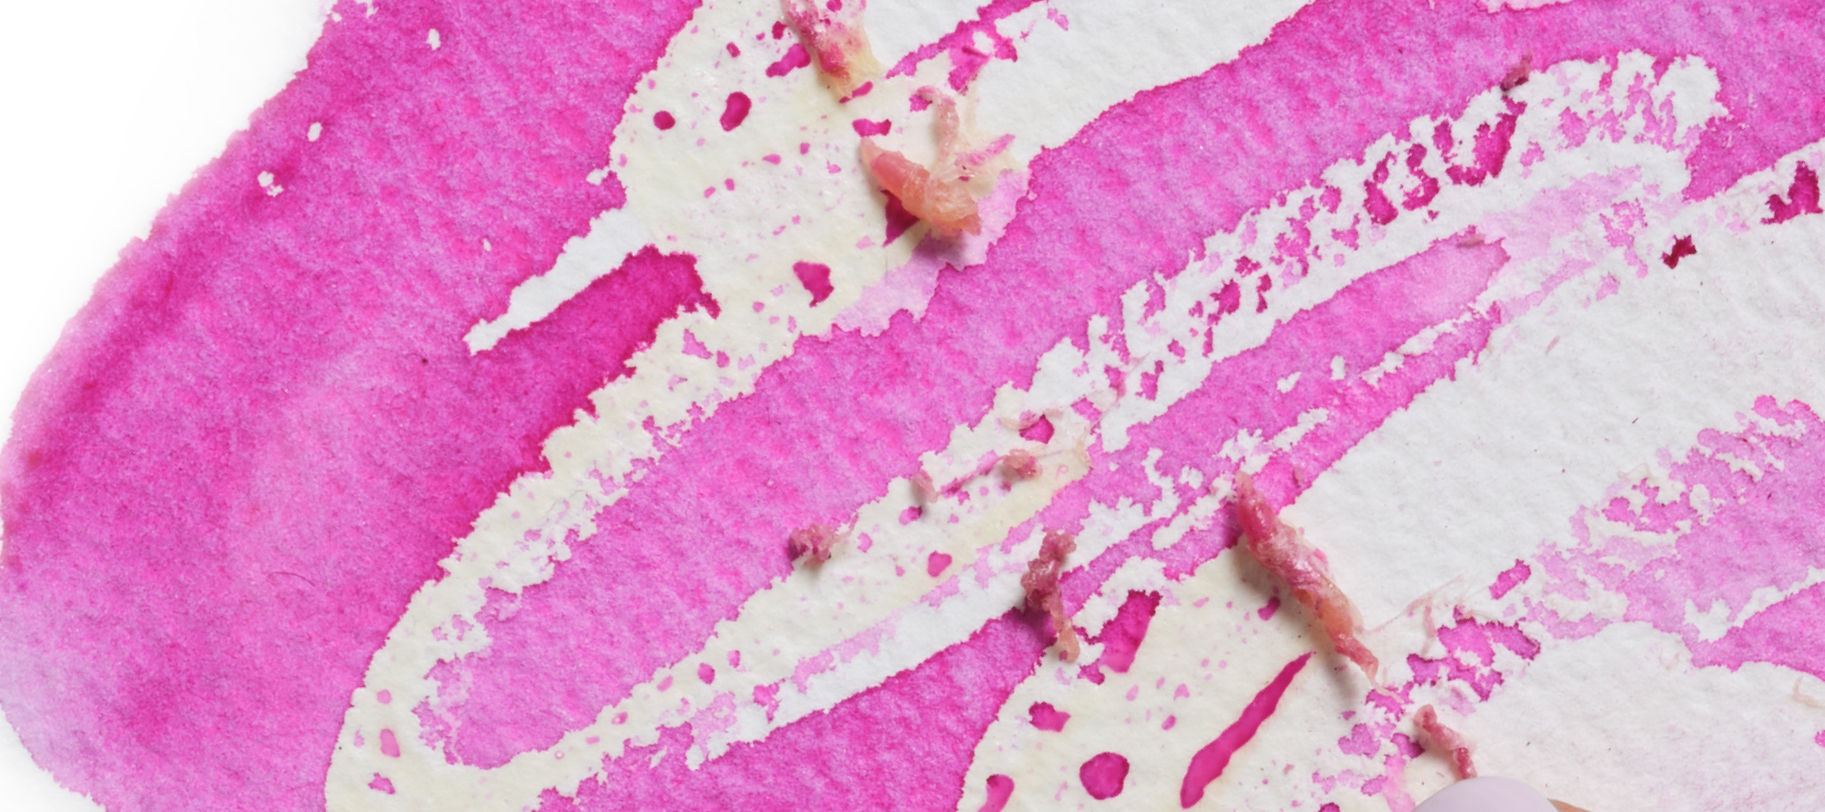
Step 6: Remove the masking fluid
Wait until the final layer of paint has dried completely before removing the masking fluid. I prefer to gently rub away the layer with an eraser. Once the fluid has been removed, you can paint in extra details, such as the red flowers in this case.

Frequently asked questions about masking fluid
How do you remove masking fluid once it has dried?
With your finger: Your finger works well, but be careful as the warmth and natural oils from your skin can cause the paint to smudge. If you rub too aggressively, pieces of the paper may come off. Start by wiping your finger on a clean piece of paper, then gently roll off the masking fluid with a light touch. Do not pull it off in one go, as the paper may tear.
Eraser: Use a regular eraser you have at home, preferably a harder one.
What is the drying time for masking fluid?
The thinner and more even the layer, the faster it dries. In general, masking fluid dries quickly, within about 20 minutes. Do not try to speed up the process with a hairdryer, as the heat can cause the fluid to soak into the paper and stick. You know it is dry enough when it feels tacky but does not stick to your finger.
How long can you leave masking fluid on the paper?
The longer you wait, the harder it will be to remove without damaging the paper. There is no set time frame, as it depends on the fluid and the paper you use. To be on the safe side, avoid leaving it on for more than a day.

Masking Fluid →
Brushes →
Watercolor Paint →