International (EUR)
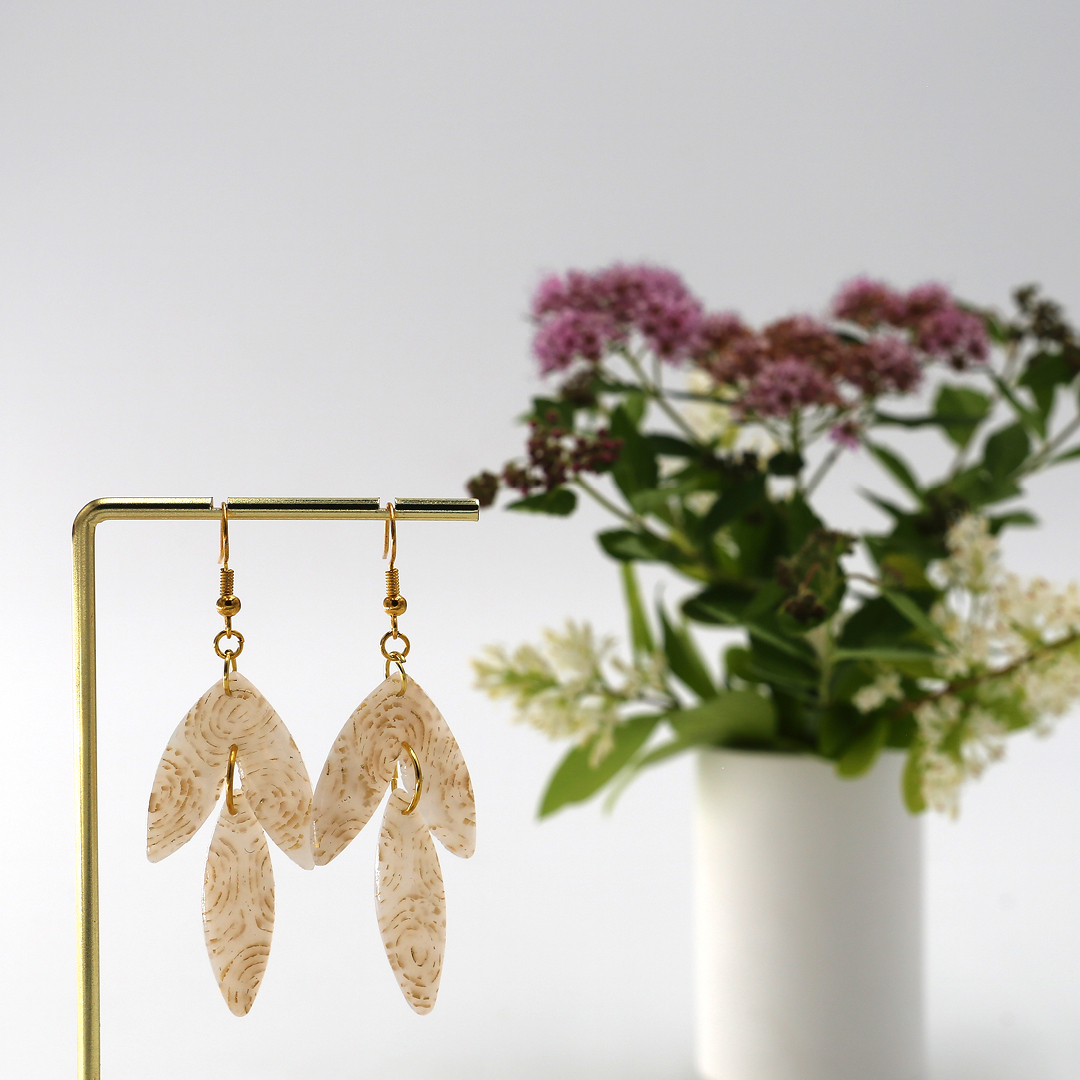
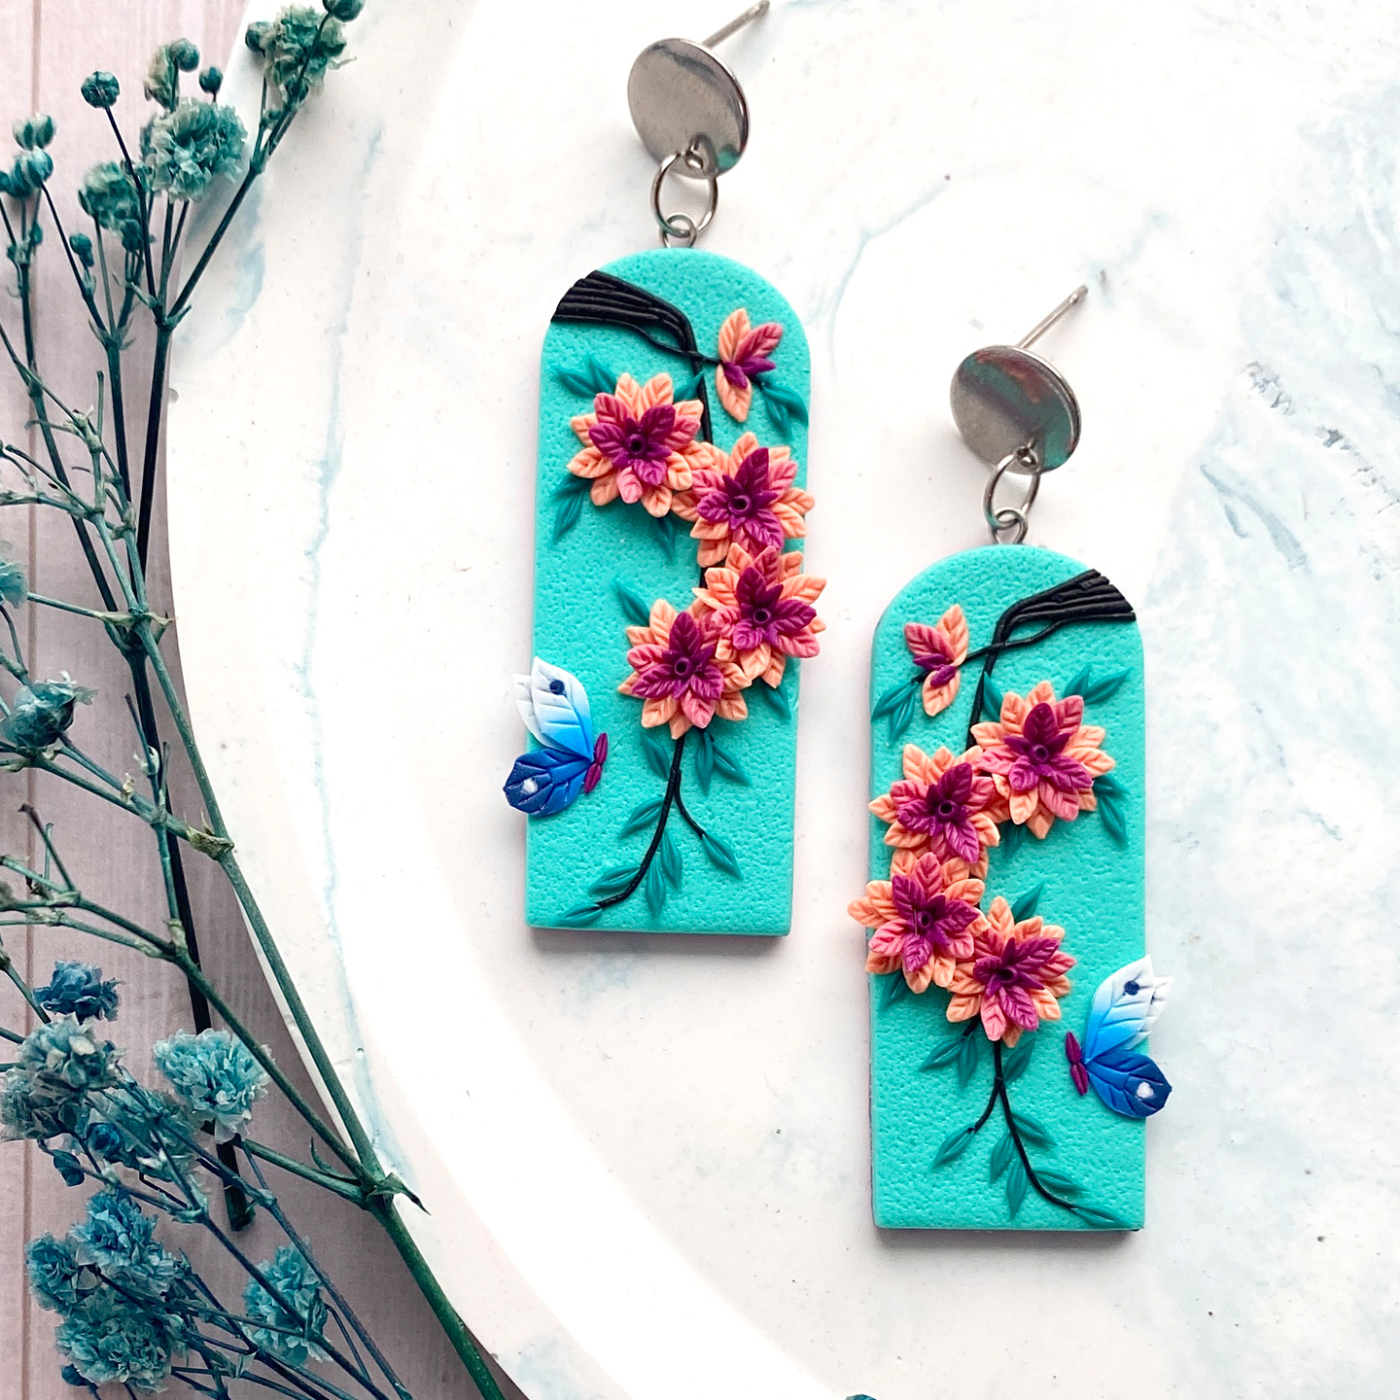
Oven-bake polymer clay is a fantastic material: easy to shape, durable and perfect for creating everything from jewellery to decorations and small figures. The creative process can be summed up in three steps: start by conditioning and shaping the clay, then use simple tools for details, and finally cure it in a regular oven at about 110 to 130 °C. This guide takes you through the entire process and equips you with knowledge and tips every aspiring clay artist should know.
Beginner? If you want to learn more about what polymer clay and oven-bake clay actually are, you can first read our guide: All about polymer clay
Which polymer clay should I choose?
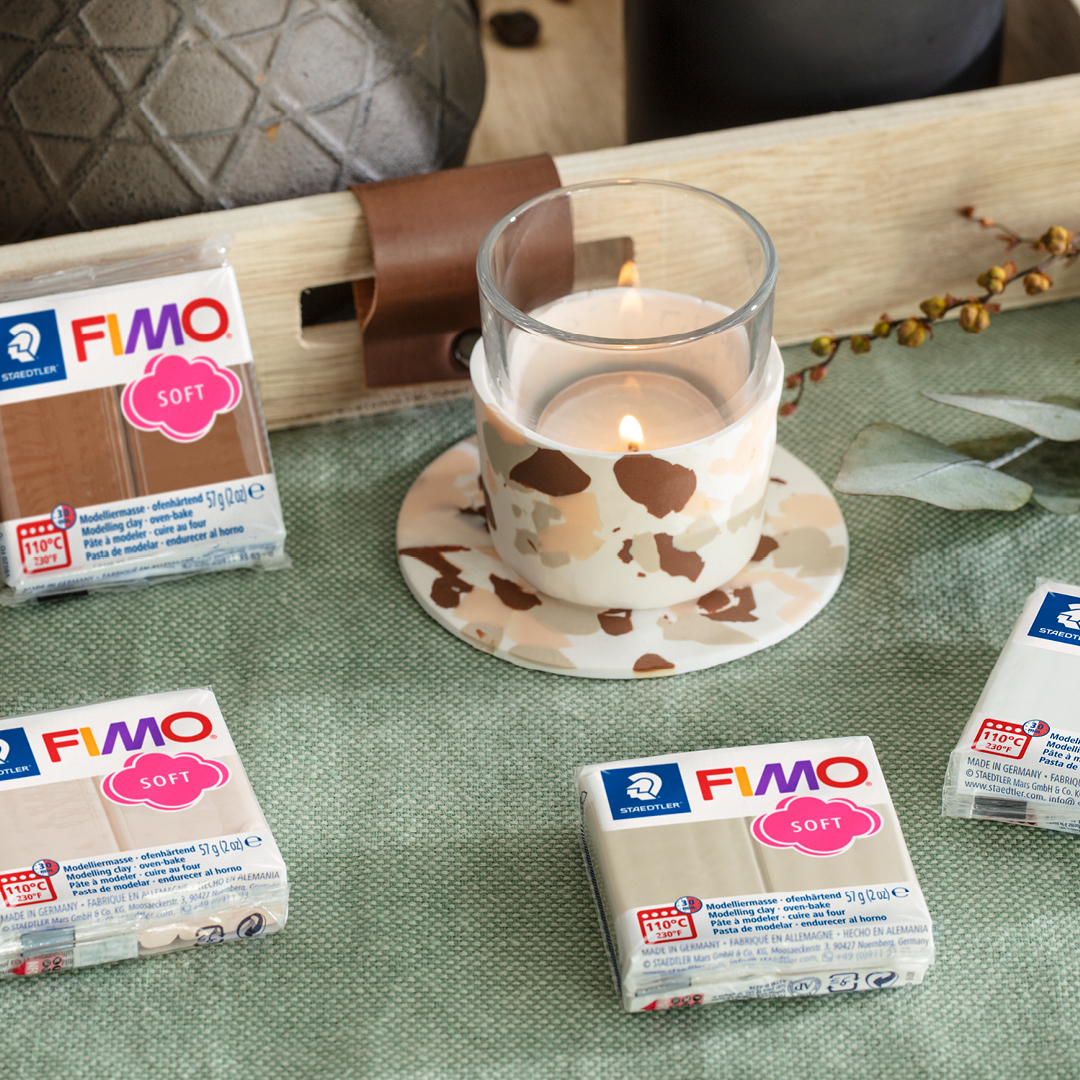
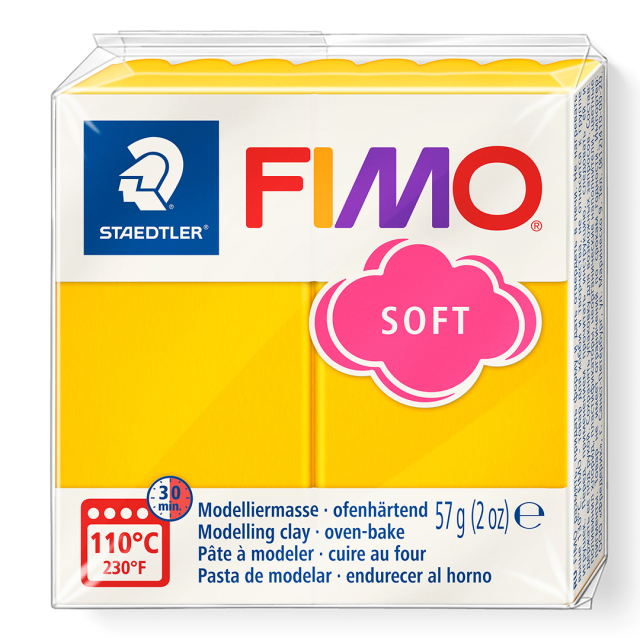
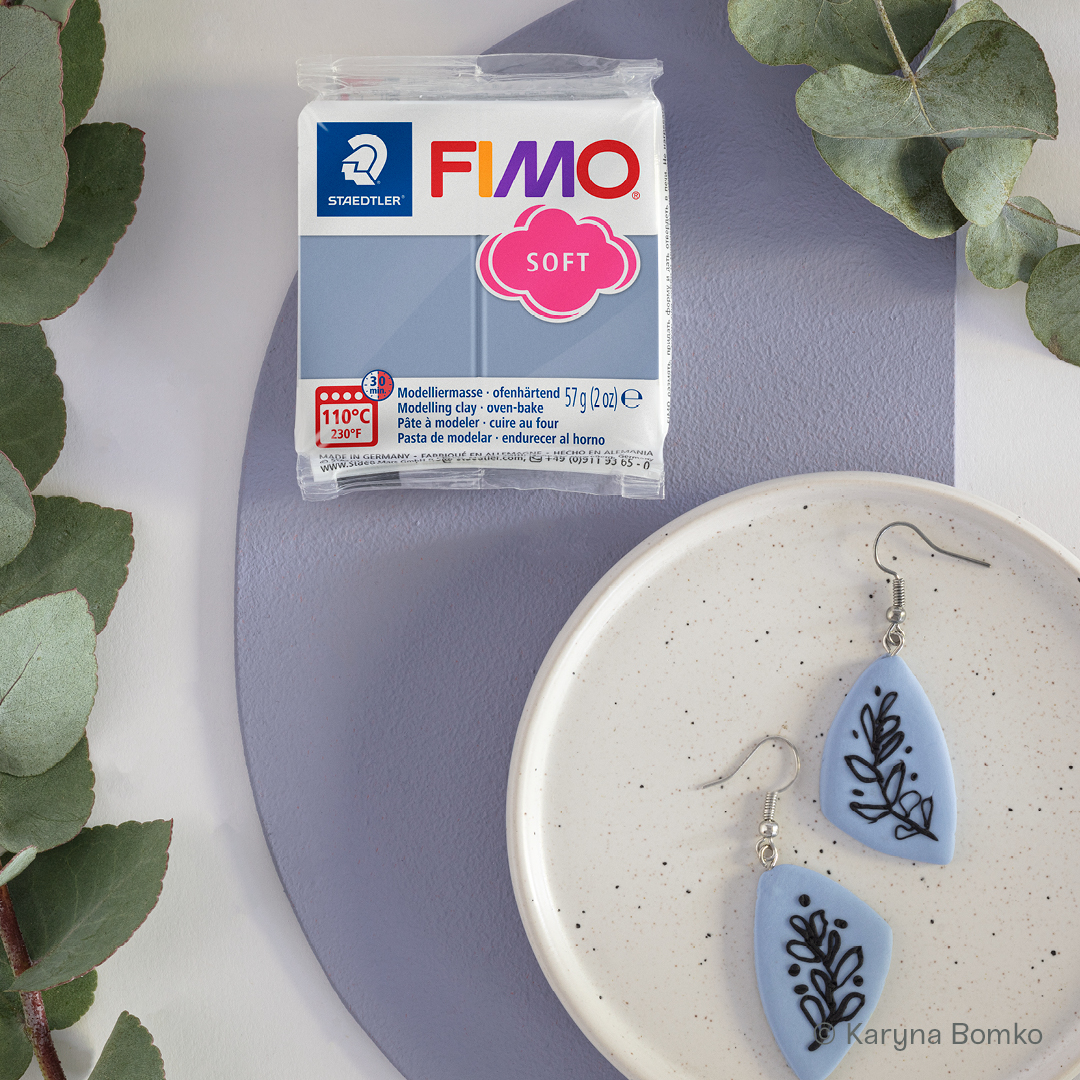
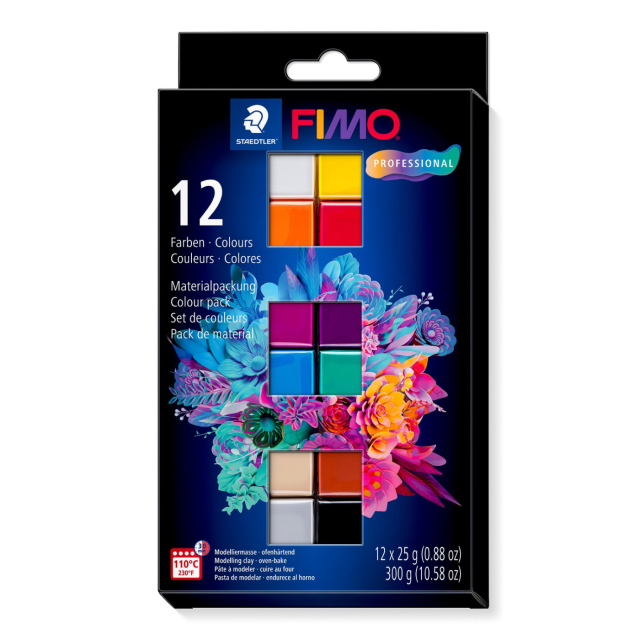
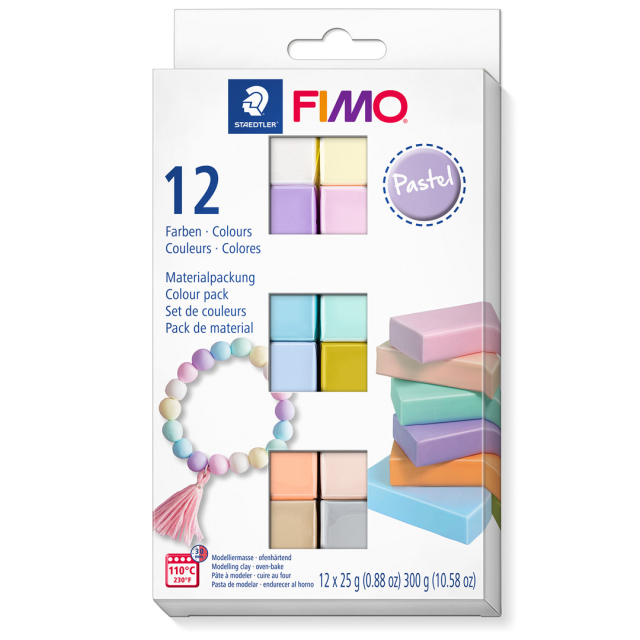
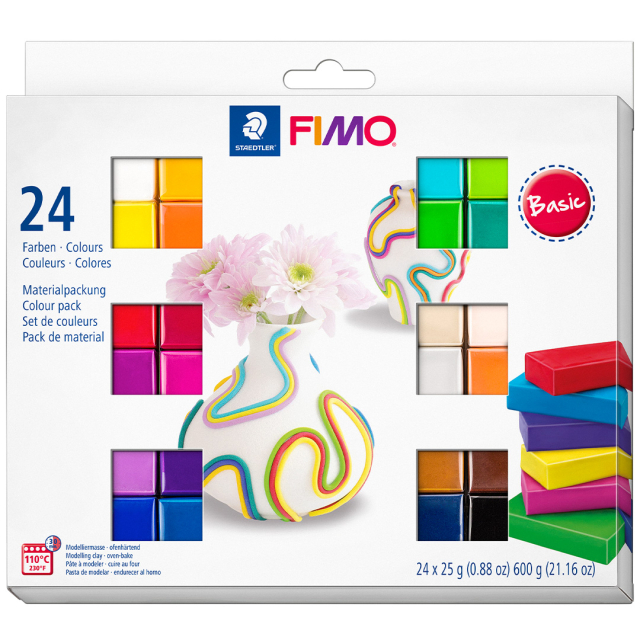
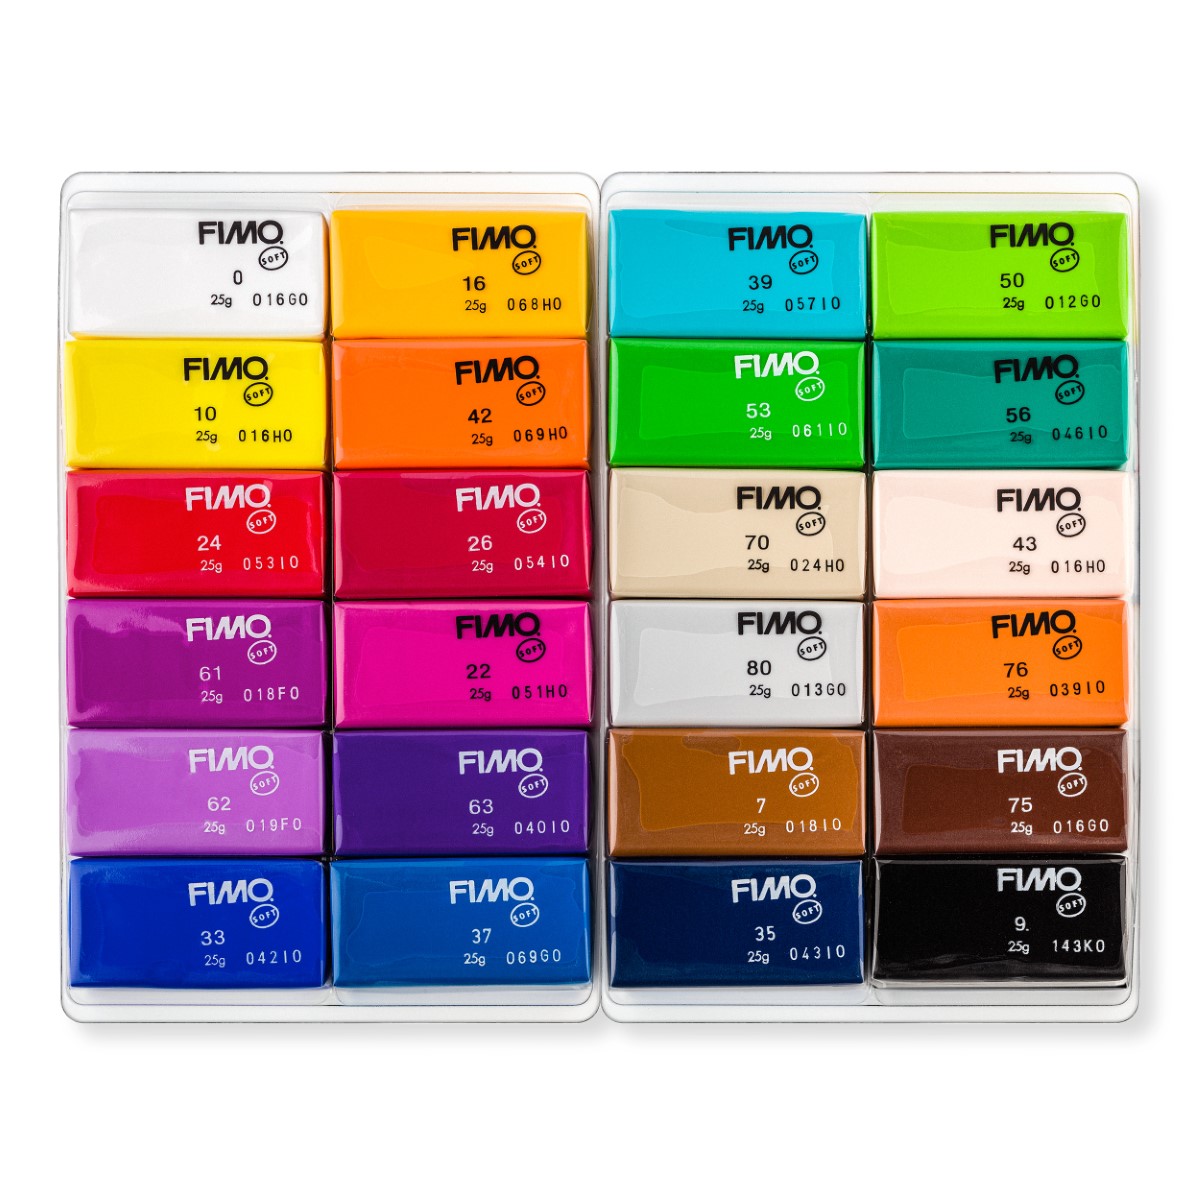
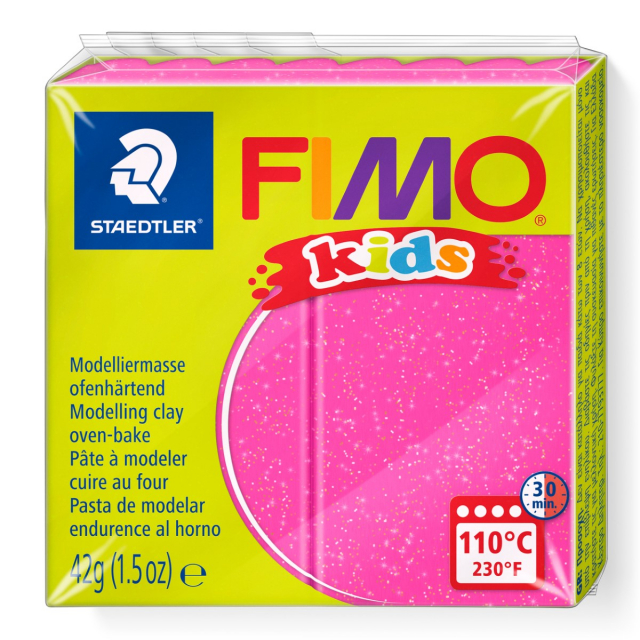
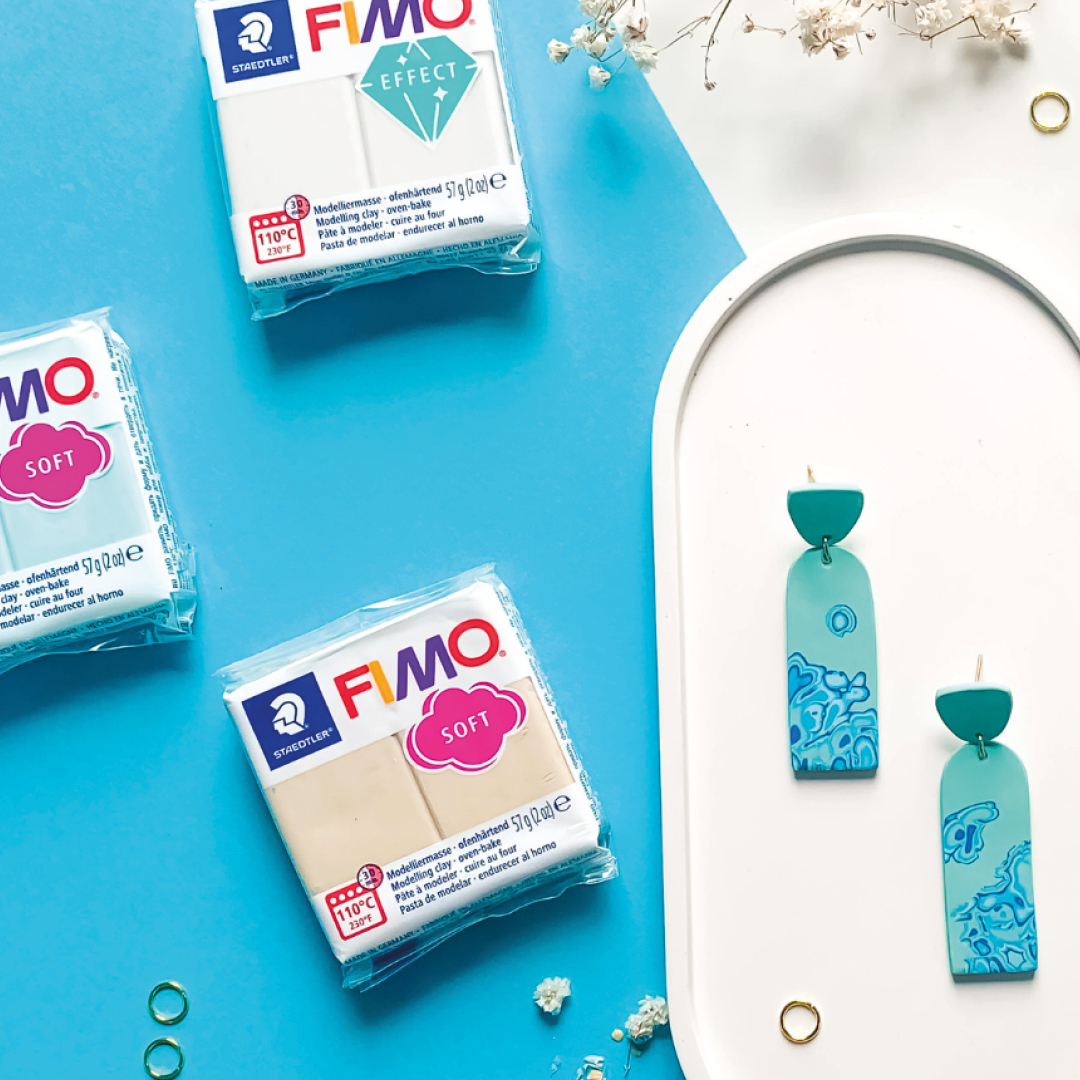
In our range you will find polymer clay from several different brands, with options both for beginners and for more advanced techniques. You can choose between complete sets or individual blocks, which is convenient if you already know which colours you use the most. Polymer clay always has the same basic composition, regardless of the brand. However, there may be differences in consistency, workability and curing time between for example FIMO, DAS Smart and Cernit. Some clays may feel softer, others firmer, and this can affect how they behave in different processes.
Despite these variations, in many cases it is possible to combine clays from different brands in the same project. The important thing is to be careful during curing, start with a lower temperature and adjust upwards if needed so that the material does not burn or crack. There are also several special types of polymer clay, such as extra soft varieties and clays with transparent, shimmering or metallic effects. In our buying guide we have gathered all the FIMO ranges to help you find the right clay for your project, and with FIMO as the leading brand in polymer clay you always have a strong starting point.

Tools and materials you need
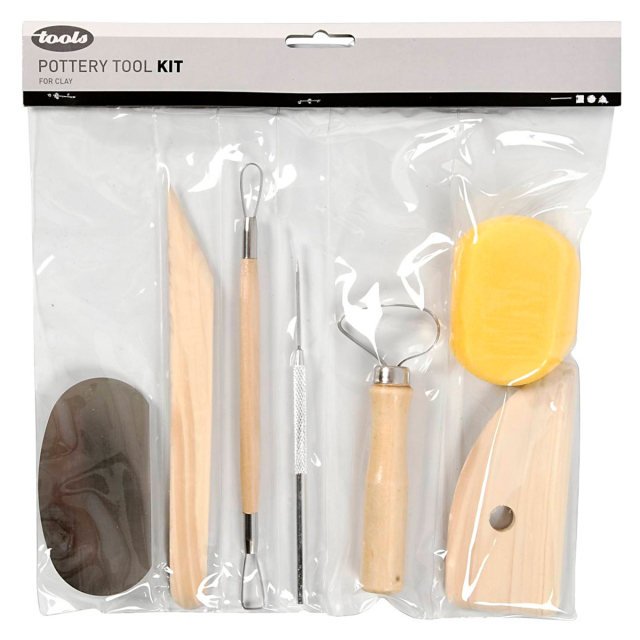
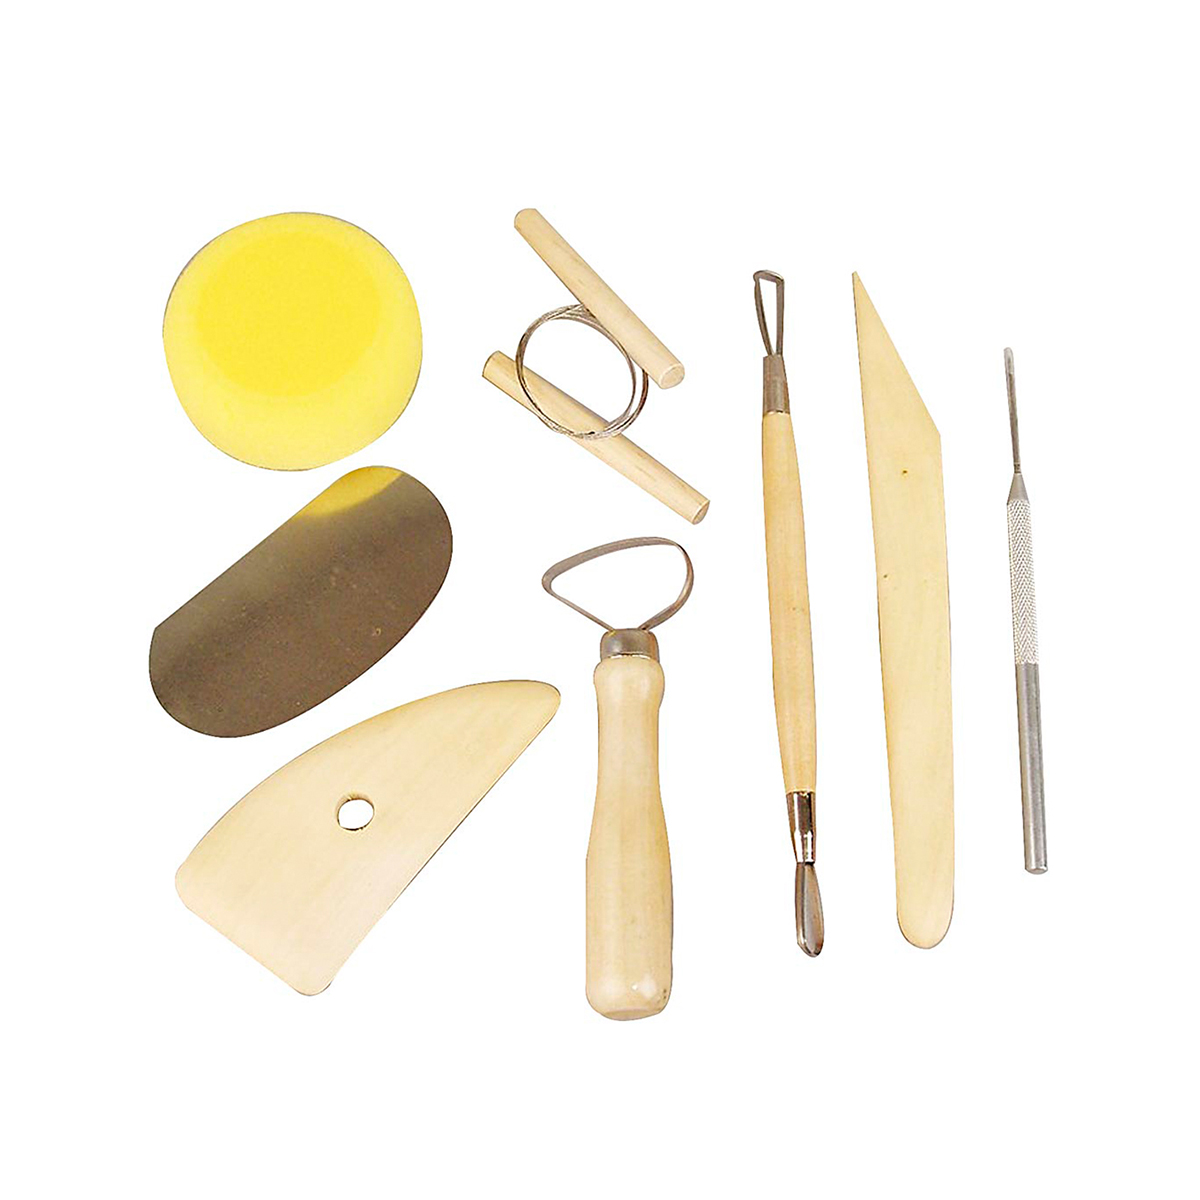
To get started with polymer clay you do not need a large set of tools, but a few basic ones will allow you to create shapes and textures that your hands alone cannot achieve. Here is an overview of the most important tools for beginners:
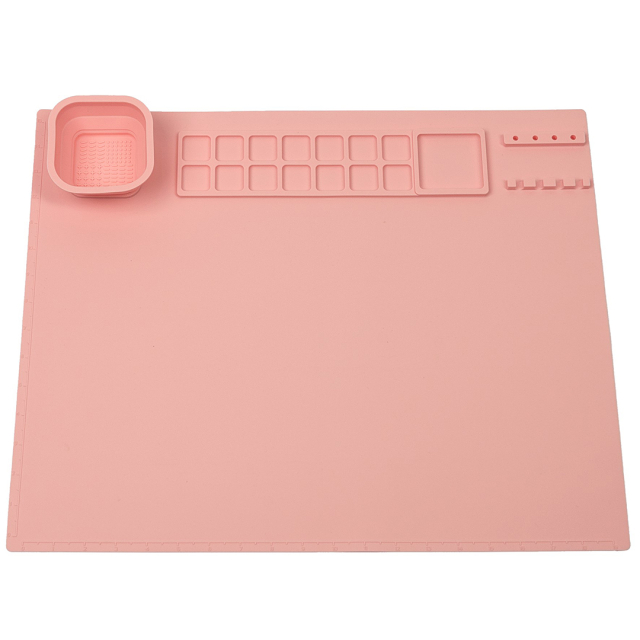
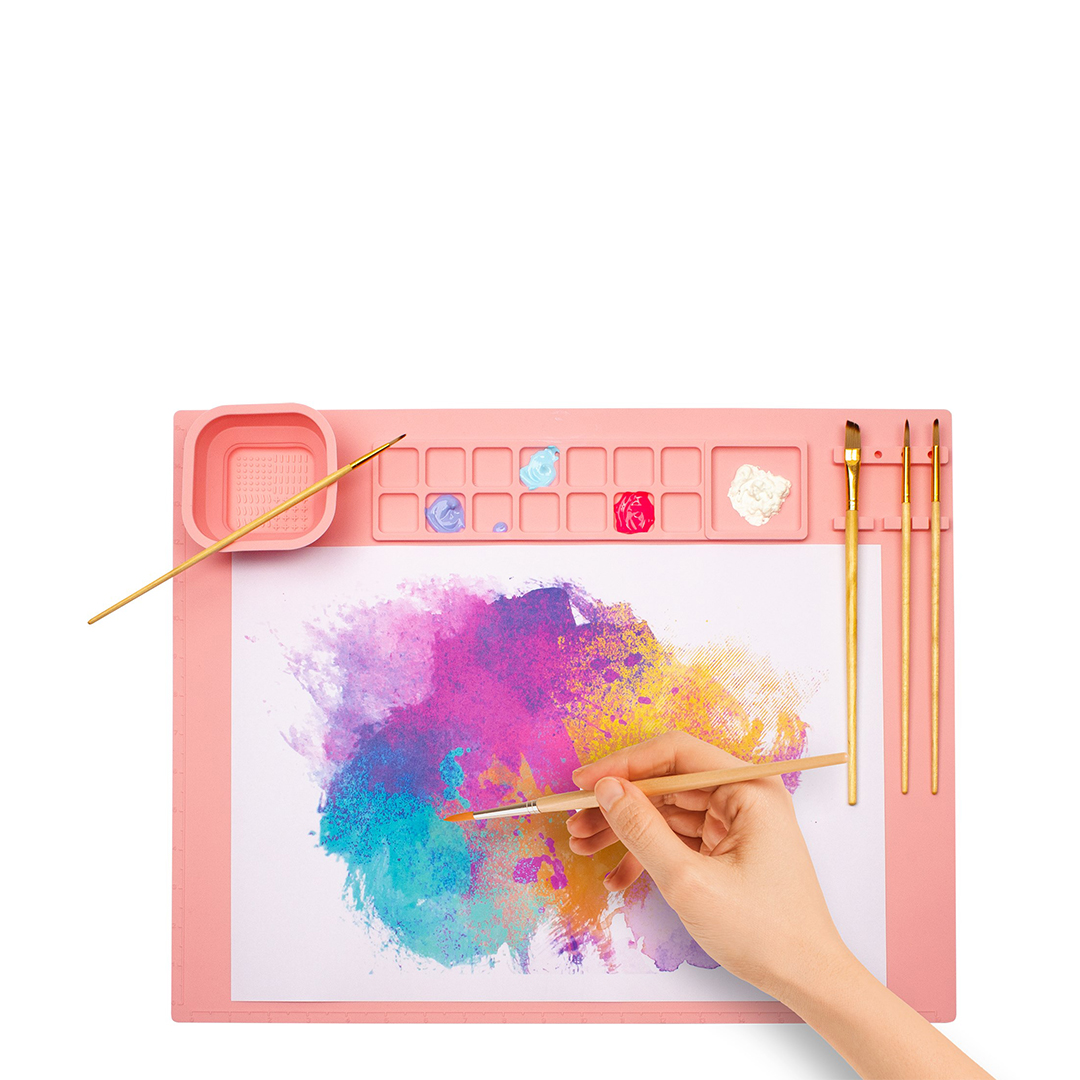
- Work surface: A smooth, non-porous surface such as a silicone mat is ideal to work on. It prevents the clay from sticking and is easy to clean.
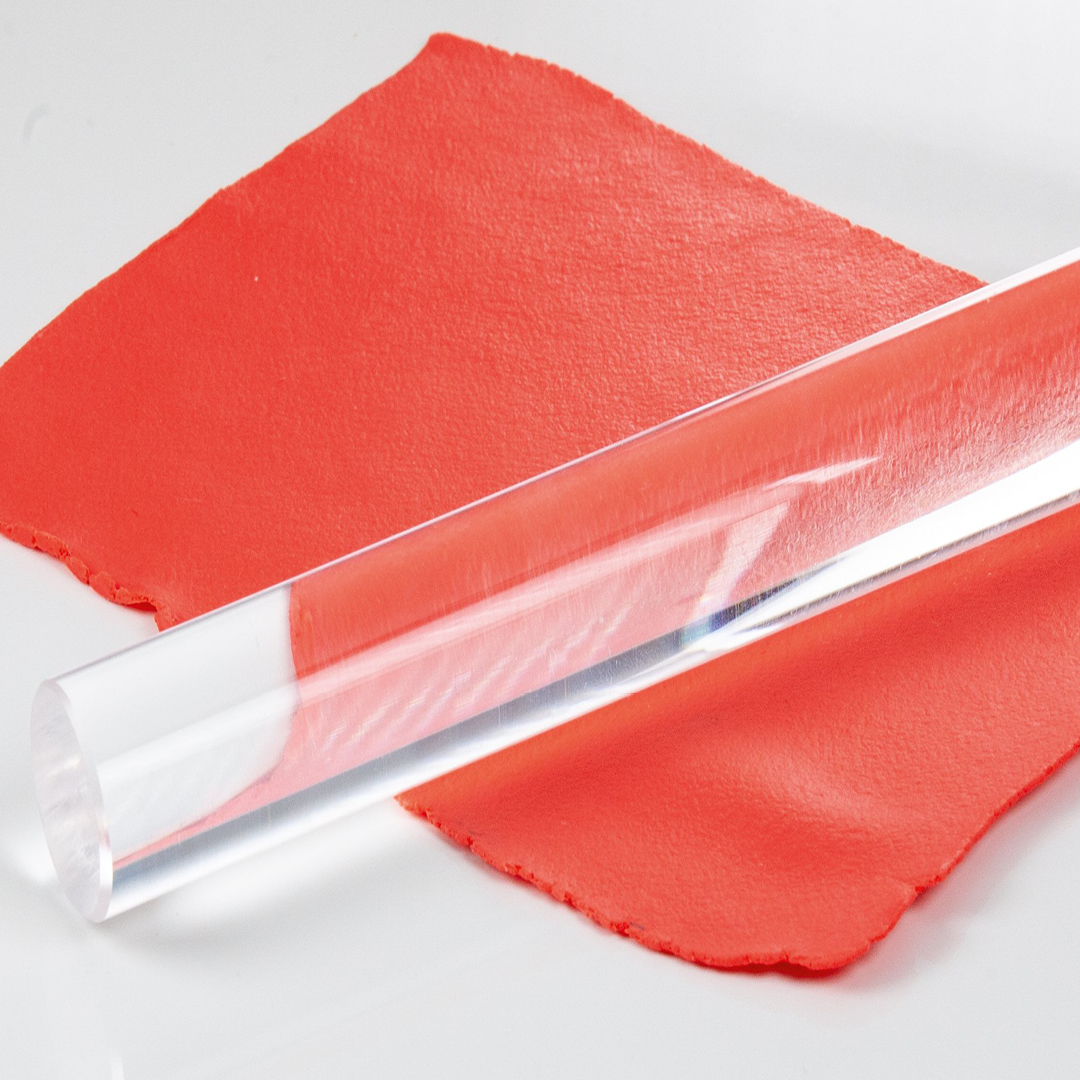
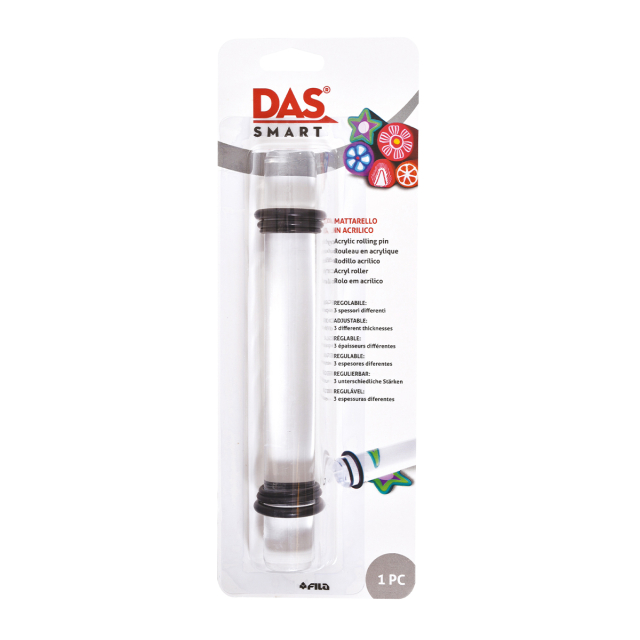
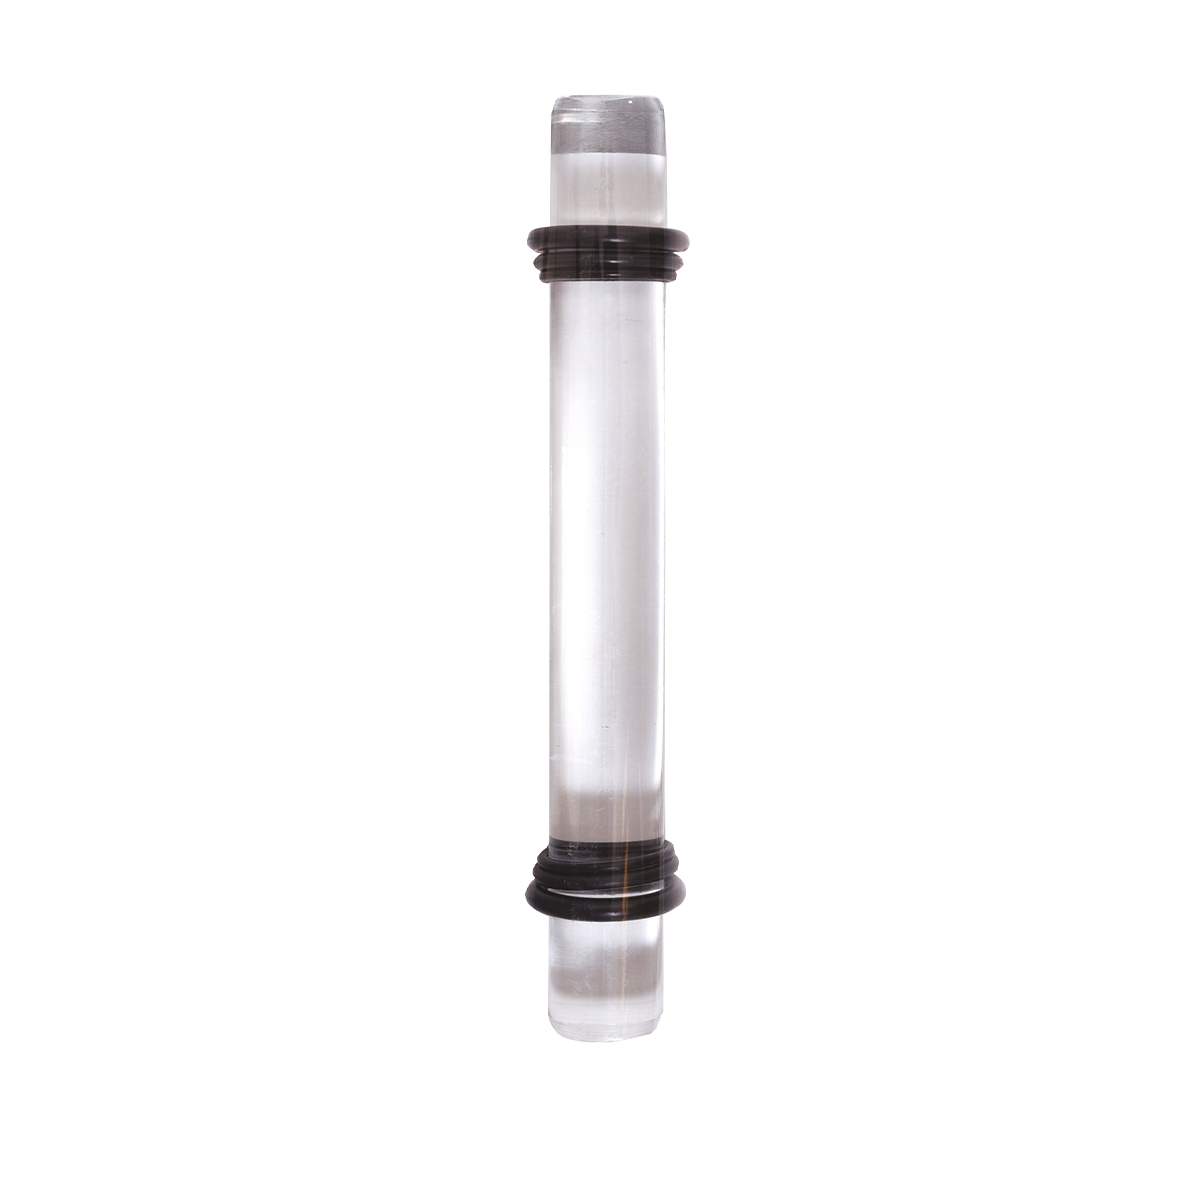
- Clay roller: To roll out clay evenly and blend colours in a controlled way, a clay roller is commonly used. Acrylic is a good choice as it works well with the ingredients in polymer clay.
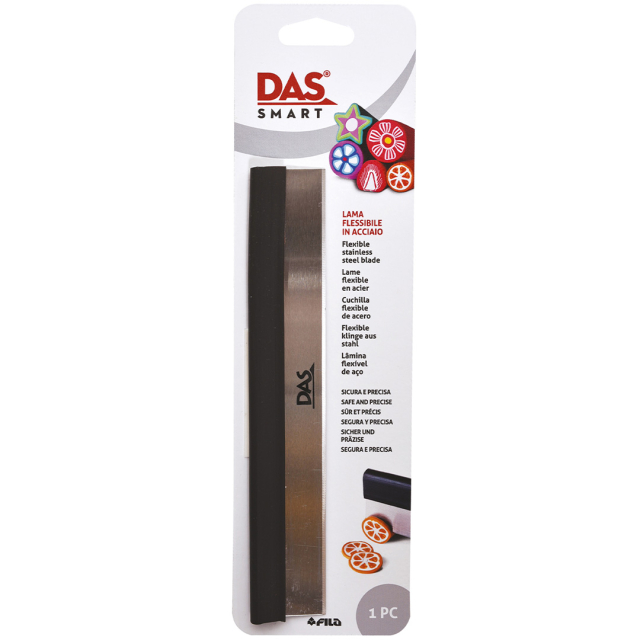
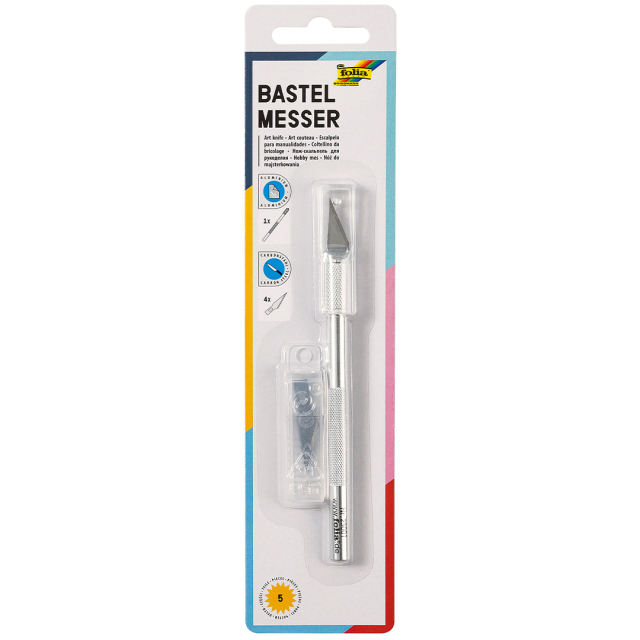
- Cutting tools: Scalpels, blade knives or craft knives help you cut precise shapes and trim details.
- Needle tool: A needle tool is perfect for making holes, adding textures and creating fine details in your clay projects. It is often included in standard clay modelling tool sets.
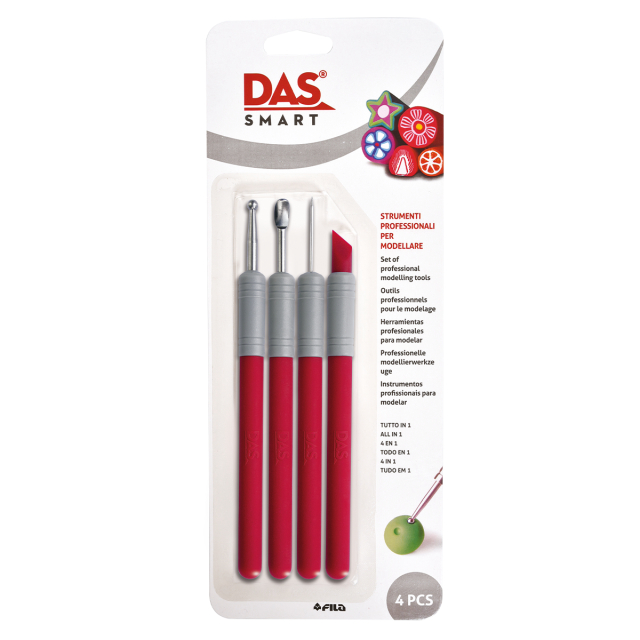
- Modelling tools: Plastic or wooden tools with different tips and shapes make it easier to shape, sculpt and create patterns in the clay.
- Small brushes: Brushes are useful for applying powder colours, effects or varnishes to the surface of your creations. A set of fine detail acrylic brushes is a good choice.
- Sandpaper: Wet and dry sandpaper with a fine grit is used after curing to smooth the surface and remove fingerprints or imperfections.
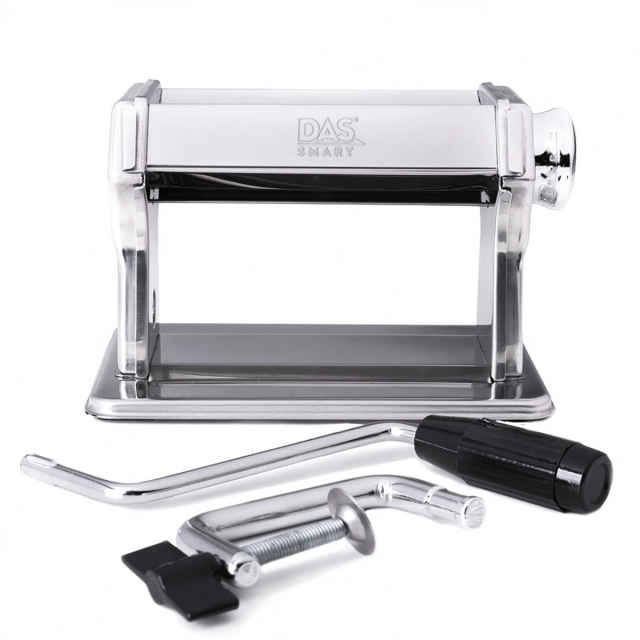
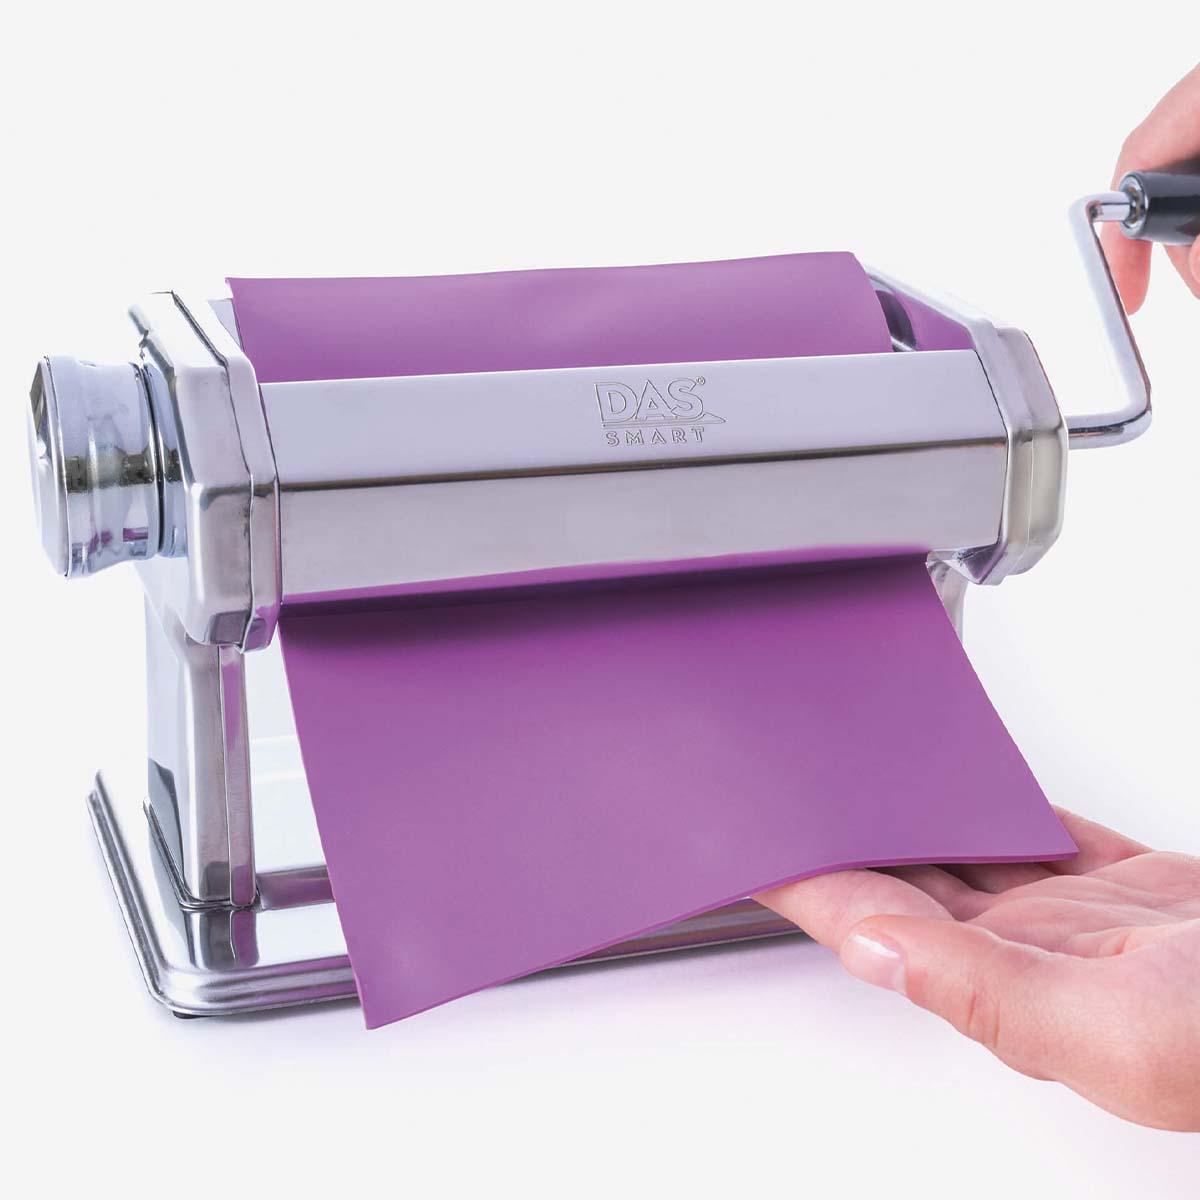
- Clay machine (optional): A clay machine or pasta machine makes it easy to roll out the clay to even thicknesses and is particularly good for blending colours quickly and efficiently.


Prepare and soften the clay
When you open your new polymer clay and it feels hard as a rock, do not panic. It can be fixed with what is called conditioning, techniques to make polymer clay more flexible and soft. This can be done in different ways:
Manual conditioning
Knead the clay with your hands until it becomes pliable. Start by warming it up in your palms, then press it against the work surface using the heel of your hand. Avoid using only your fingers, as this can become unnecessarily tiring. When the clay feels smooth, elastic and free from cracks, it is ready to use.
Using a clay machine
A clay machine looks similar to a pasta machine (in fact you can use a real pasta machine too) and makes conditioning much easier. Flatten the clay slightly and feed it through at the machine’s thickest setting. Fold it in half and feed it through again with the fold first. Repeat the process about 15 to 20 times until the clay feels smooth and soft. This is a gentle and efficient method, especially when working with larger amounts of clay.
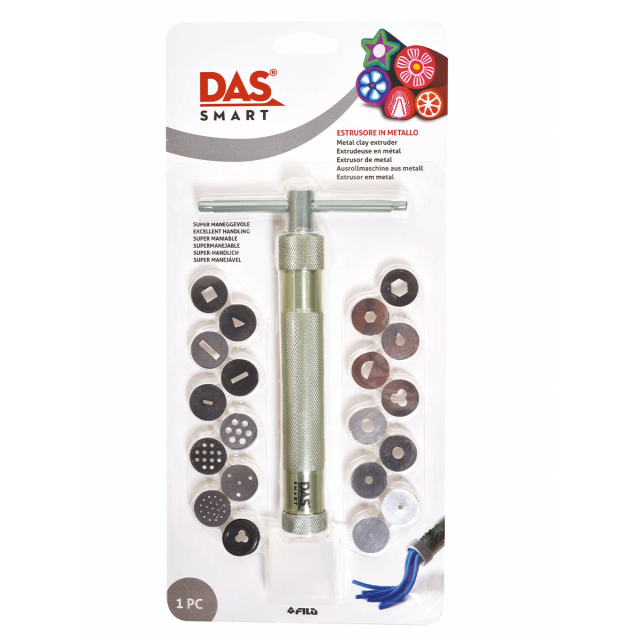
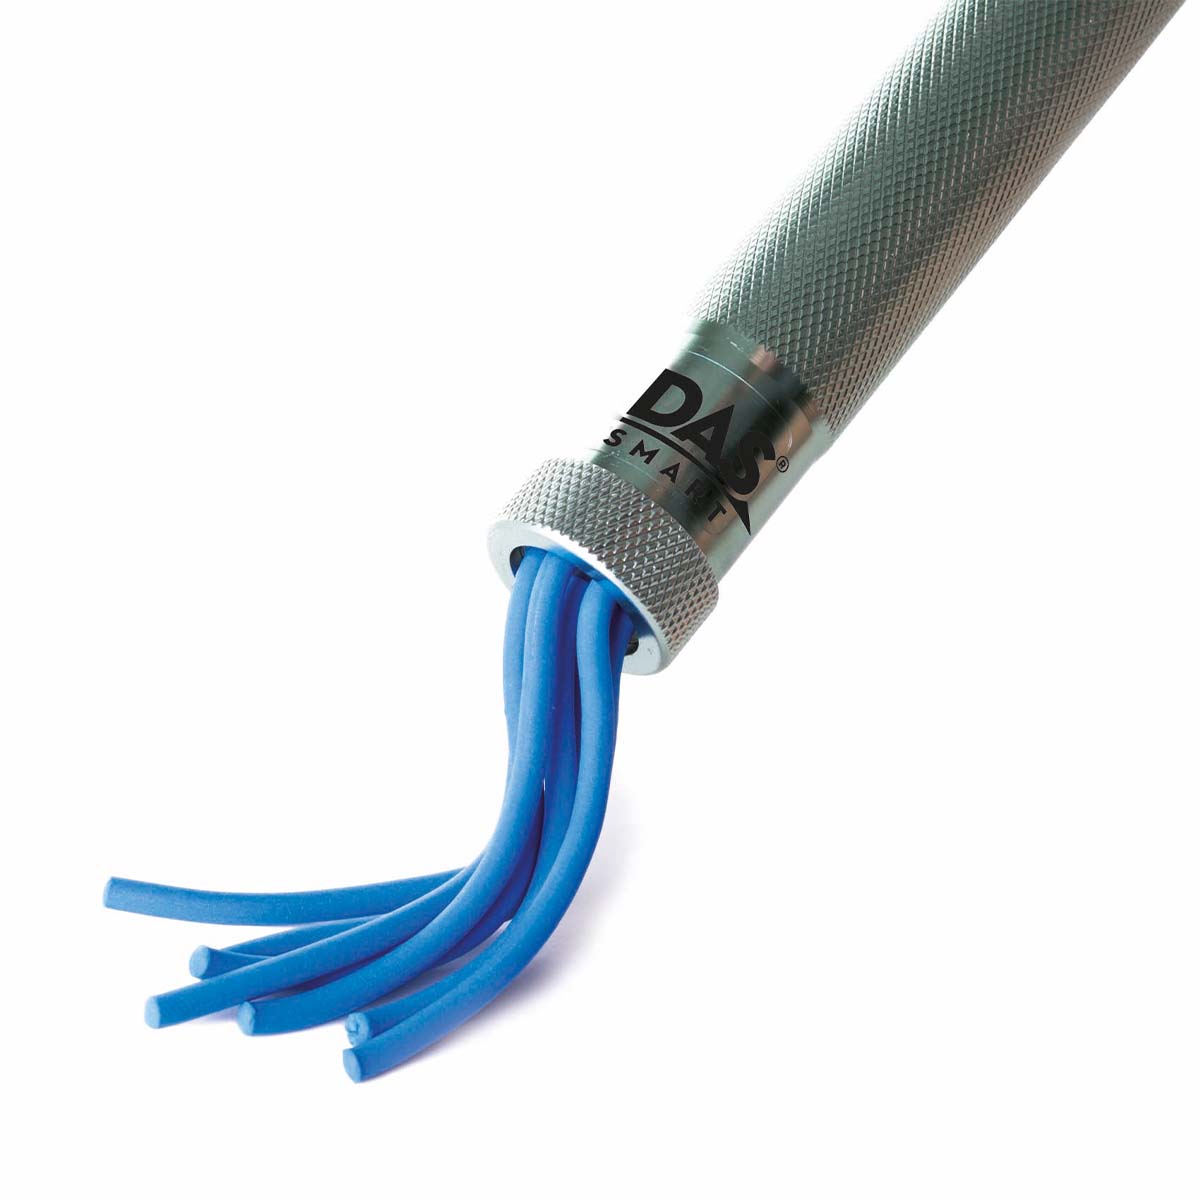
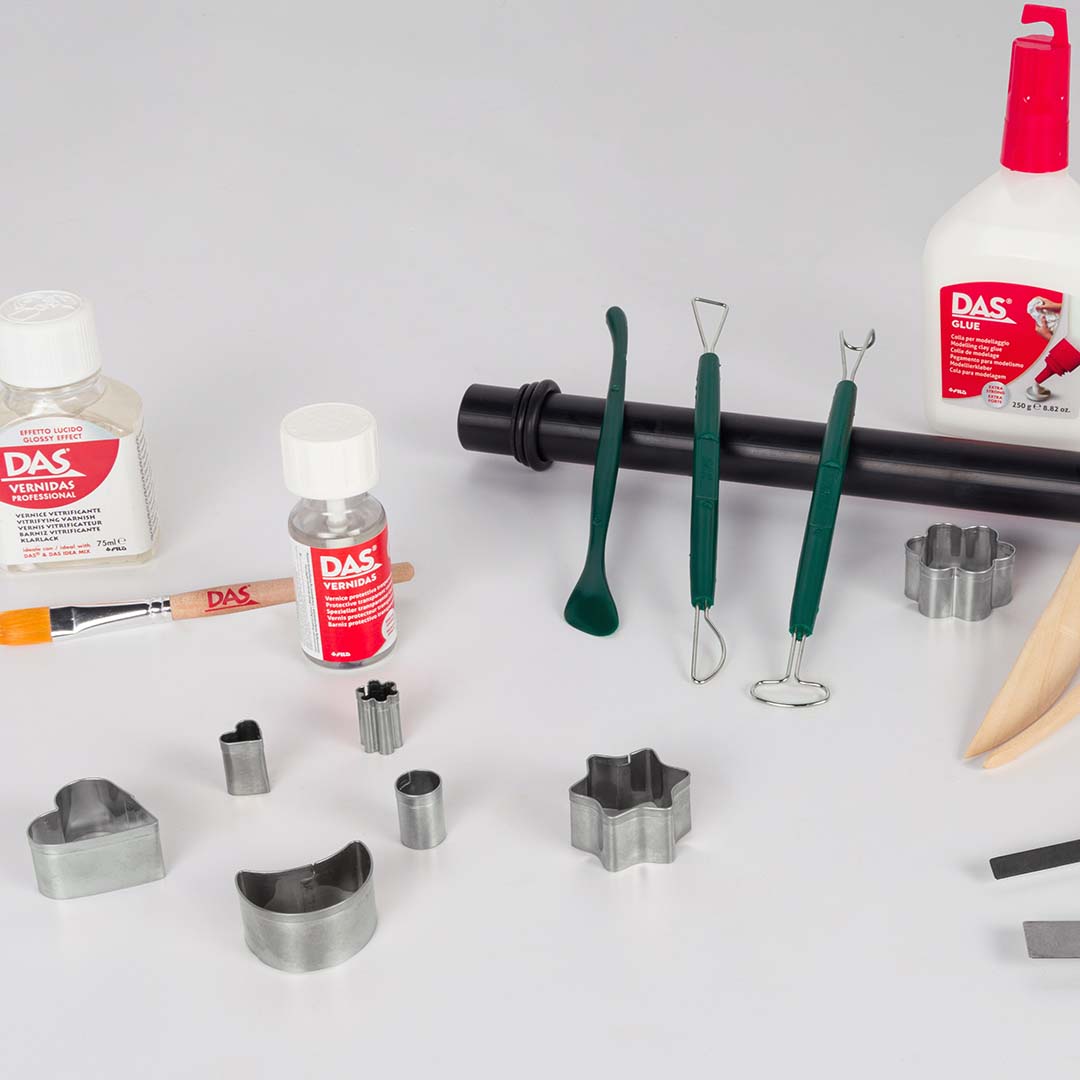
Product tip: DAS Clay Machine
Pre-warming the clay
If the clay is very hard, a little heat can help. Place the piece in a plastic bag and immerse it in warm water for a while, or put it on a radiator for a few minutes. You can also use a heating pad. Be careful though, as too much heat can start curing the clay prematurely.
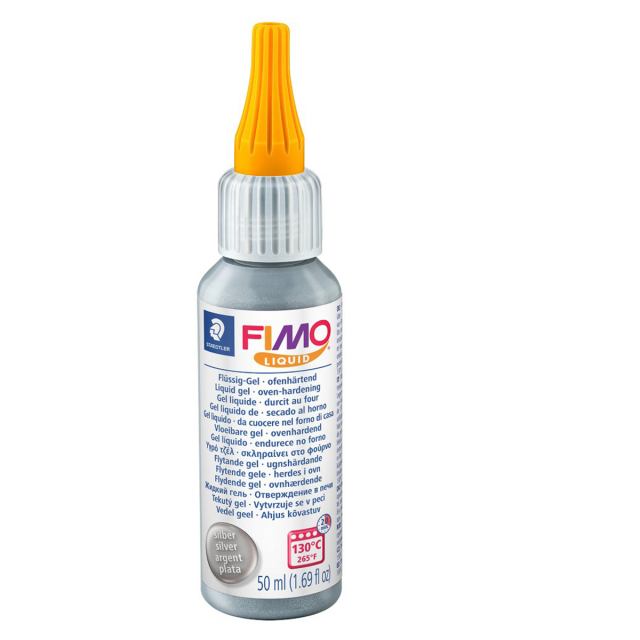
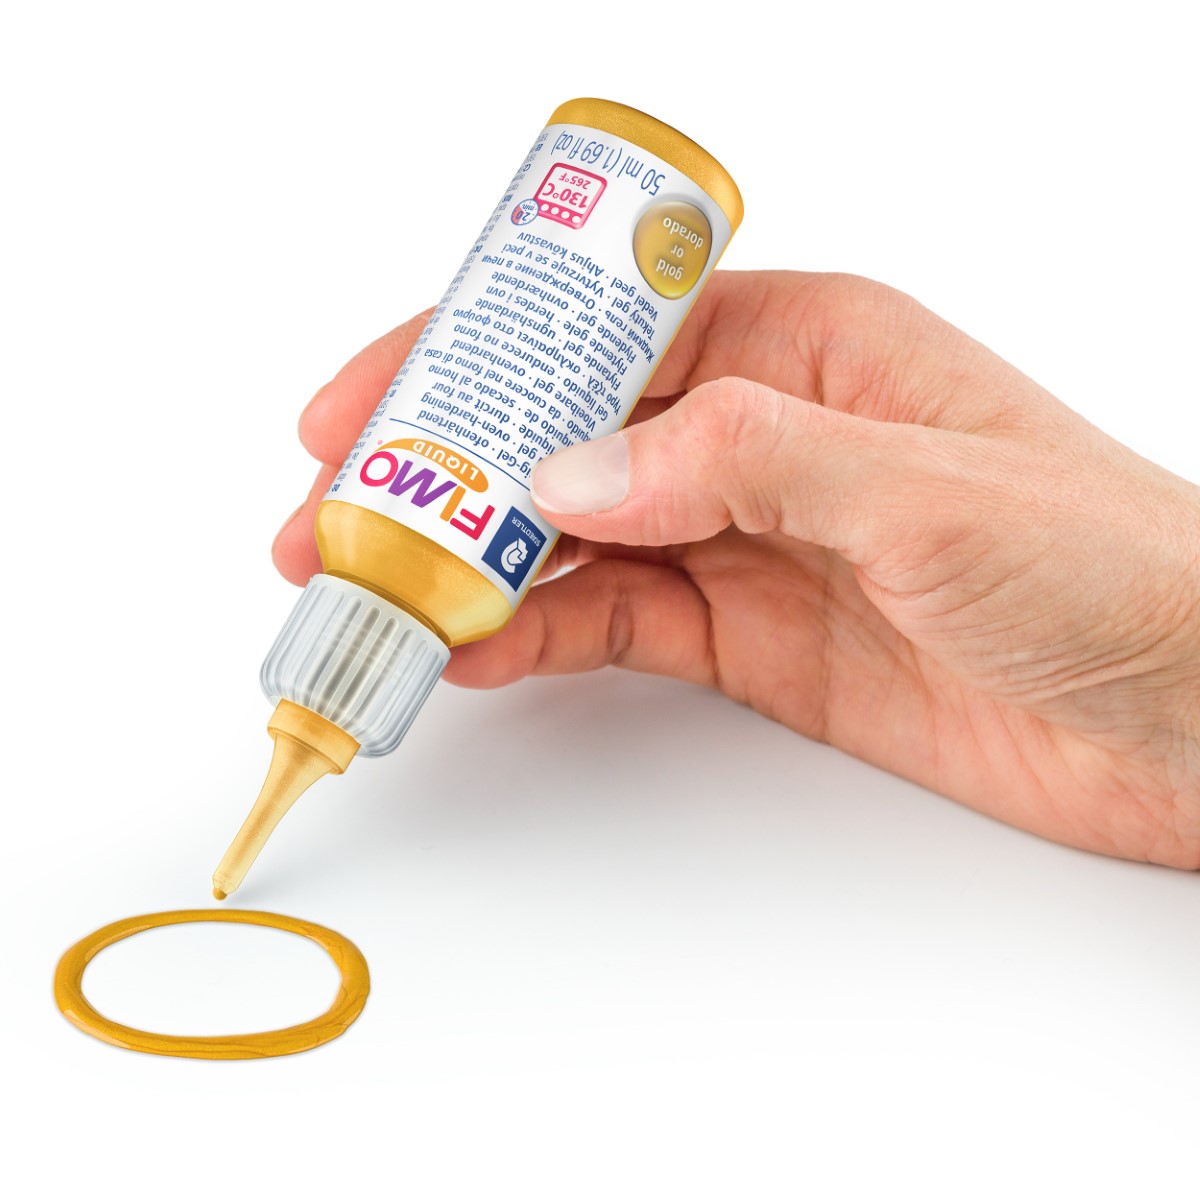
Adding softener
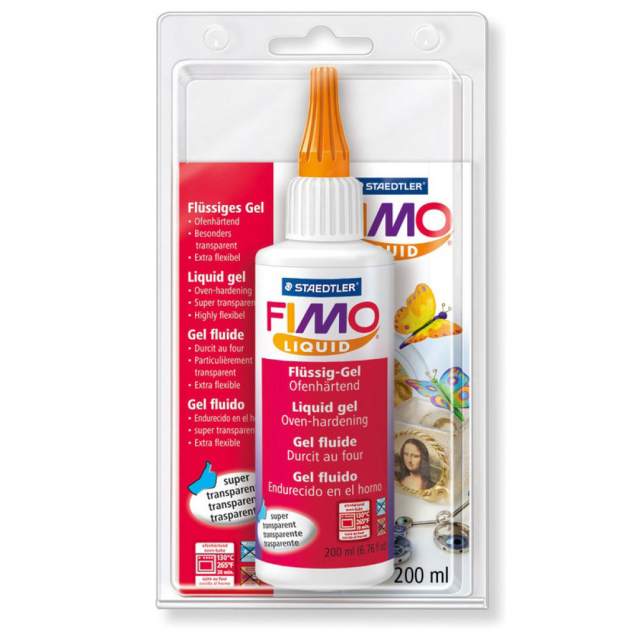
If the clay is really dry or crumbly, there are products you can use. We sell softeners from both FIMO and DAS. Use very small amounts at a time to avoid making the clay sticky. Mix thoroughly until it regains its flexibility.
Product tips:
How to know when the clay is ready
Conditioned clay is smooth, flexible and bends without cracking. The surface should also feel slightly glossy. With a good base, you are ready to start creating.
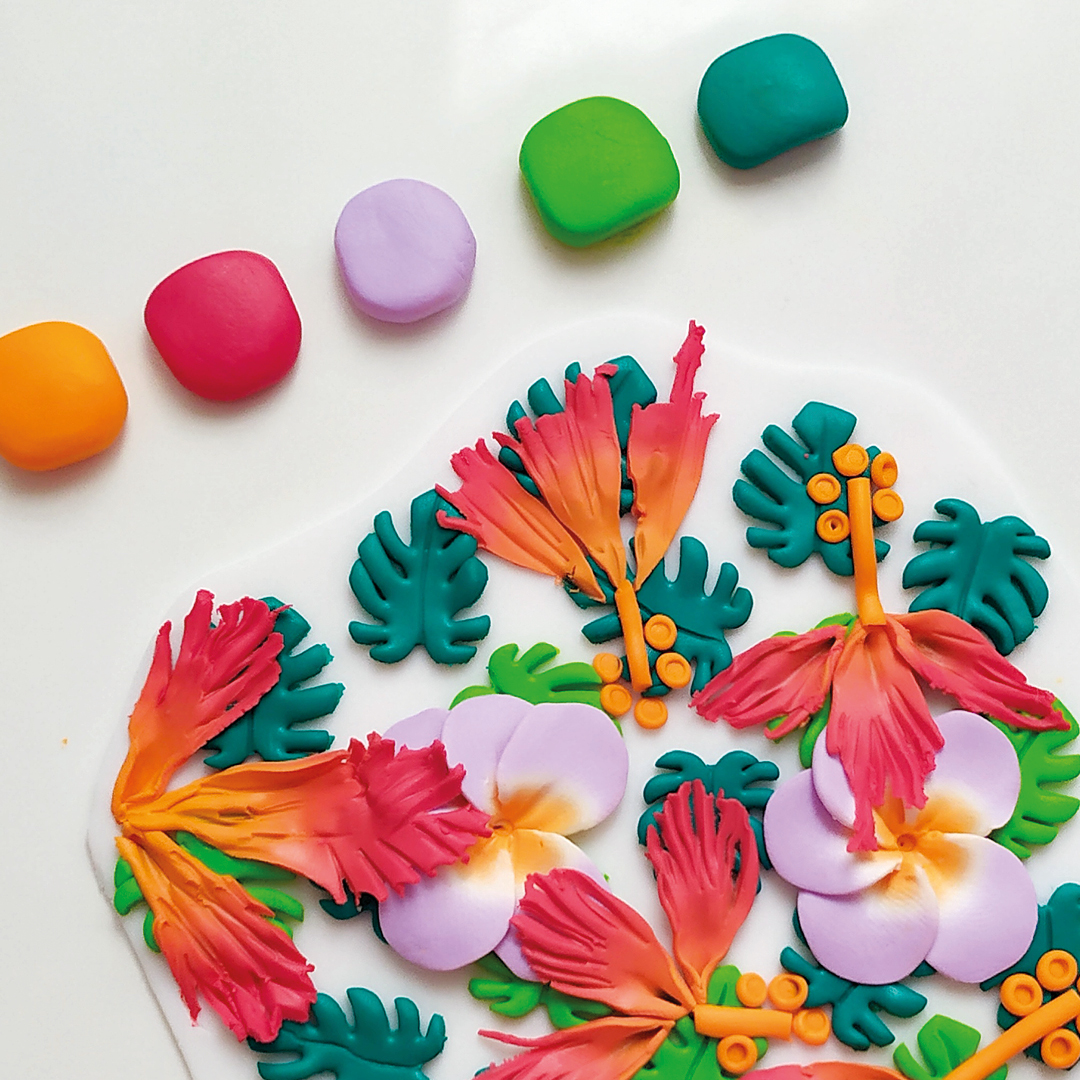
Shaping and building polymer clay step by step
Now that the clay is soft and ready to use, the fun begins. Shaping and building with polymer clay requires both technique and patience, but above all curiosity. Practice really does make perfect, so give yourself time to get to know the material and dare to experiment.
Feel like skipping the instructions and trying things out straight away? Go for it, there are no right or wrong ways when creating with clay. But if you want a little guidance, we have put together a complete guide:
1. Plan your project
First think about what you want to create. You can find plenty of inspiration on Pinterest and other social media platforms. We also share some project ideas further down in this guide. Then consider your choice of colours and which parts need to be shaped separately. A simple sketch can be helpful, especially if your design consists of several parts to be joined together.
2. Create basic shapes
Most polymer clay projects start by forming basic shapes such as balls, rolls and slabs. You would be surprised how much you can create from simple forms. Study objects and figures that inspire you, and try to identify which shapes they are made of.
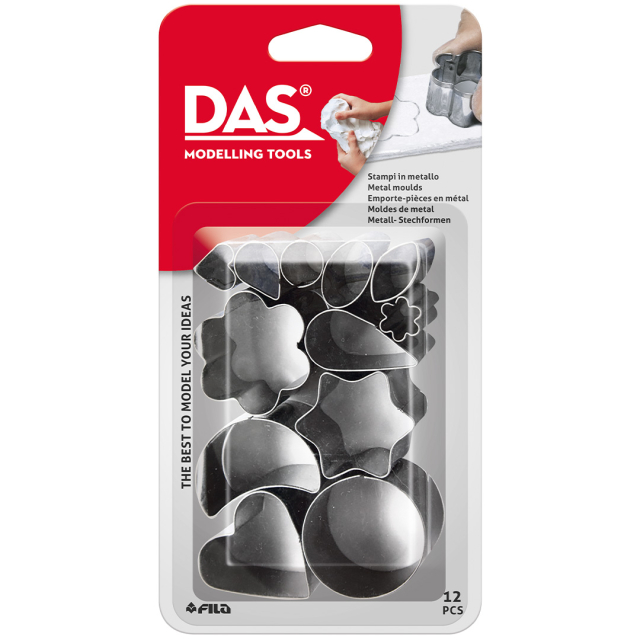
Product tip: With DAS metal clay cutters you can cut out perfect circles, hearts, flowers and other standard shapes.
3. Combine and build up
Once you have your basic shapes, start putting them together into more complex objects. Press the pieces together gently but firmly. To improve adhesion, you can use a needle tool to roughen the surfaces slightly before pressing them together.
4. Smooth and adjust
After assembling your creation, you can smooth seams and surfaces using your fingers, modelling tools or a soft brush dipped in a little isopropyl alcohol. The more precise you are now, the less finishing work you will need after curing.
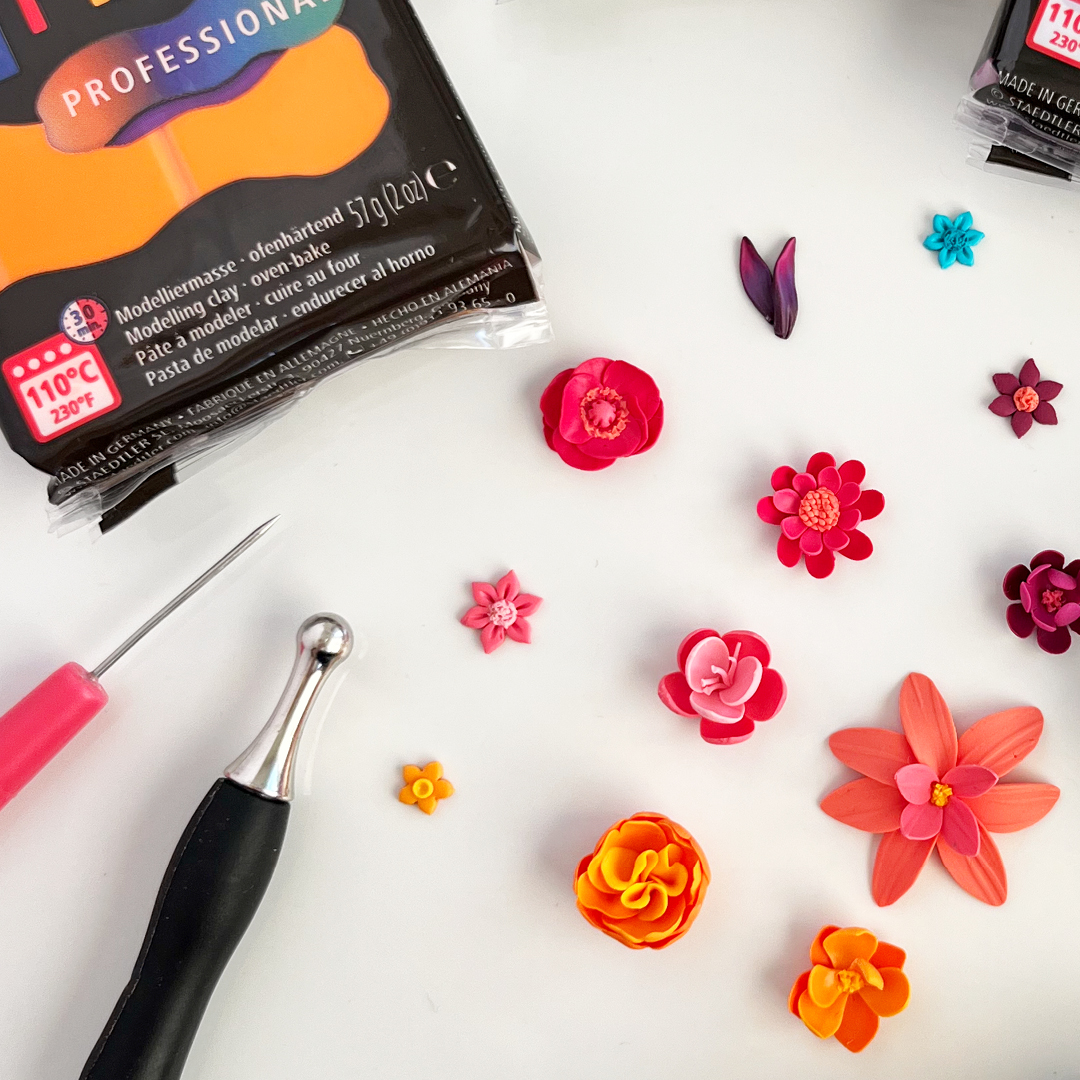
5. Add details
When the base is finished, you can add details such as textures, patterns or small decorations. Use needle tools, toothpicks or specially shaped modelling tools. If you are working with multiple colours, make sure your hands and tools are clean to avoid colour transfer.
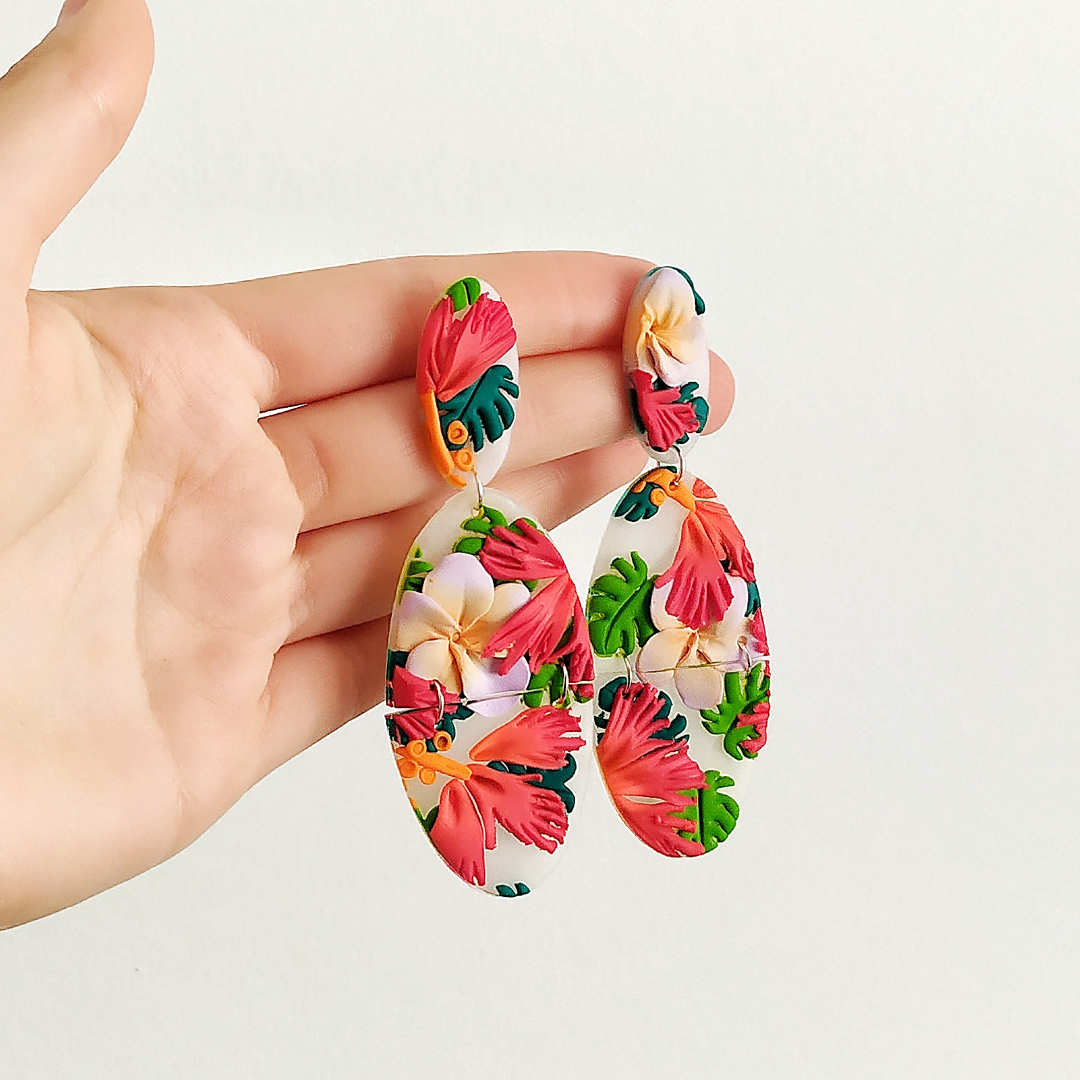
6. Consider durability
If you are creating something that needs to withstand handling, such as jewellery or keyrings, it is important to think about durability during the design process. Here are some tips:
- Avoid making parts that are too thin or narrow. As a rule, no protruding parts should be thinner than 2 mm.
- For extra stability, you can use an internal armature of steel wire for legs, tails or pendants. Jewellery wire, thin florist wire or even a straightened paperclip can work, just make sure it is oven-safe.
- Build up thicker forms around a core of aluminium foil. This reduces both the weight and the amount of clay you need: more economical and more sustainable.
Curing your polymer clay step by step
When your piece is fully shaped, it is time to cure it in the oven. This is when polymer clay hardens and takes its final form. The step can feel a little daunting at first, but it is quite straightforward if you follow a few basic steps. Here is how to do it, and what to avoid:
1. Place the clay on baking parchment or aluminium foil
Put your figures or jewellery on a piece of baking parchment or foil, then place it on a standard baking tray or an oven‑safe dish.
2. Read the packaging
Each brand and range has its recommended temperature and time, for example 110 °C for 30 minutes. If you have mixed different brands, follow the instructions for the clay that requires the highest temperature. Stay alert though, mixing clays is always an experiment and can cause discolouration or cracks. Test and learn as you go.
3. Preheat the oven
Switch on the oven in good time and let it reach the exact temperature before you put the clay in. For uneven or unreliable ovens, an oven thermometer is helpful to avoid excessive heat.
4. Bake in the centre of the oven
Place the clay on the middle shelf for even heat distribution. Bake for the full stated time, not less. It is the time, not only the heat, that makes the clay durable.
5. Ventilate if needed
Polymer clay can give off a slight smell while baking, especially if the temperature is too high. Although polymer clay is not toxic, curing can release fumes that irritate sensitive noses and eyes. Open a window or switch on the extractor fan if you are baking in the kitchen.
6. Remove carefully
Turn off the oven and take out the tray using oven gloves. Let the clay cool slowly. You can wrap it in a towel or place it in a box to avoid sudden temperature changes that could cause cracks.
Common mistakes and useful tips
- Avoid excessive temperature: If the clay is baked too hot it can bubble, burn or start to smoke. Do not use the fan setting, as it can create uneven and overly high temperatures.
- Bake for long enough: Underbaking leaves the clay brittle. It is better to bake a few minutes longer than too little, since time is what makes it strong and durable.
- Protect delicate parts: Thin sections or small figures can deform in the oven. Rest them on cotton or a piece of felt to help them hold their shape.
- Use a liner: Always place clay on baking parchment or foil. Direct contact with hot metal can cause blisters or discolouration.
- Do a test piece: If you are unsure about your oven or the temperature, bake a small test piece first to avoid unpleasant surprises.
- Make good use of oven space: You can bake several items at the same time to save time and energy.
Finishing and painting
When your polymer clay has been cured and cooled, you have the opportunity to add a final touch with details, colour and shine. It is also a chance to fix any imperfections and smooth the surface if bubbles or cracks have appeared during baking, which can easily happen. Here are the most common techniques to know so you can finish your project beautifully.
How to polish polymer clay
For a smooth and even finish, gently sand the surface with fine-grit sandpaper, ideally under water to avoid dust. After sanding, you can polish the piece with a soft cloth to bring out a natural shine. Well-polished clay often looks complete even without paint.
How to paint polymer clay
Water-based acrylic paint is the most popular choice. It covers well, adheres securely and dries quickly. Apply thin layers and allow each to dry completely before adding the next. Avoid paints with oil or solvents, as they can react poorly with the surface. For details, use fine brushes or a toothpick, and try mixing the paint with a little water for softer transitions.
How to varnish polymer clay
Varnishing your polymer clay can add both an attractive finish and an extra protective layer, especially if you have painted the surface. Always choose a varnish specifically designed for polymer clay. This gives the best results and reduces the risk of stickiness or discolouration over time. Apply the varnish in thin coats with a soft brush, and let each coat dry fully before continuing. Remember that you do not always need to varnish. If you have polished an unpainted surface to a natural shine, it can be most beautiful just as it is.
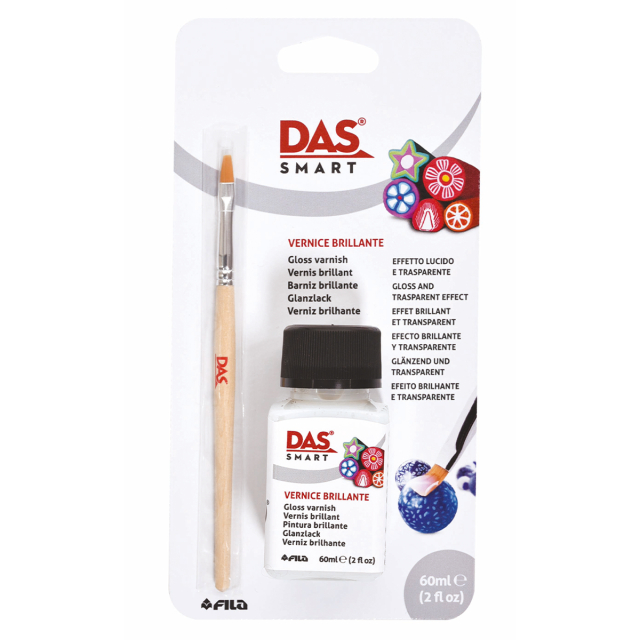
Product tip: DAS Smart Gloss Varnish
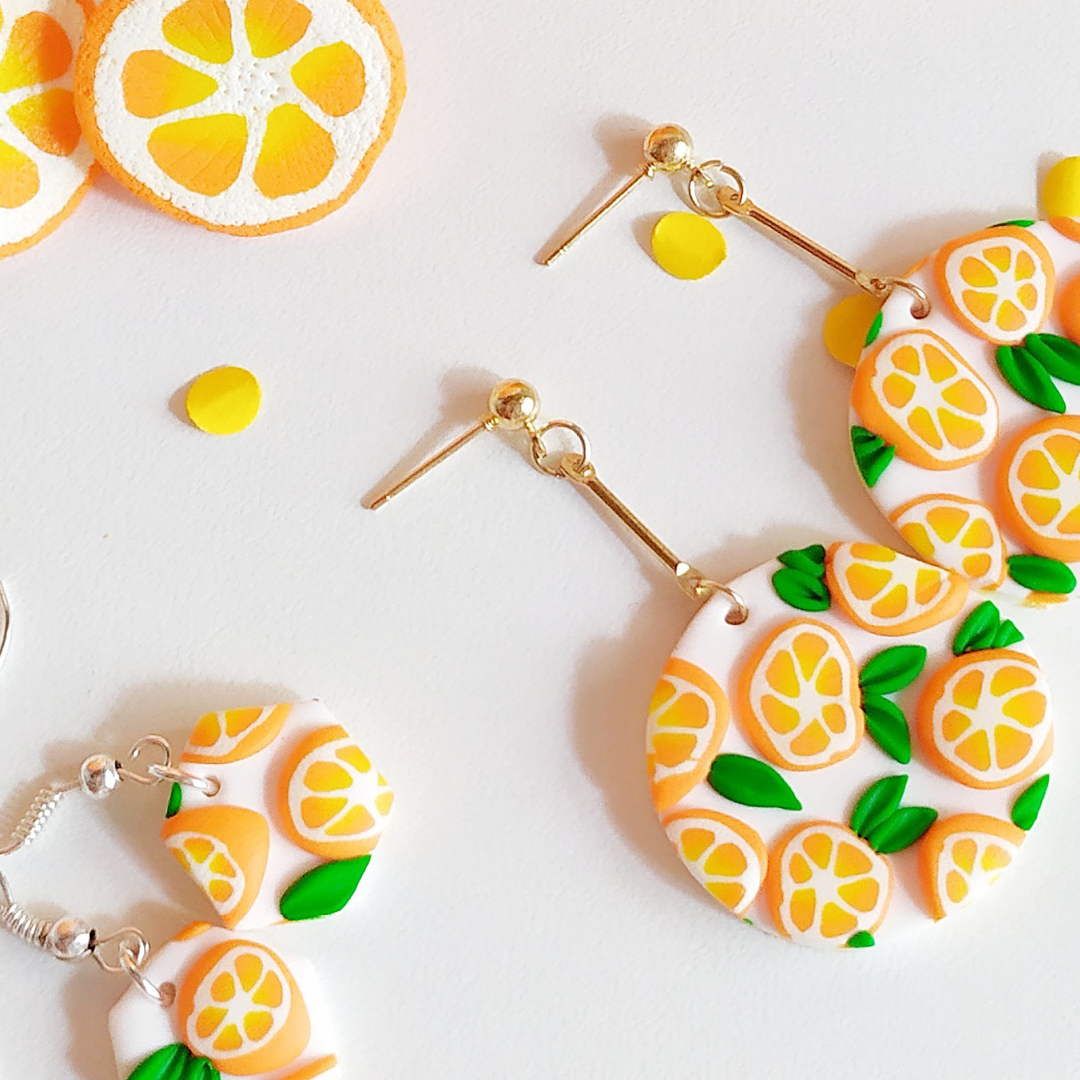
5 trendy polymer clay ideas to try
We think you should dive right in, so here are some fun DIY ideas to get you started right away:
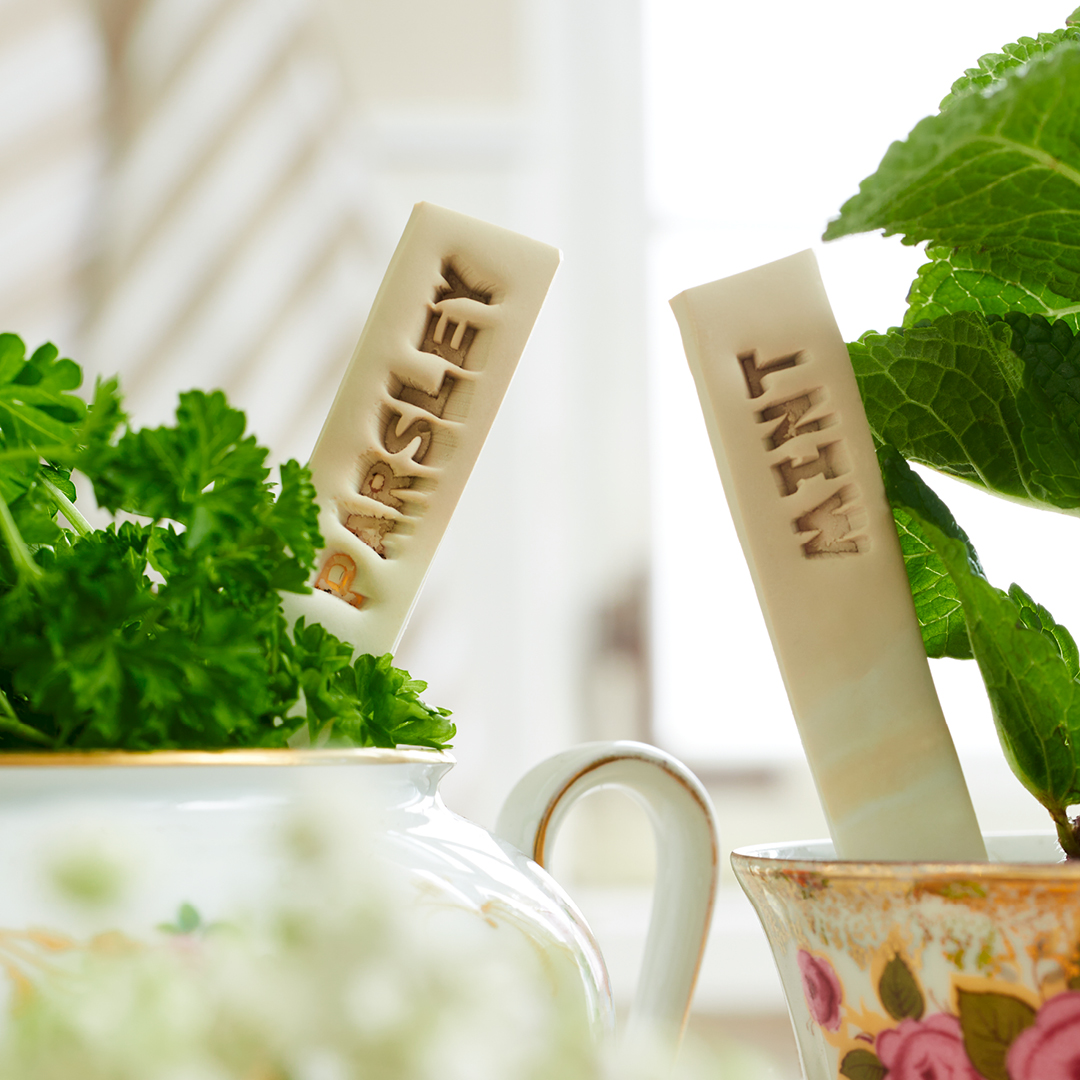
- Plant markers: Combine function with style and label your garden bed or balcony planter with cute plant markers.
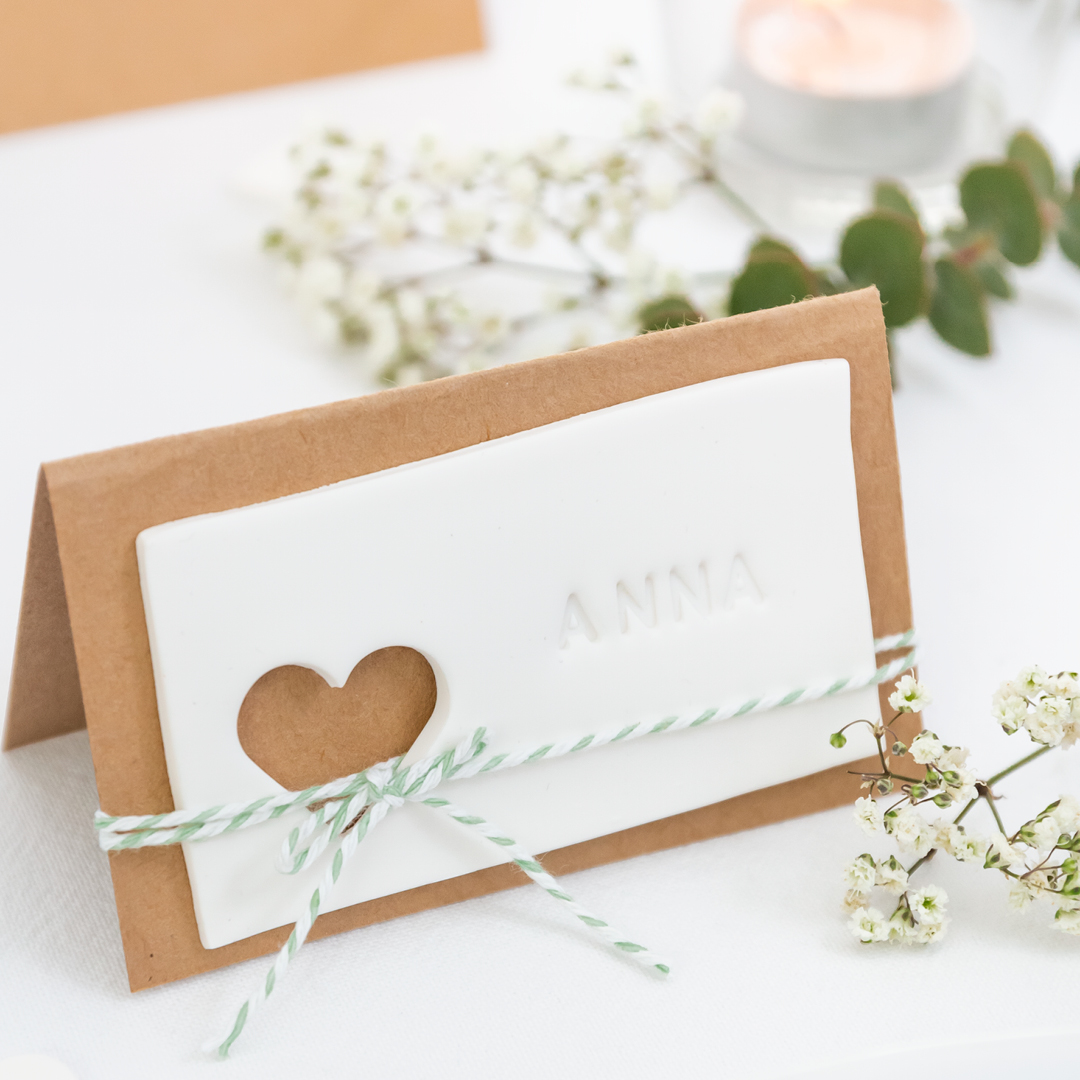
- Place cards: Be the most creative dinner host of the year and take seating arrangements to the next level. Create figures such as flowers, fruits or sleek shapes, and make a slot for the paper or imprint the guests’ names with a FIMO Stamp kit.
- Coasters: Cut out a paper template in your desired shape. Roll out the clay, cut according to the template and blend colours before rolling for beautiful marbled effects.
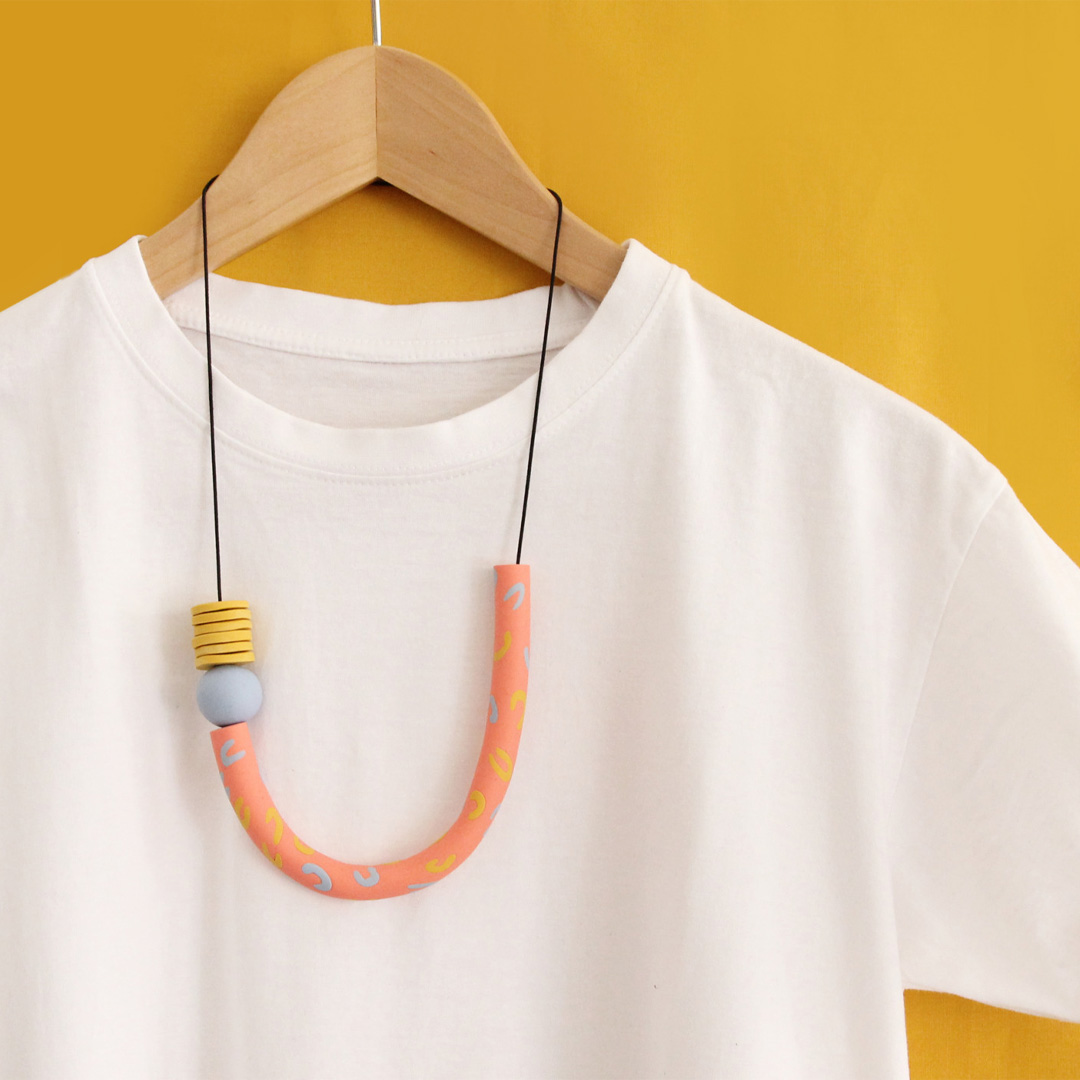
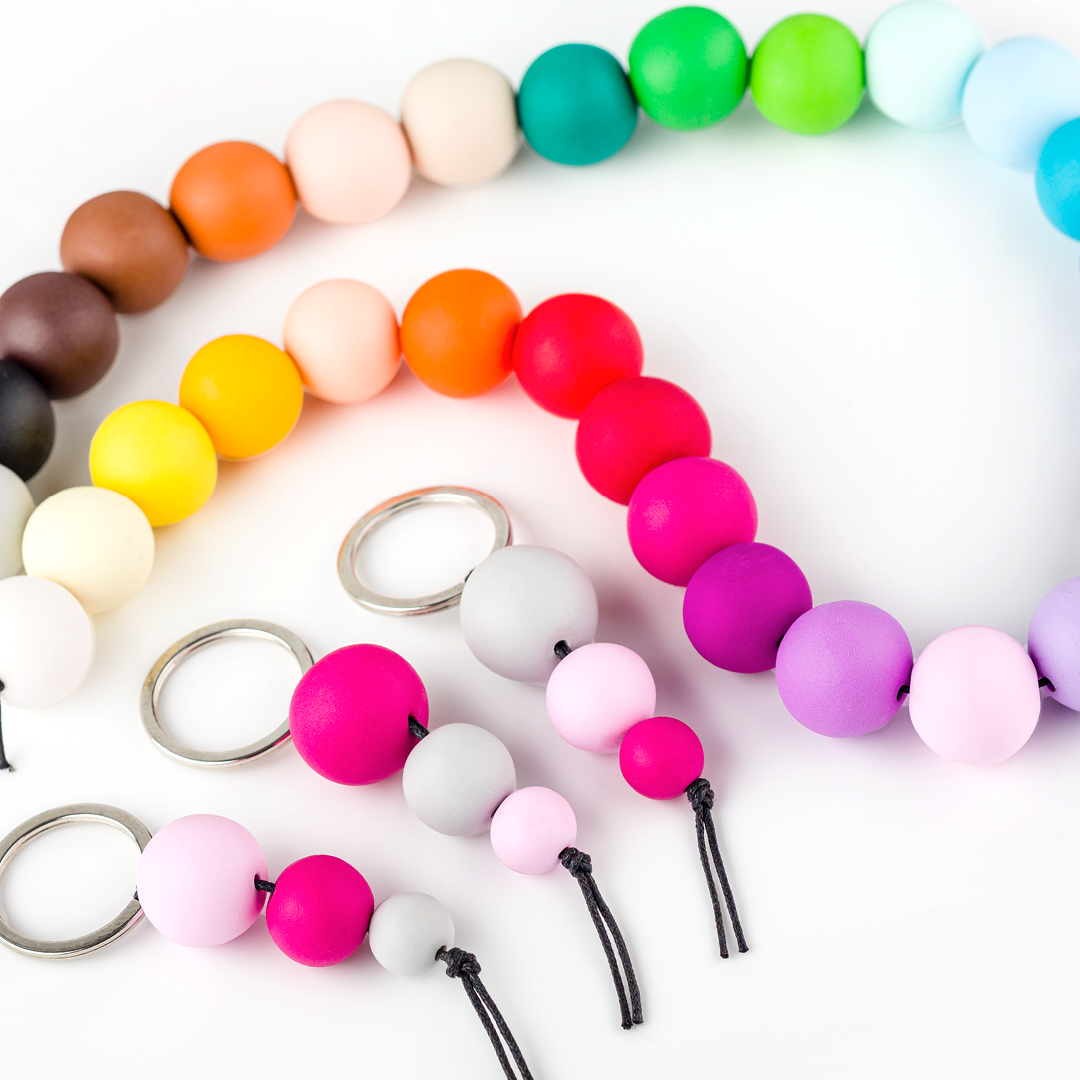
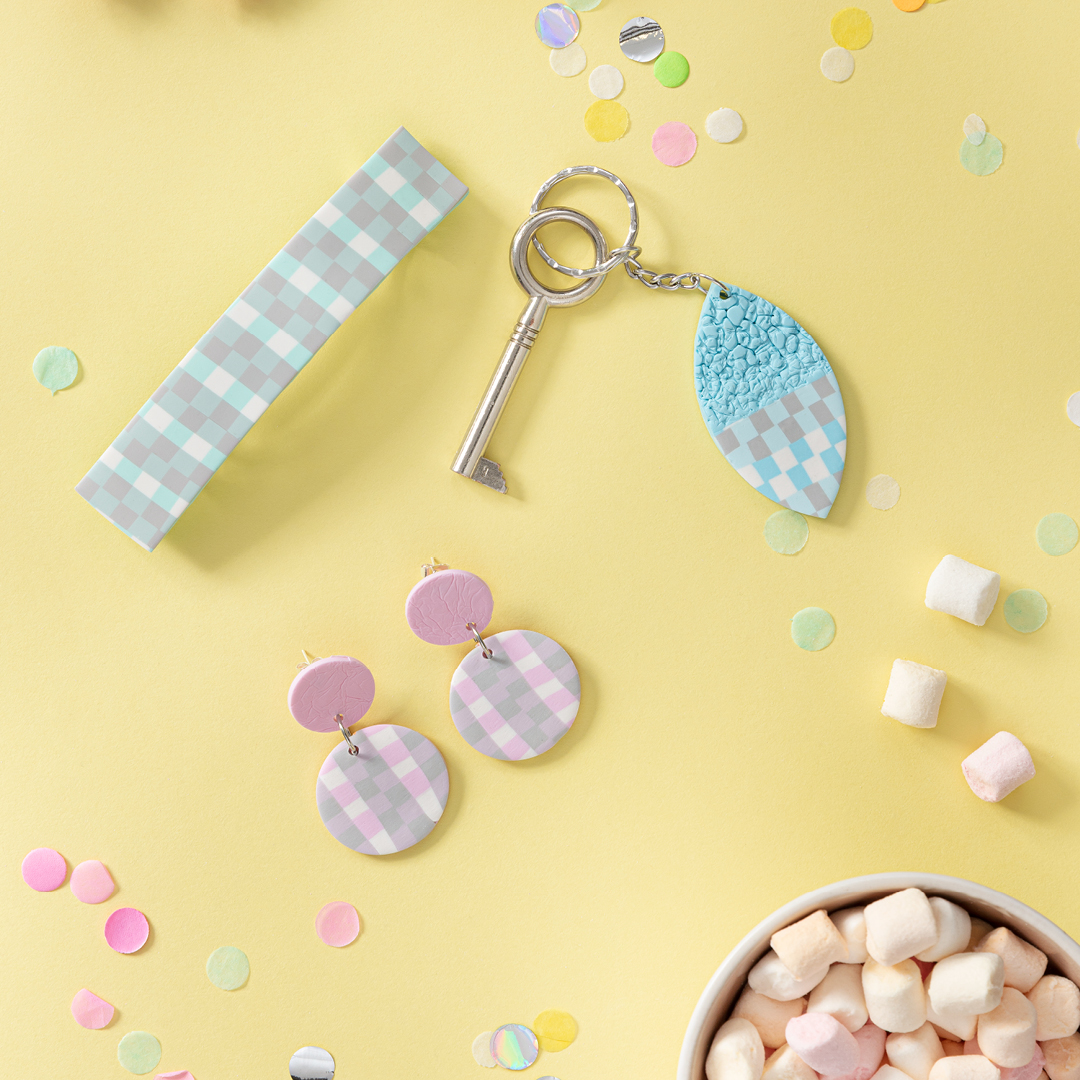
- Phone charms: Make trendy phone accessories with colourful shapes, beads and symbols strung on a cord. A fun detail for your phone and a perfect gift.
- Miniatures for your bookshelf: Create magical tiny worlds as bookshelf decorations (known as “book nooks”). House facades, flower corners or fairytale scenes are perfect for those who love detail and storytelling.
For more inspiration, read: Ideas for creating with polymer clay →

Air-dry clay →
Oven-bake clay →
Tools for clay →