International (EUR)
Sharpening a pencil might seem simple, but a tip that constantly breaks or doesn’t take the shape you’re aiming for can be frustrating. In this guide, we show you how to sharpen different types of pencils the right way, using both a sharpener and a knife. You’ll also learn why the tip often breaks, how to choose the right method for different pencils, and how to keep your sharpener in top condition for the best results.
Why does the tip keep breaking?
If the tip keeps breaking again and again, it’s not necessarily your fault, but something isn’t right. It could be due to a damaged pencil, a blunt sharpener, or a technique that doesn’t suit the pencil. Pencils that have been dropped may have internal cracks in the core long before you start sharpening. A dull or dirty sharpener will tear instead of cut, which easily breaks the tip. And some pencils, like charcoal or pastel, require a gentler touch than regular graphite pencils. Fortunately, most of these problems can be avoided with the right method and tools. Here’s how.

Choose the right method for your pencil
Different pencils require different sharpening techniques. Here’s a guide to which method works best depending on what kind of pencil you use.
- Graphite pencils (hard/soft): Manual or electric sharpener, or knife + sandpaper for certain artistic techniques.
- Coloured pencils (hard/oil-based): A sharpener works well, ideally with a very sharp blade.
- Coloured pencils (soft/wax-based): Knife + sandpaper or careful sharpening in a sharpener.
- Watercolour pencils: Knife + sandpaper is recommended.
- Charcoal and pastel pencils/crayons: Always knife + sandpaper.
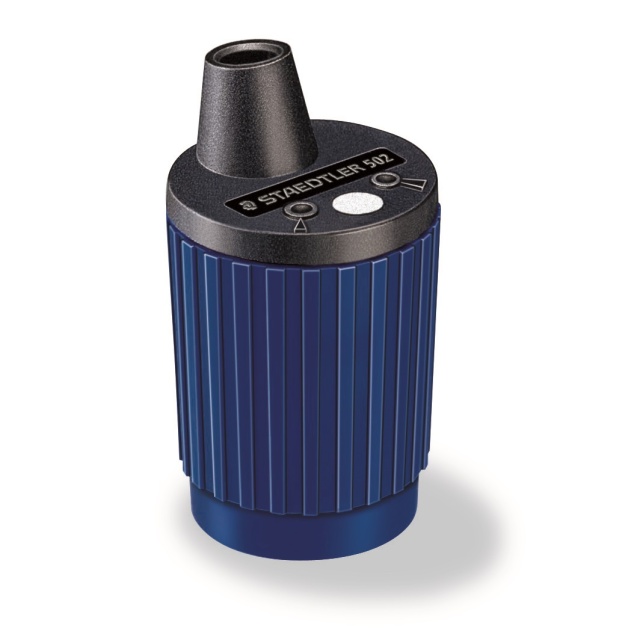
- Lead holders (thicker leads, e.g. 2 mm): Sandpaper or built-in sharpener in the pencil top.
- Mechanical pencils (thinner leads, e.g. 0.5 mm): Don’t need sharpening, but for extra precision you can use a dedicated lead pointer.
Sharpen a pencil with a knife and sandpaper
Sharpening with a knife is not just for professionals. It is a great method for anyone who wants full control over the shape and length of the pencil tip. Many artists who work with graphite and pencil use this technique to create a long, tapered point. This makes it easy to shade large areas with the side of the lead while still allowing for precise lines. The technique is also gentle on more delicate materials like charcoal, pastel and coloured pencils.
What you need
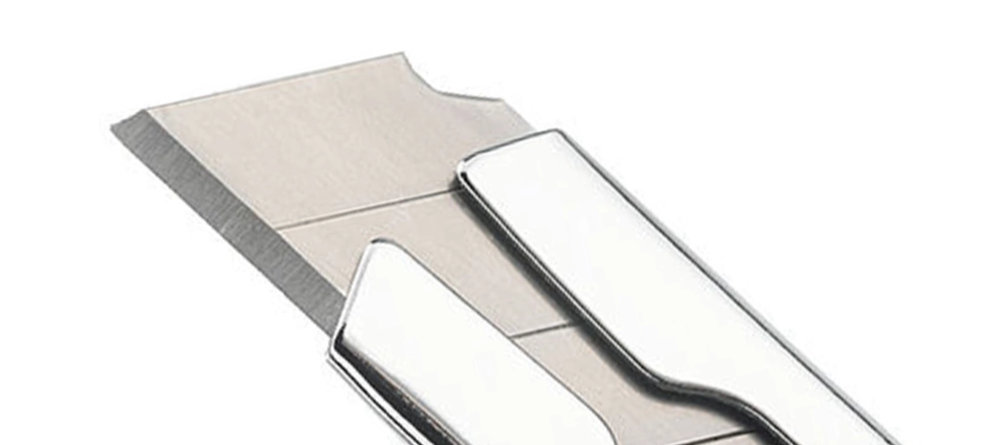
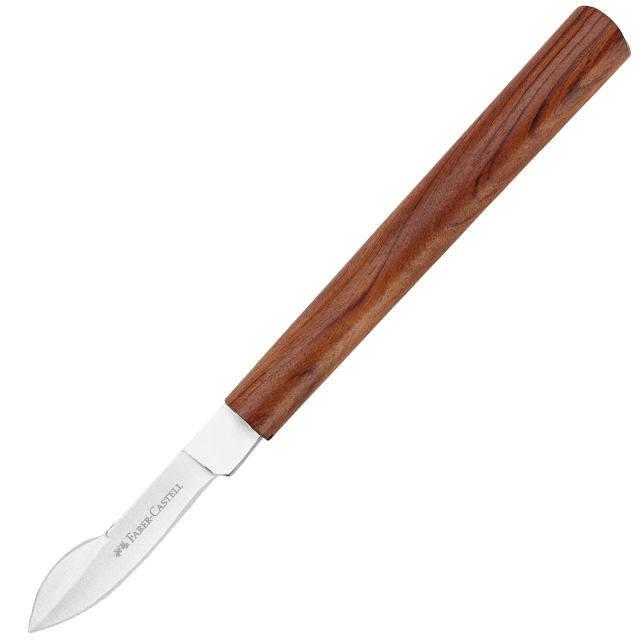
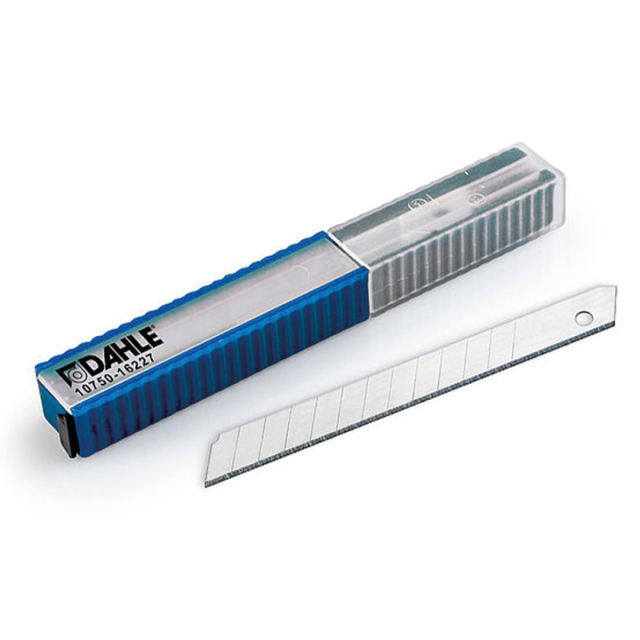
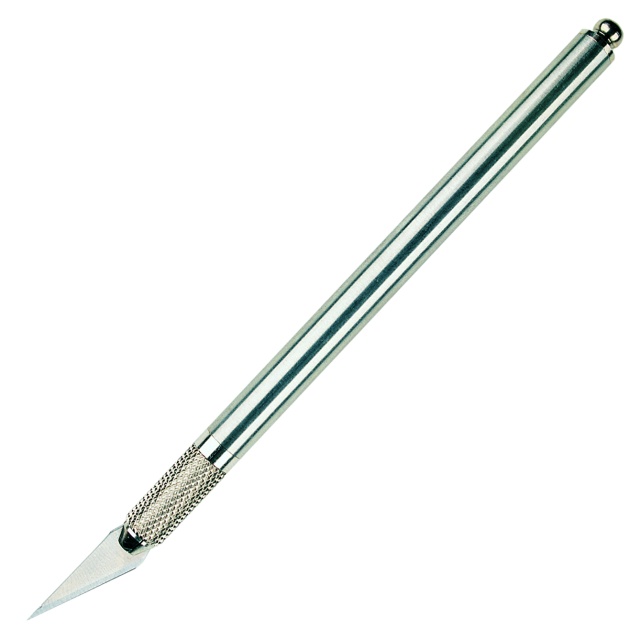
- A sharp knife: The most important thing is that the knife is sharp. If it is not, you risk splintering the wood, tiring your hand and possibly snapping the lead. Craft knives, scalpels and snap-off blades all work well. Snap-off knives are especially convenient because you can simply break off a dull segment to get a fresh, sharp edge.
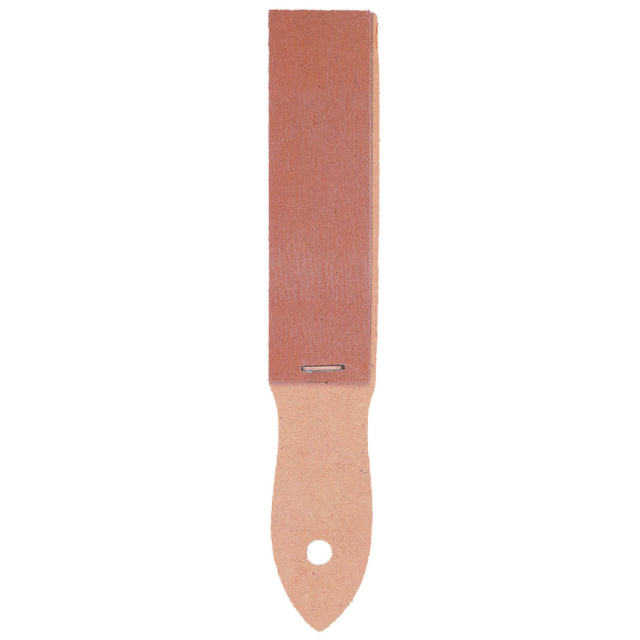
Buy knives → - Sandpaper: To shape the tip, you’ll need fine sandpaper that is gentle enough not to damage the lead, but still gives enough resistance. A grit between 120 and 250 works best. You can use a sanding block or a loose strip, as long as the surface is flat and stable.
Buy sandpaper →
Sharpening with knife and sandpaper: step by step
1. Hold the knife correctly
Place the blade almost flat against the pencil. The lower the angle, the more control you’ll have.
2. Position the knife properly
Position the knife a few centimetres down the pencil. About 2 to 3 cm is ideal if you want a long tip. Start by shaving away the wood to expose the lead, but do not shape the tip just yet.
Also consider the tip length you want. For graphite and harder coloured pencils, a longer tip (around 2 to 3 cm) works well. For charcoal, pastel and other fragile materials, a shorter tip is better to avoid breakage.
3. Shave the wood
Now begin slicing the wood away using small, controlled movements. Work in thin layers and apply only light pressure. You should not have to force it if the blade is sharp. Let the knife glide along the pencil, removing small shavings evenly all the way around. The goal at this stage is simply to expose the lead, not to shape it. As you get closer to the core, reduce the angle even more and work carefully. Some pencils have a thin layer of glue between the wood and the lead which may feel like slight resistance. Cut through it slowly and steadily.
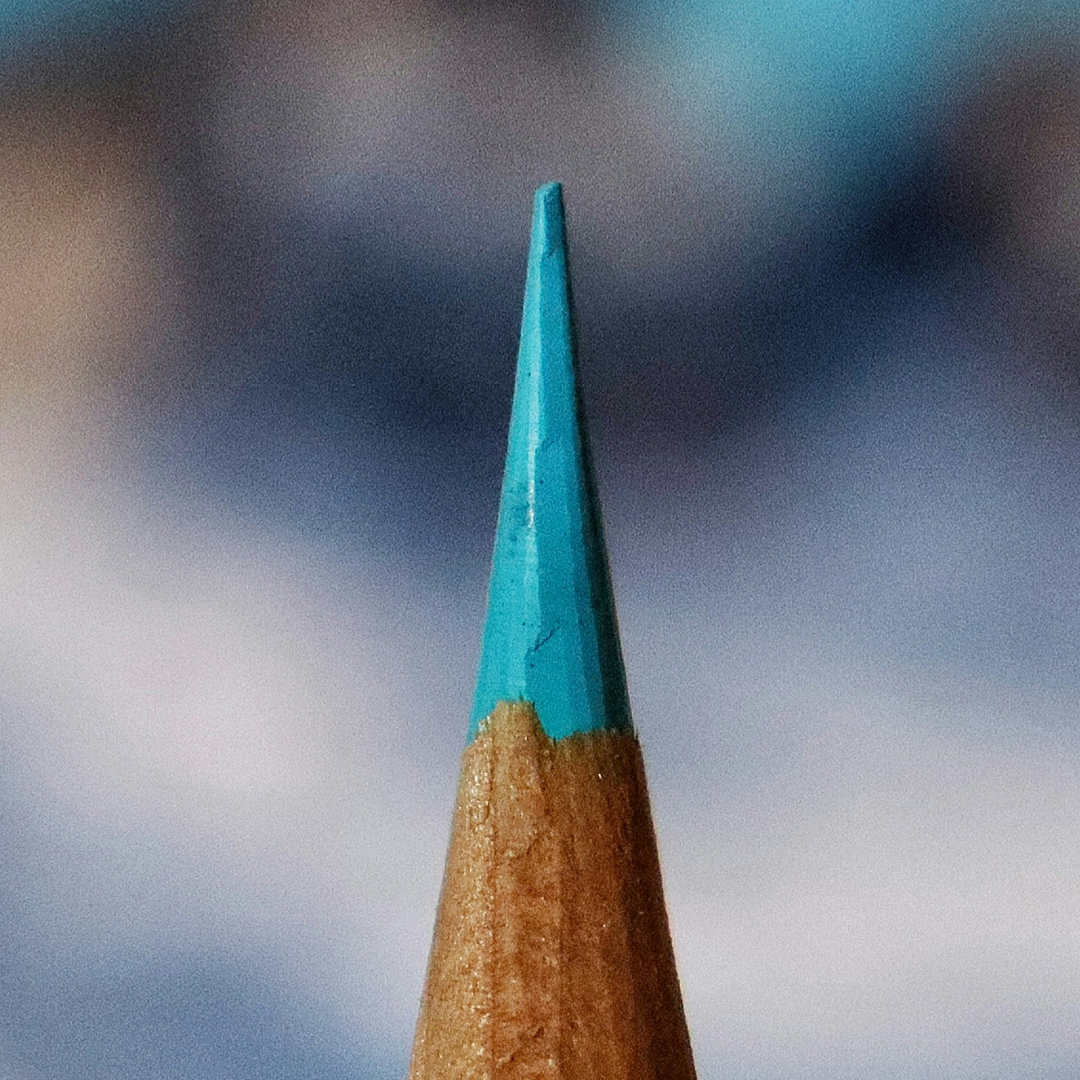
4. Shape the tip with sandpaper
Once the lead is exposed, it is time to shape the point. This is best done with sandpaper. Place the paper flat on the table and hold the pencil so the lead rests against it. Move the pencil back and forth with light, smooth strokes while gently rotating it between your fingers. This ensures an even shape all around. Work slowly and with a gentle touch. You are refining the tip, not doing heavy sanding. Occasionally wipe off the tip with a cloth or tissue to check the progress. Aim for a balanced shape that is as sharp or rounded as you want.


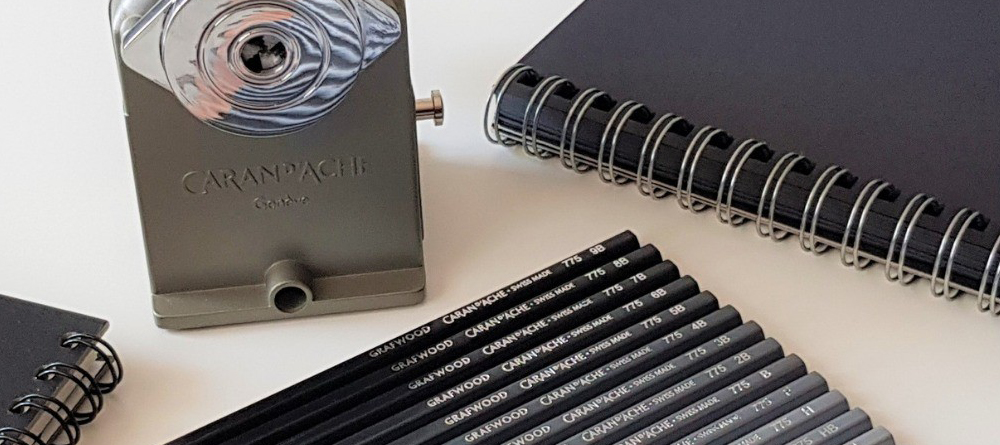
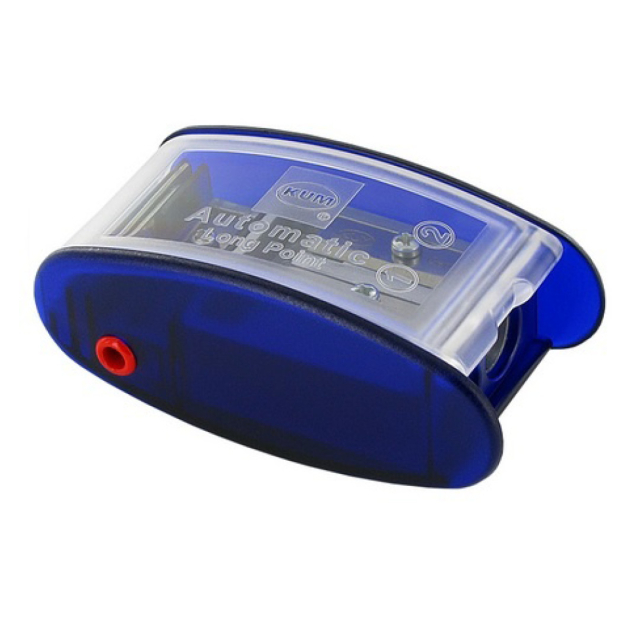
Sharpen a pencil with a sharpener
Using a sharpener might seem obvious, but many pencil tips break due to incorrect technique such as too much pressure, the wrong angle or a dull blade. With the right method, you get a clean point every time without frustration.
What you need
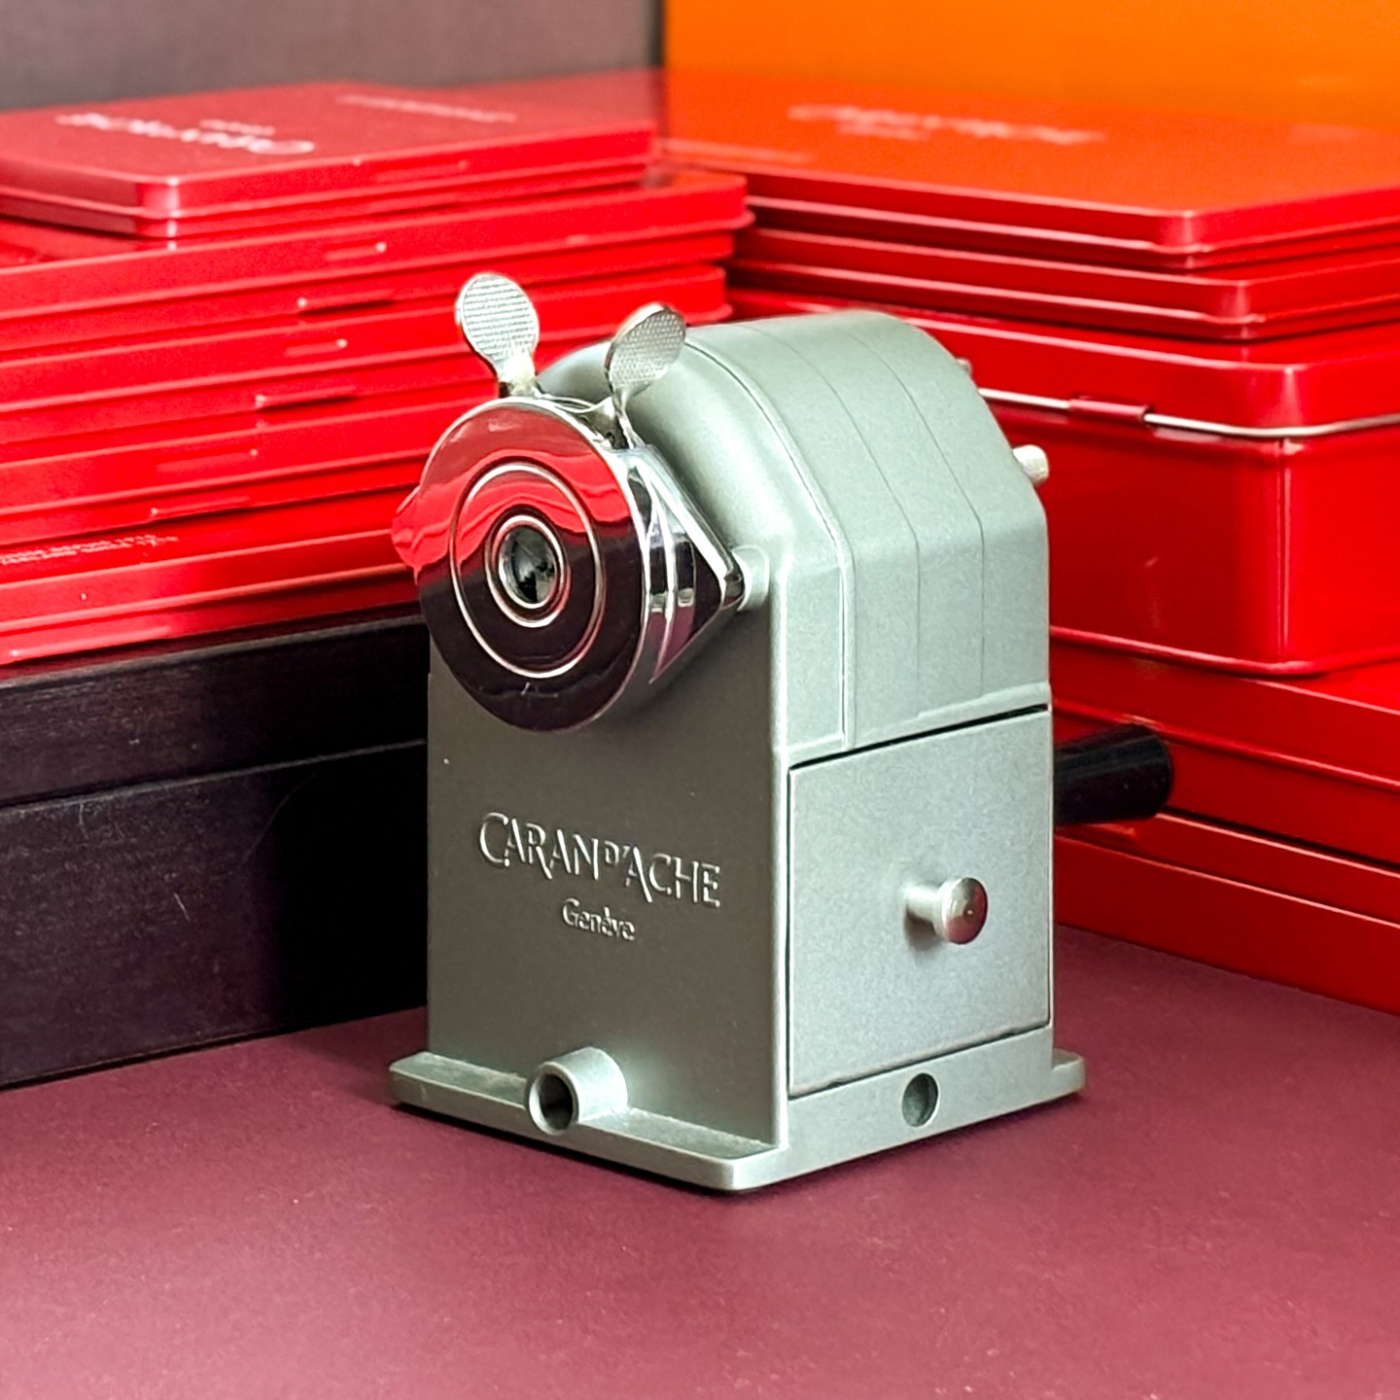
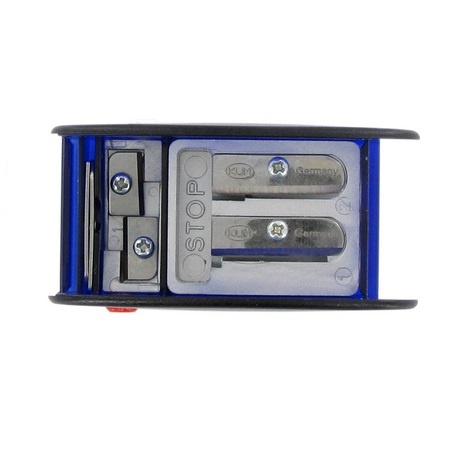
- A sharp and clean sharpener: For best results, your sharpener should be in good condition. A dull or dirty sharpener causes uneven shavings, broken tips and more waste than necessary. Empty it regularly and replace the blade if possible, especially if the tip stays blunt even when using proper technique.
Buy sharpeners →
How to sharpen with a sharpener: step by step
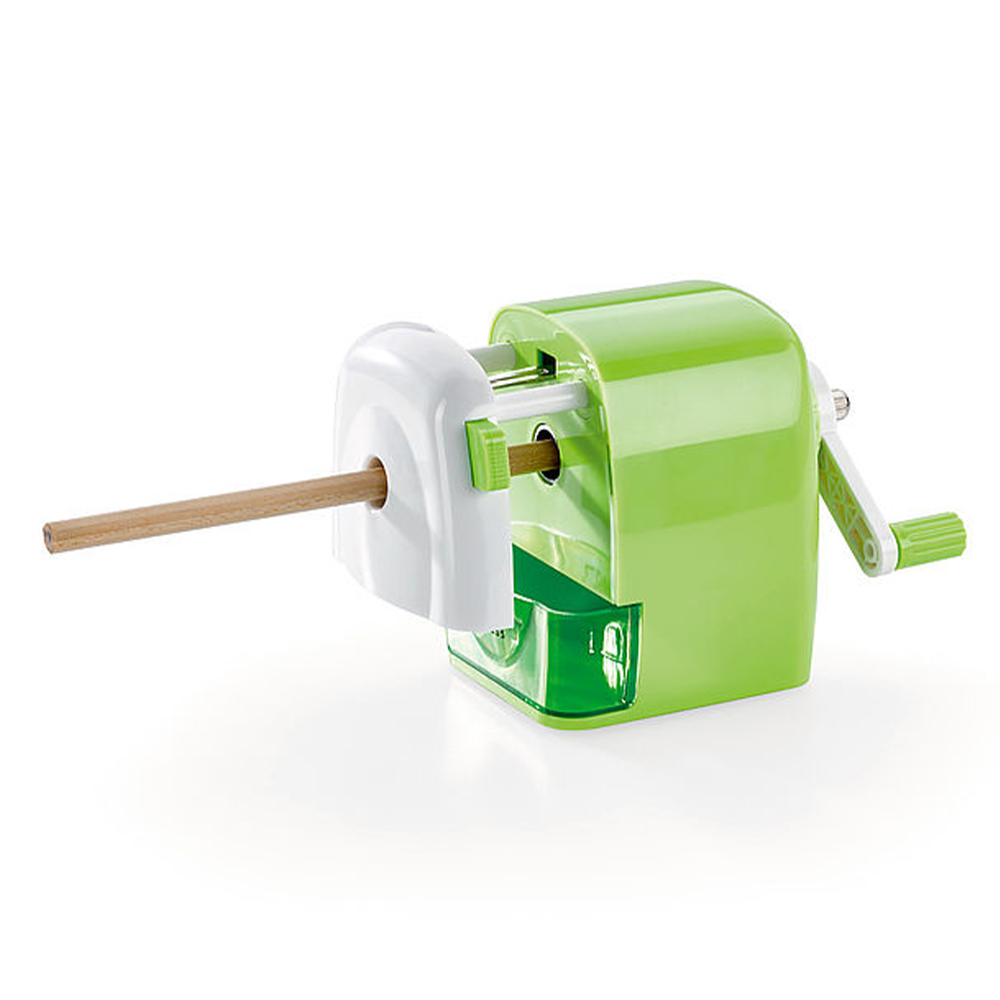
1. Hold the pencil straight
When using a manual sharpener, insert the pencil straight into the opening, not at an angle. Do not press too hard as this increases the risk of breakage. Use steady and light pressure.
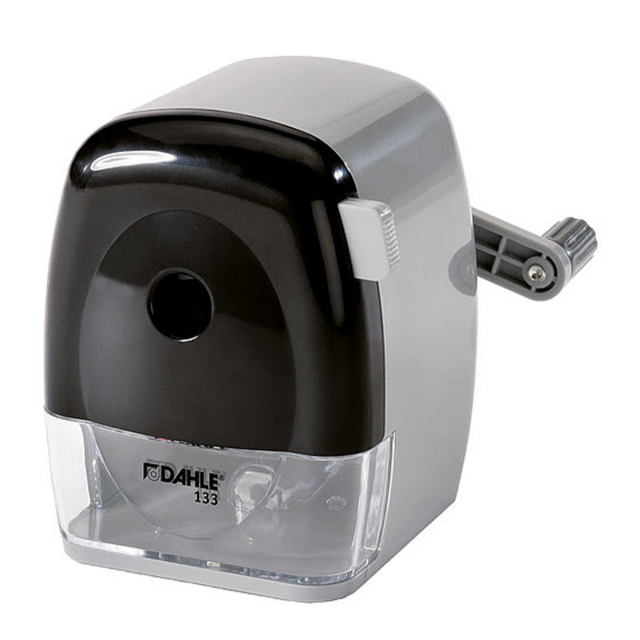
2. Turn gently (or let the sharpener do the work)
With a manual sharpener, rotate the pencil, not the sharpener. This gives better control and a more even tip. With an electric sharpener, insert the pencil and let the machine do the sharpening. There is no need to push with force.
3. Stop when resistance decreases
In both manual and electric sharpeners, you can feel when the tip is done. The resistance decreases and it feels finished. Remove the pencil and check the tip. Continuing to sharpen beyond this point only wears down the lead and blade unnecessarily.
4. Check the tip
Look at the tip. Is it smooth and intact? If the lead is crooked, cracked or very short, your sharpener might be dull or dirty. Another clear sign of a dull blade is if the wood comes off in small chunks instead of a long, spiral shaving. That means it's time to clean the sharpener and possibly replace the blade.
Cleaning and maintaining a pencil sharpener
A well-functioning sharpener not only gives cleaner points but also saves materials and patience. Over time, wood shavings, graphite dust and colour residue build up inside the sharpener, which can make the blades less effective or cause the lead to break. Here's how to keep your sharpener in good condition for the long term.
- Empty the sharpener regularly: An overfilled container pushes the lead off-centre and makes sharpening uneven. Empty it as soon as the shavings start to build up.
- Brush it clean: Use a small brush, cotton swab or dry paintbrush to remove graphite dust and wood fragments around the blade. Avoid using water, especially on metal sharpeners.
- Replace the blade if possible: If the wood splinters or the tip breaks despite good technique, the blade is probably dull. Small chips instead of a long shaving mean it's time to replace it. We sell several sharpeners with replaceable blades.
Buy replacement blades →
- Store it properly: Avoid putting a sharpener full of shavings in your pencil case. Empty and dry it before packing. Make sure the lid is secure if it fits loosely.


Sharpeners →
Pen Accessories →
Pencils →